This is a sponsored conversation written by me on behalf of Cricut. The opinions and text are all mine. #CricutMade #ad
Hey party peeps, Happy National Craft Month! Last week I shared with you that I received the Cricut Explore Air™ 2 machine and that it had been on my wish list FOREVER. Well, today I’m excited to show you How to Make a Card with the Cricut Explore Air™ 2. I admit, I’m a Cricut newbie and this was my very first project. In fact, this is the first time I have ever used or owned a Cricut product and man, I am hooked! It’s super easy to use and I was able to make a card in only a few minutes. Let’s get started.
MAKE AN ENJOY CARD WITH THE CRICUT EXPLORE AIR™ 2
Setting up the Cricut literally only took me a few minutes. Check out my post HERE where I show you how to set it up and everything it comes with. One of the best things I like about the Cricut is that it has an online interface that walks you through every step of thousands of projects available online at Cricut Design Space.
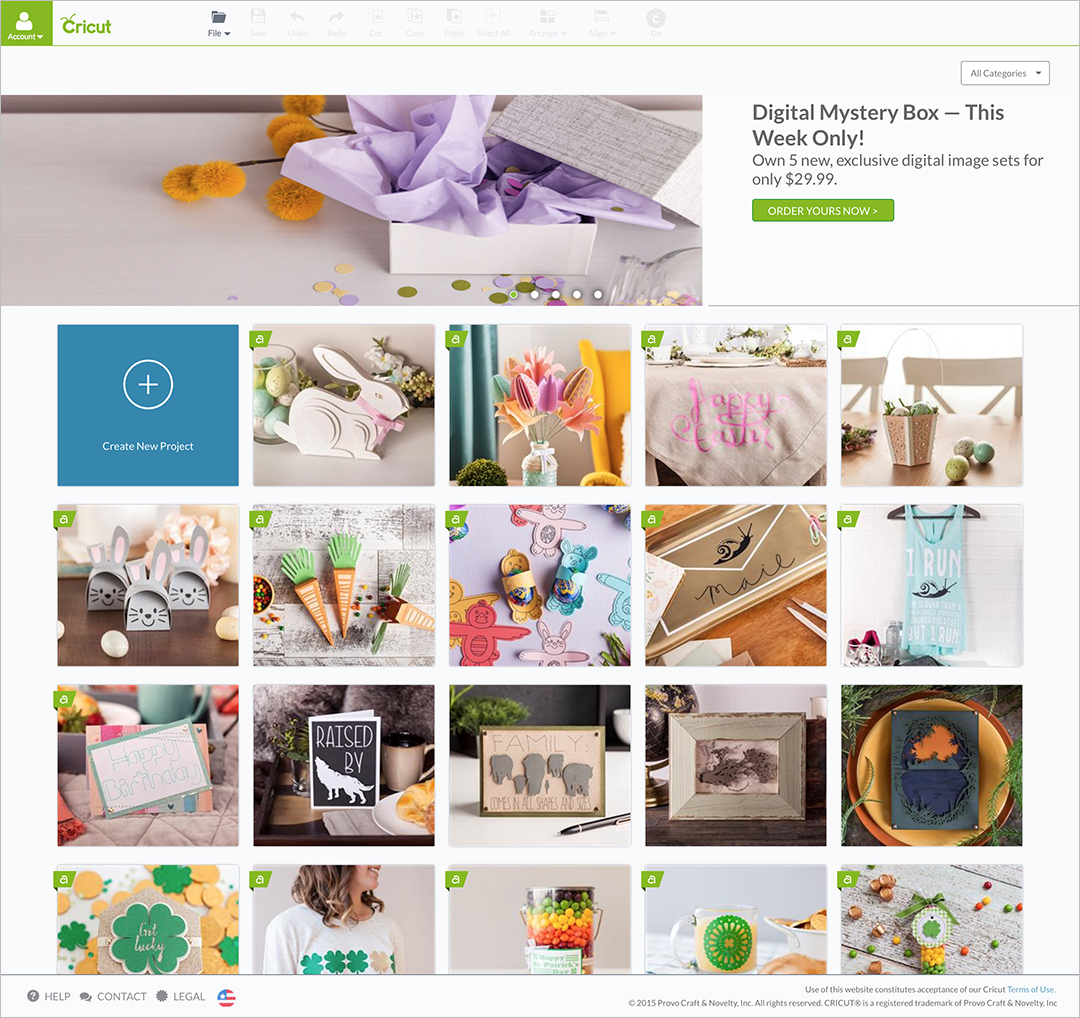
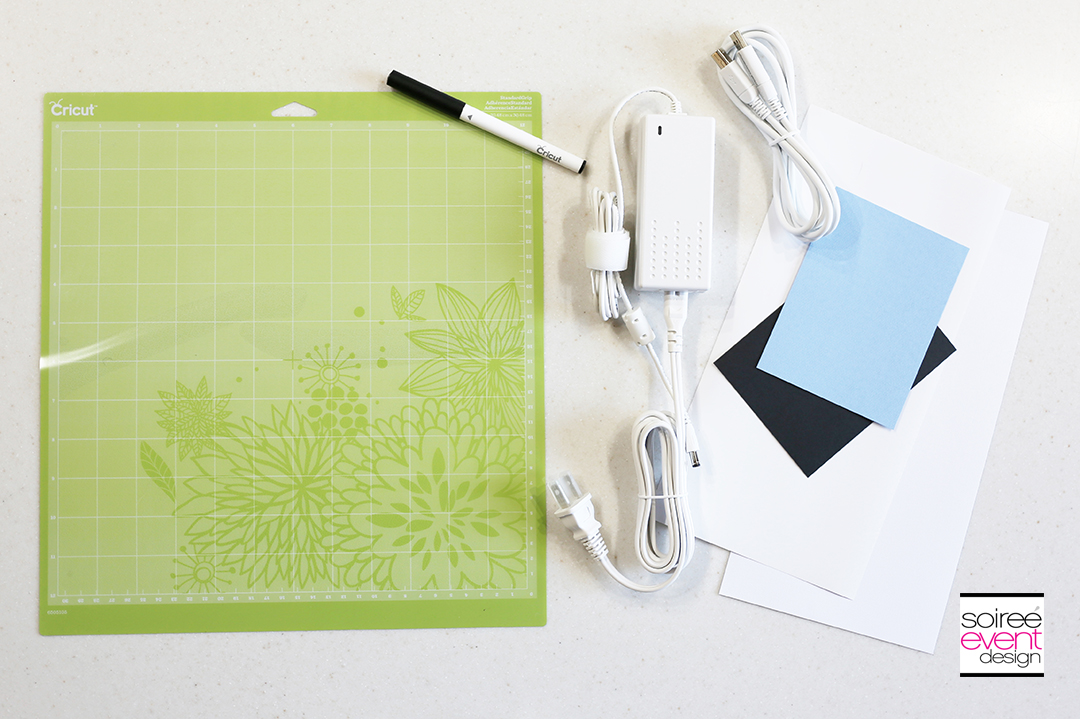
GIRLFRIEND TIP: I could literally spend hours looking through all the fabulous projects you can make, but since it was my first time using the machine, I decided to make the sample project that comes with the Cricut. Inside the box are sample papers and supplies you will need to make your first project. It’s a card that shows off just how fast it’s cutting and writing capability is.
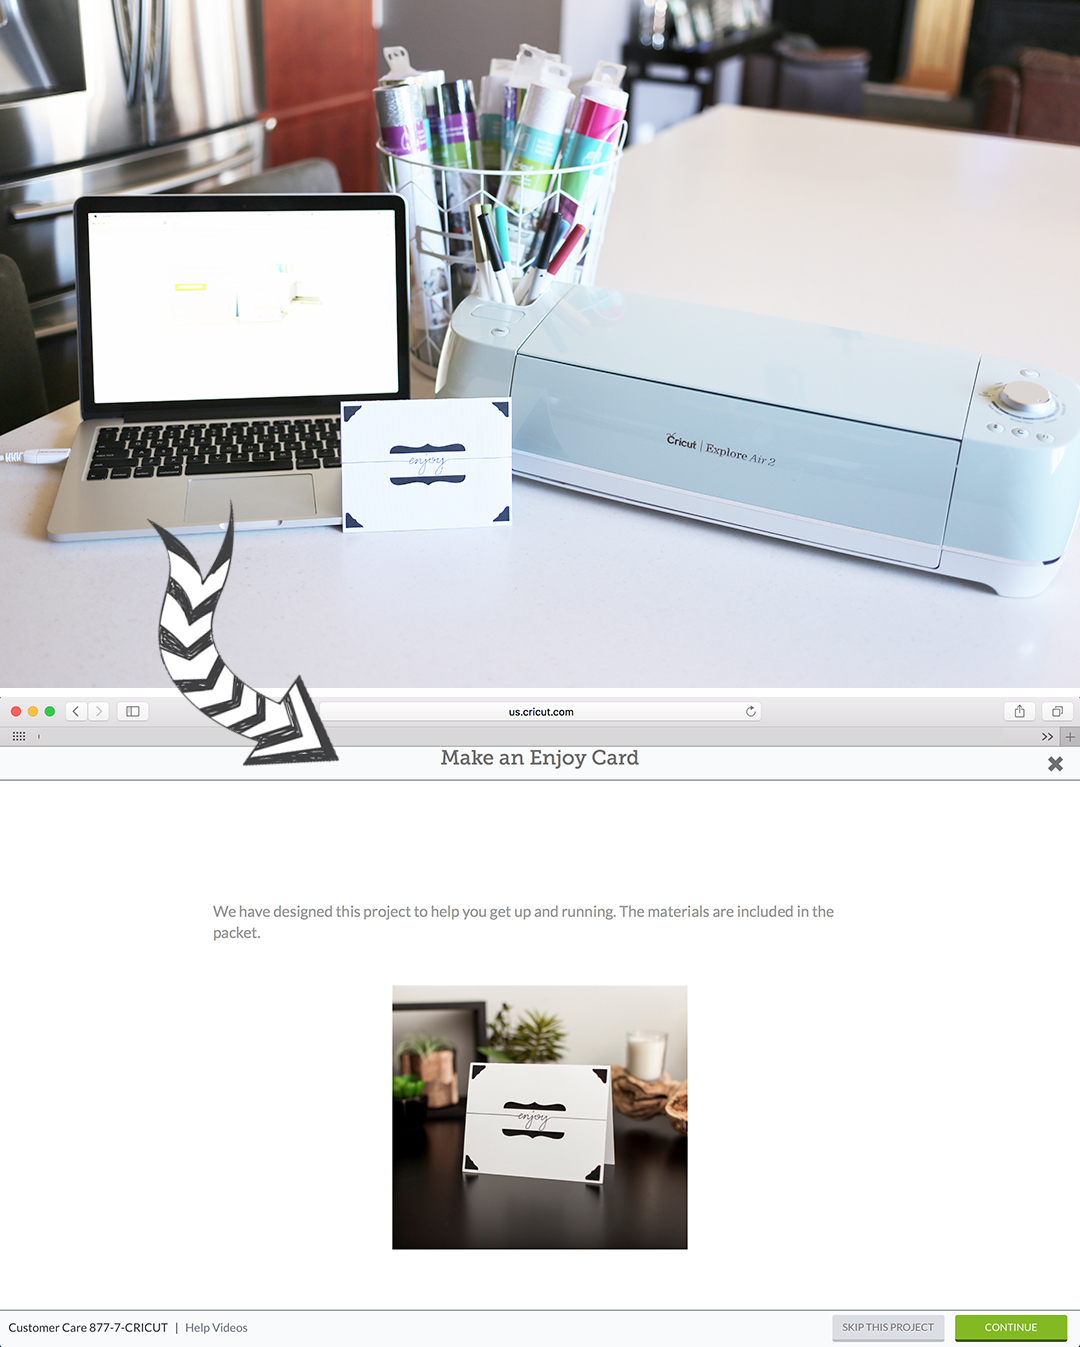
STEP 1 – Get Online!
Log on to Cricut.com/design and follow the on-screen steps. You can also connect via Bluetooth which makes using the Cricut extremely convenient.
STEP 2 – Load the Cardstock!

When removing the plastic cover from the mat, be sure to keep it as you’ll need to put it back on when you’re done to protect the sticky surface of the mat.
STEP 3 – Load the Pen!
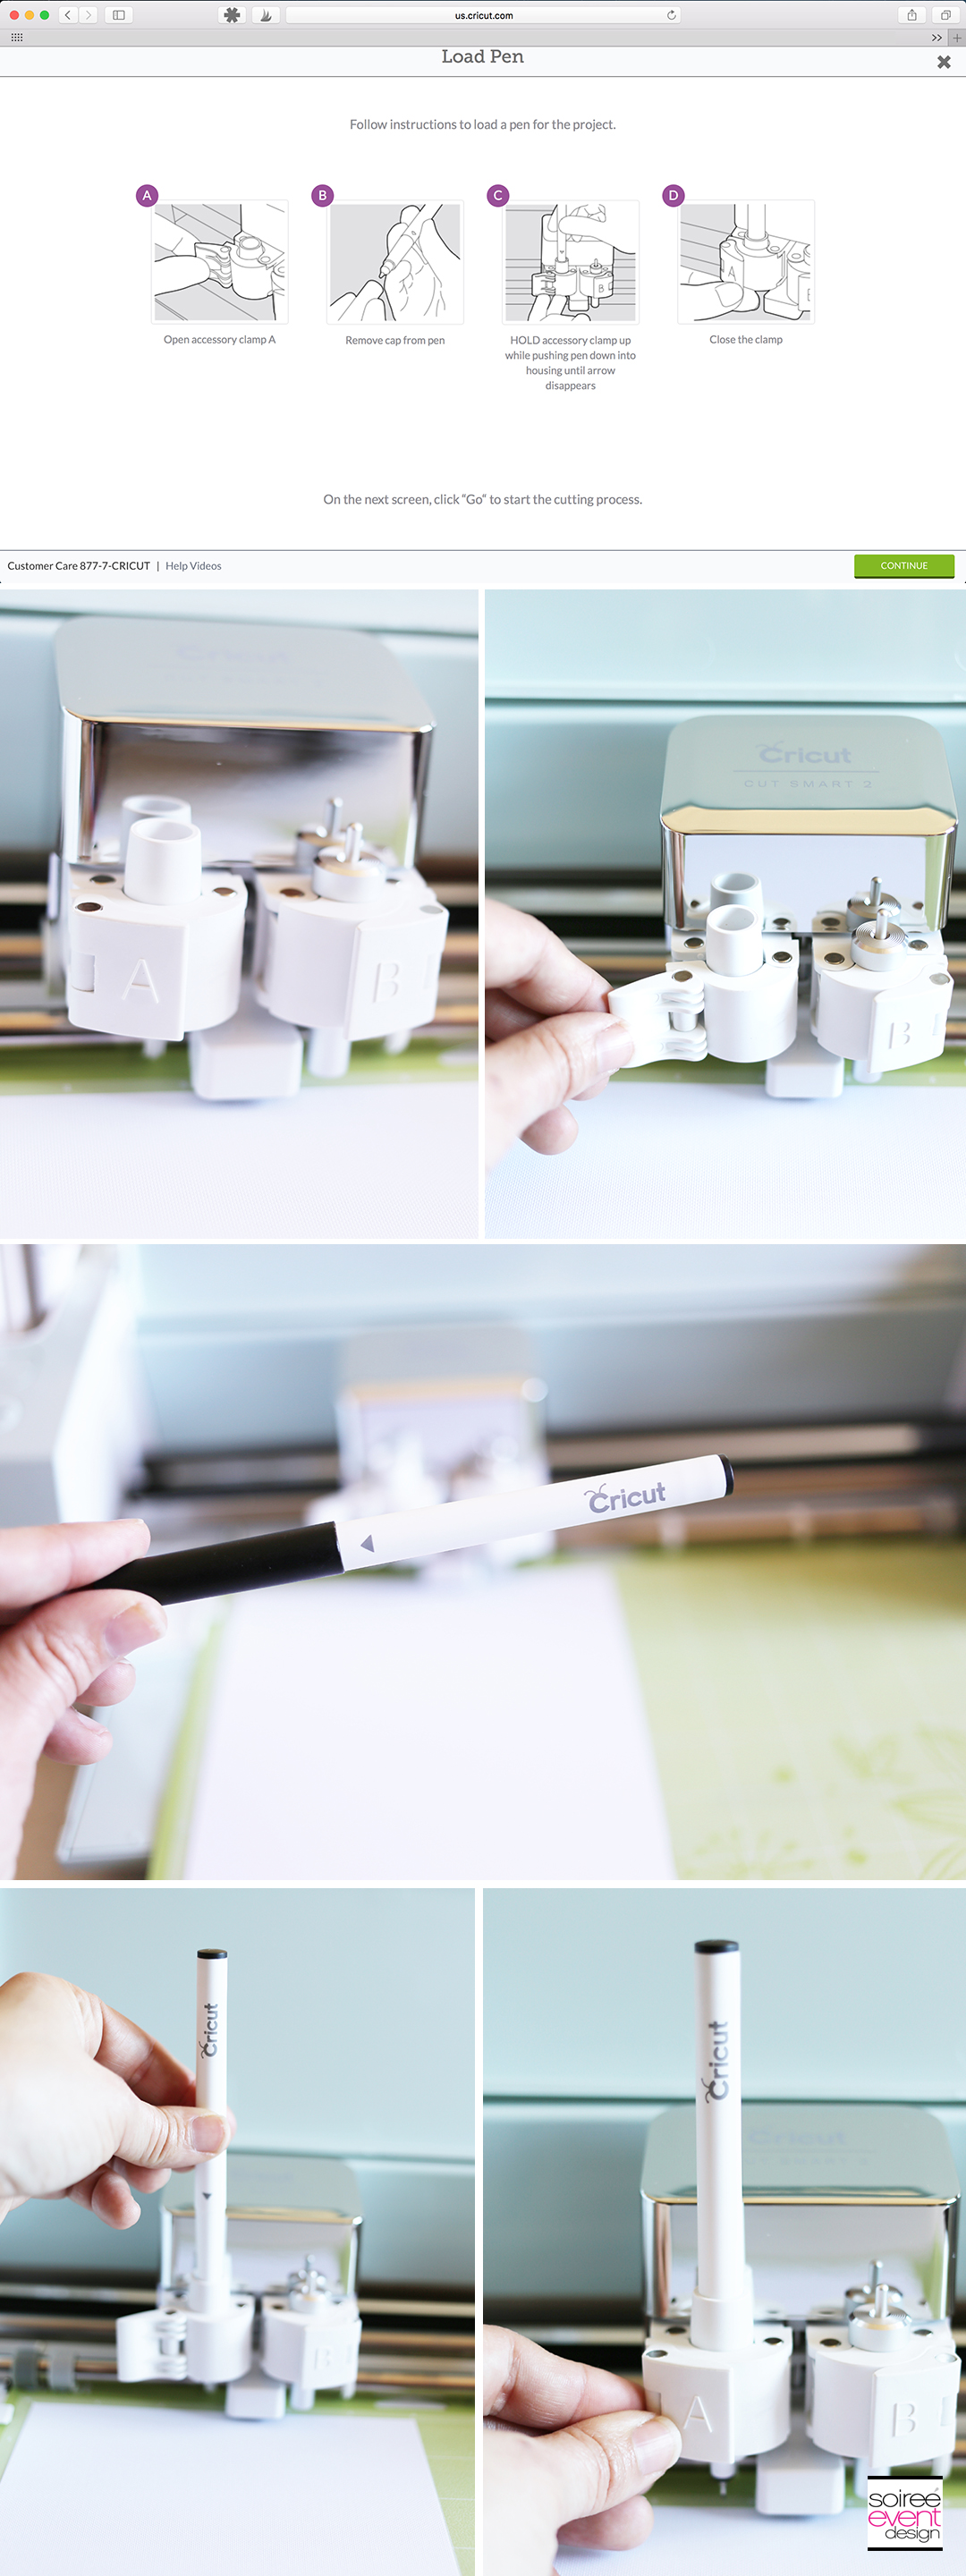
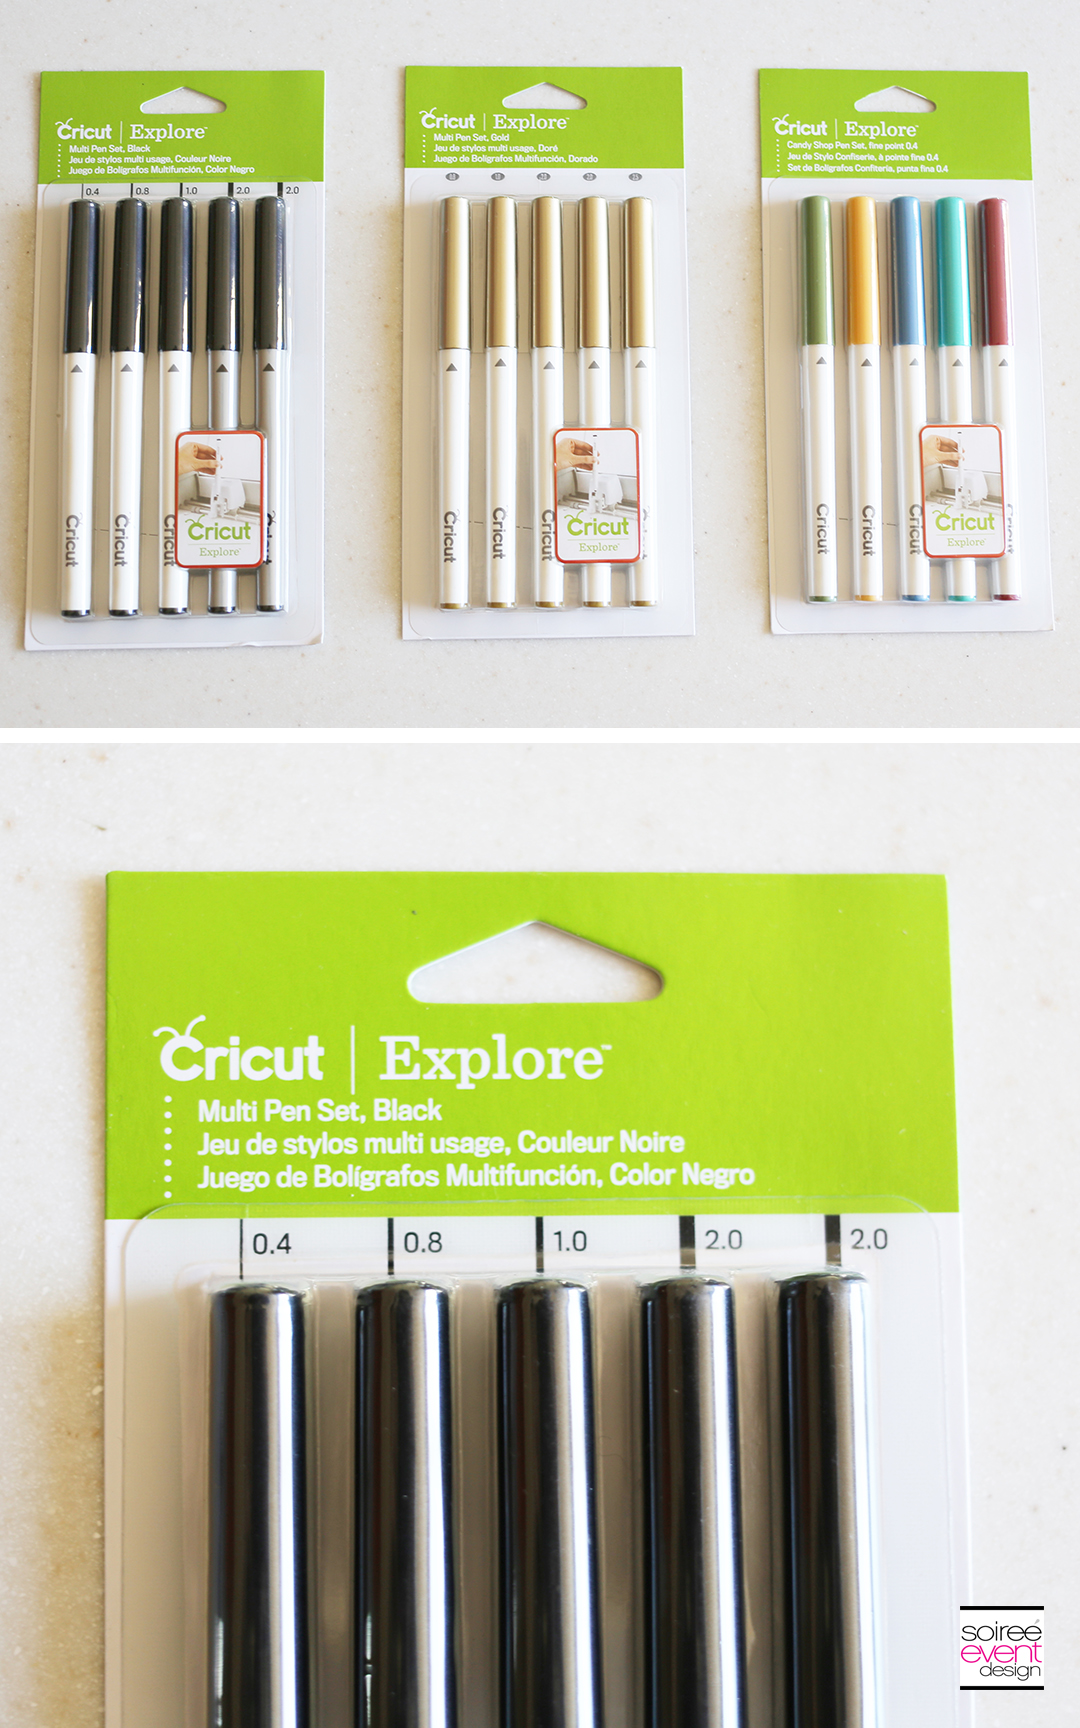
GIRLFRIEND TIP: The Cricut Explore Air™ 2 comes with a black pen when you purchase it. You can also purchase separately a wide variety of pens in various thicknesses and colors which opens up more creativity in creating your own projects.
STEP 4 – Cut & Write!
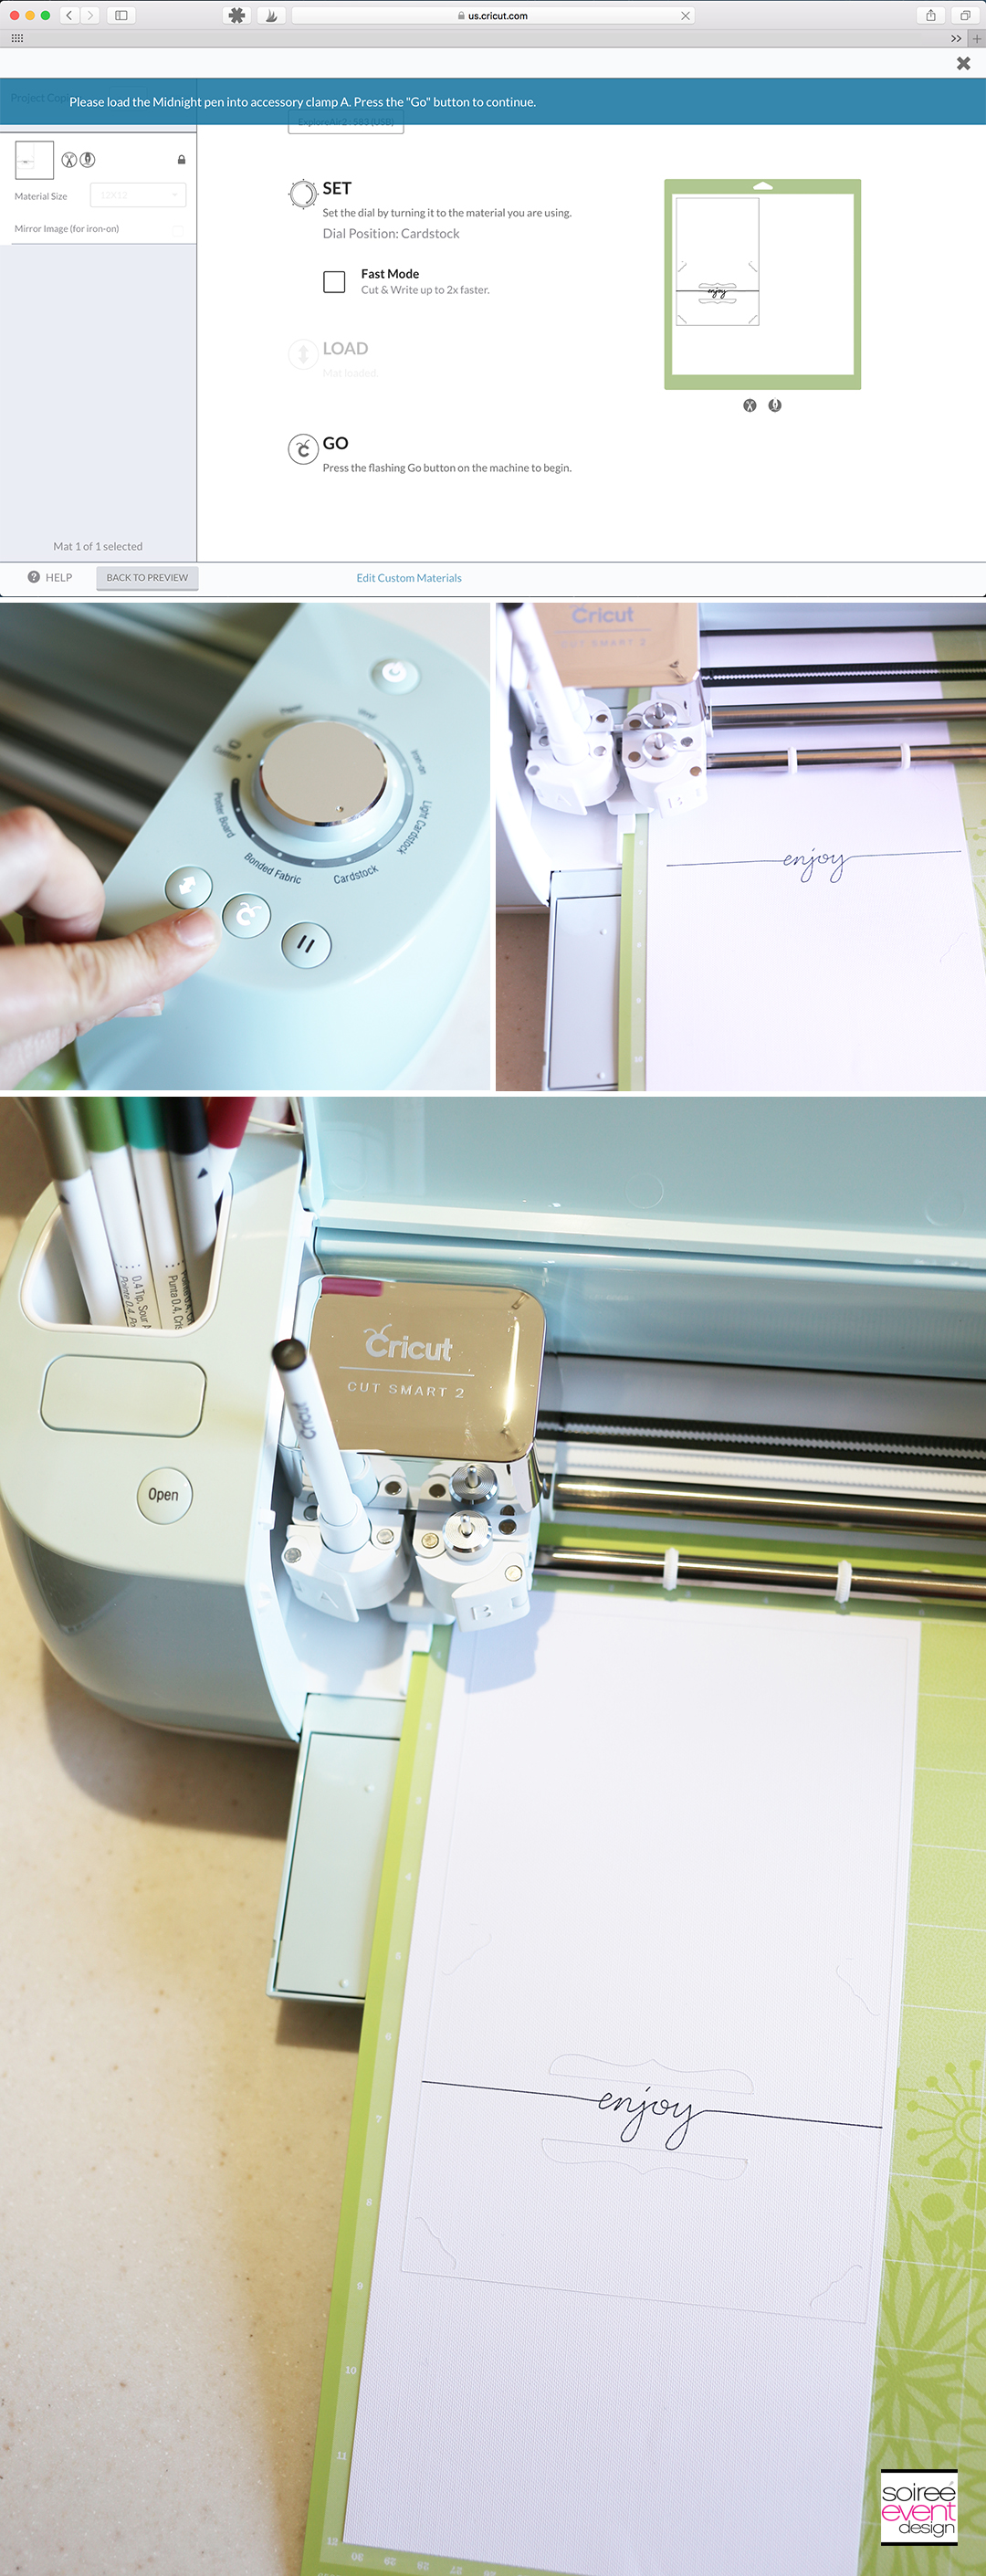
GIRLFRIEND TIP: Okay guys, once you hit the GO Button, so THIS is where the magic happens! The Cricut Explore Air™ 2 cut out the edges of the card and die cut the inside shape, cut frame holders and wrote the word ENJOY on the cardstock in a few minutes, all at the same time.
STEP 5 – Unload the Mat & Pen & Remove the Card from the Mat!
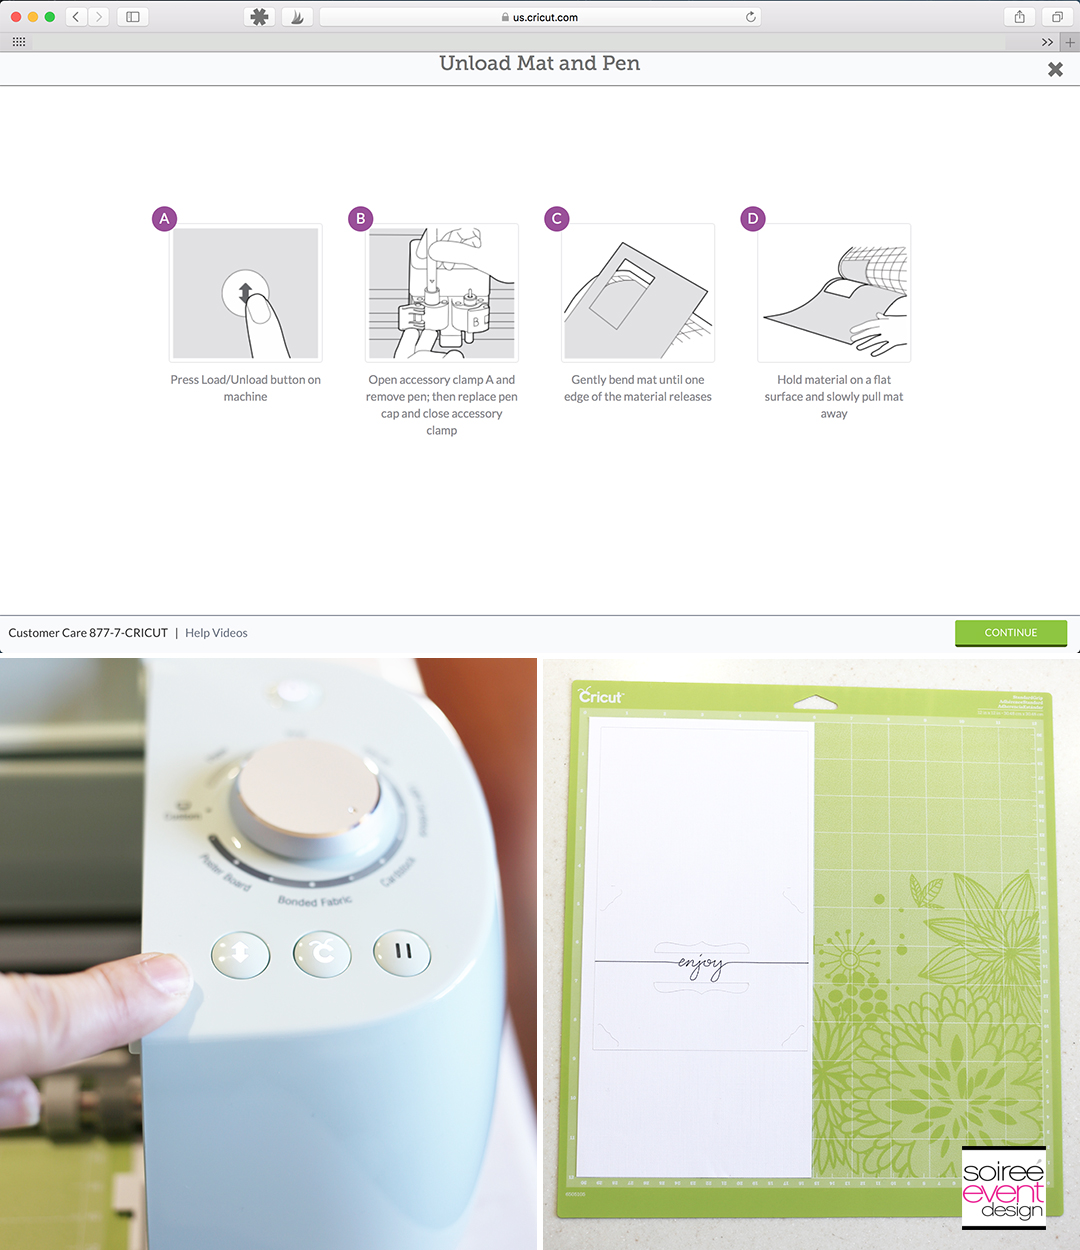
GIRLFRIEND TIP: Removing the card from the mat is super easy. Since this was a cardstock card, it was easy to lift it away from the mat. Don’t forget to put the plastic cover back on the mat once you’ve removed the card from it.

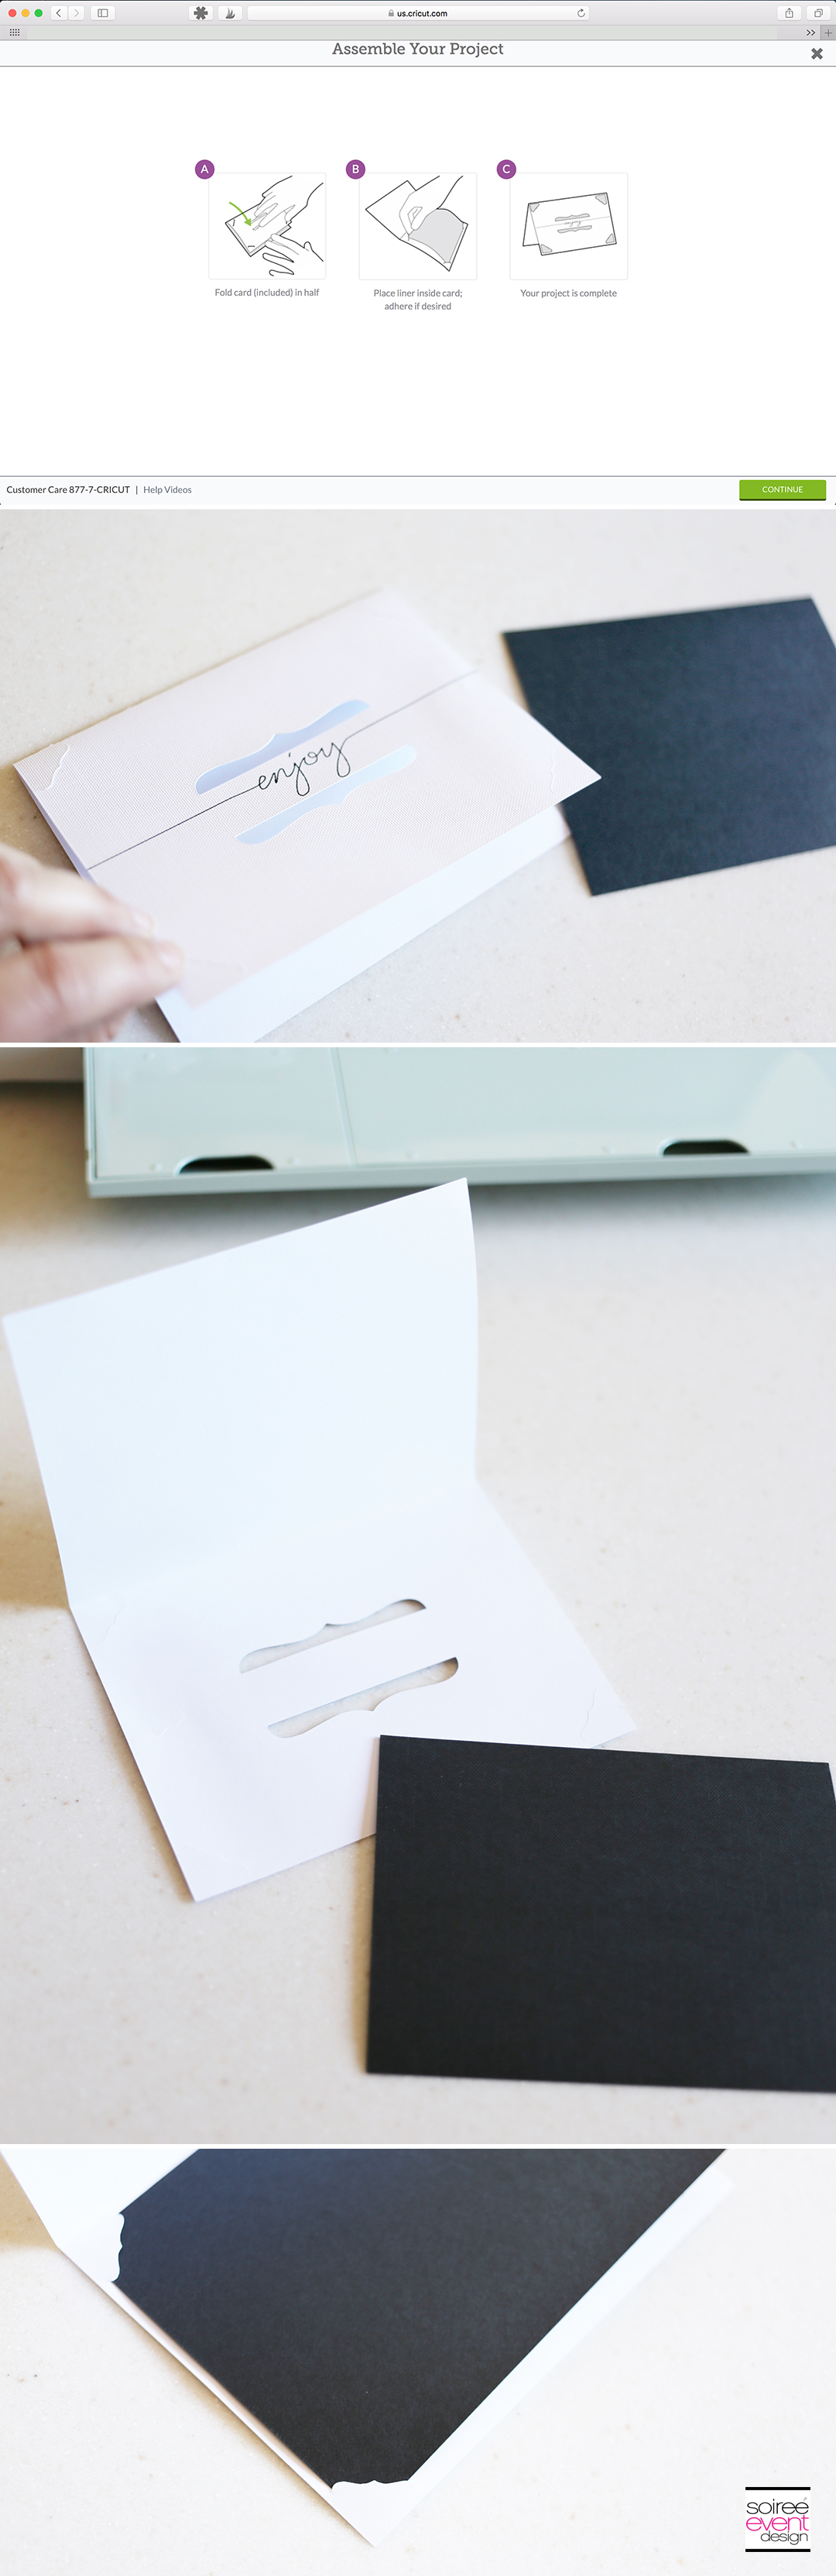
STEP 6 – Assemble Your Card!
Fold your finished card in half. Take the black pre-cut piece of cardstock and place it into the frame cutouts on the inside cover of the card. That’s it! You’re done! How easy was that!!!
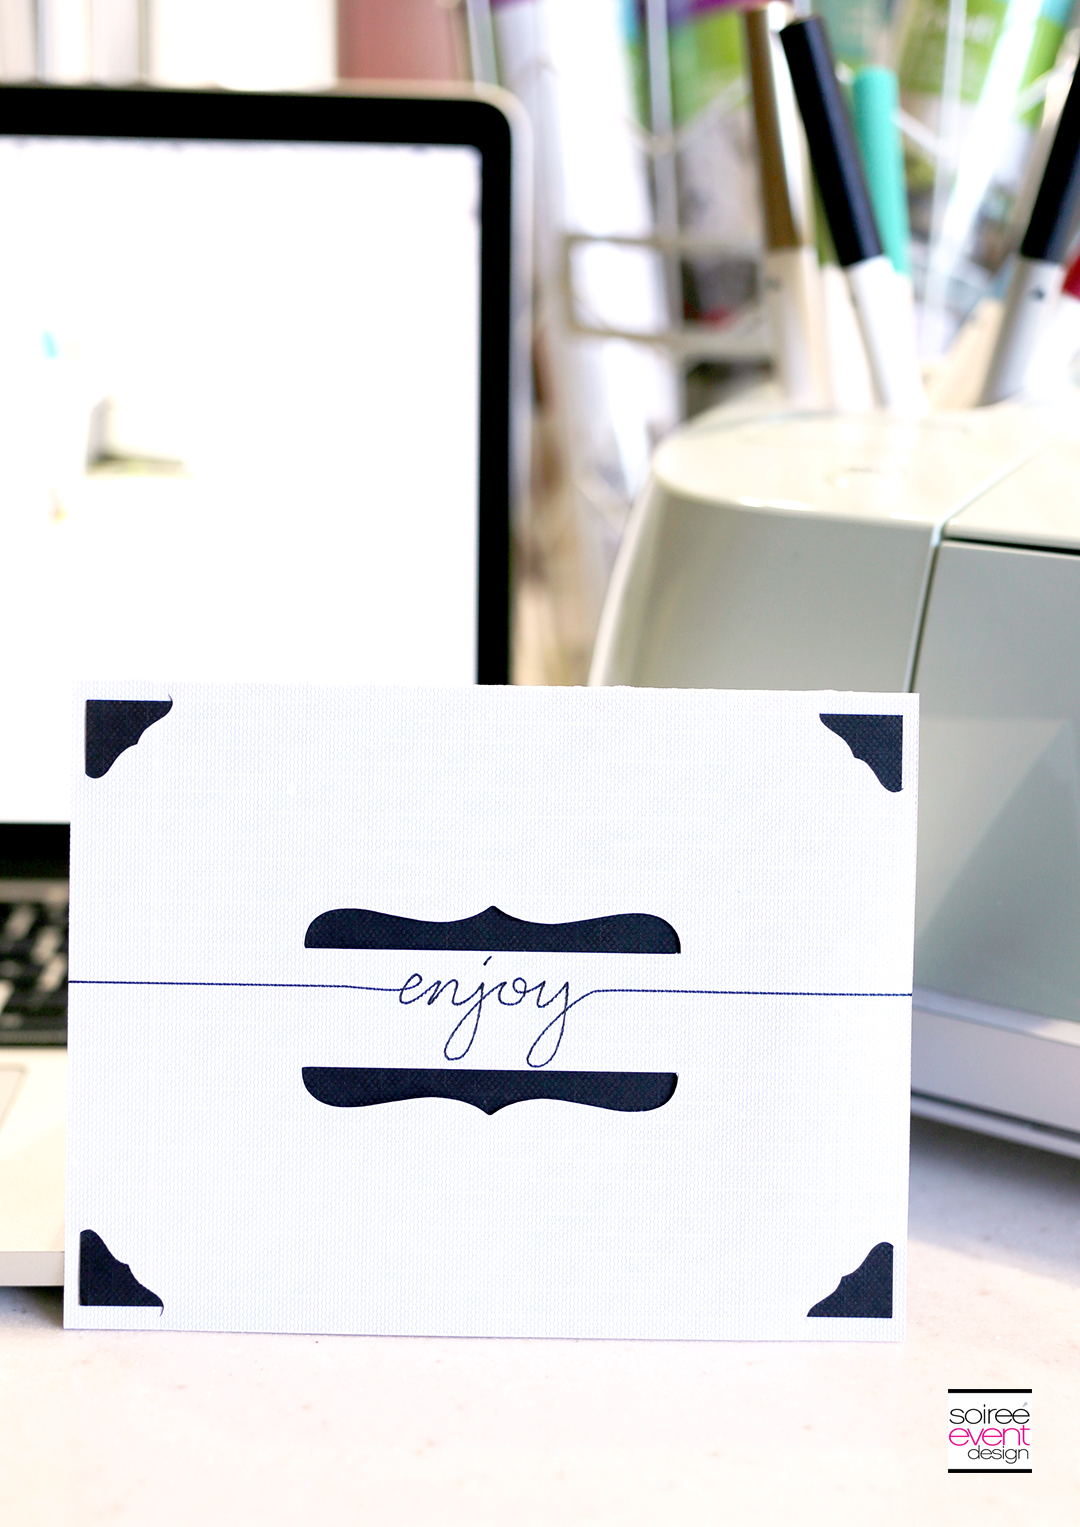
GIRLFRIEND TIP: It took only a few minutes to make this “Enjoy” card. I paired it with this JOY Mug and now have a fabulous gift idea!

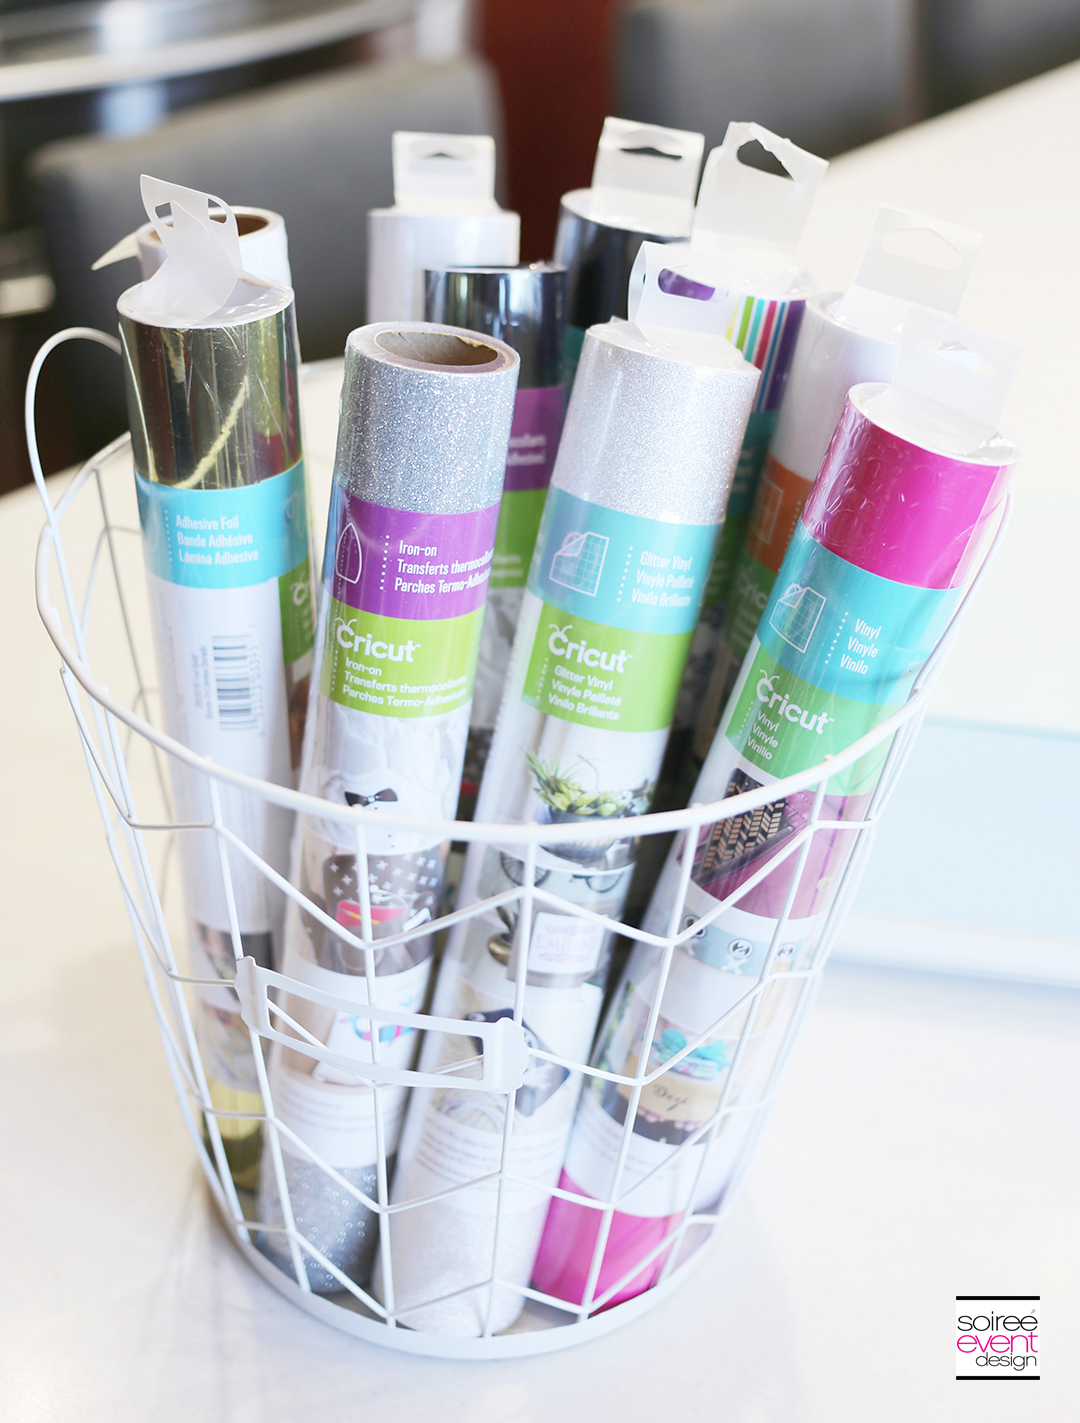
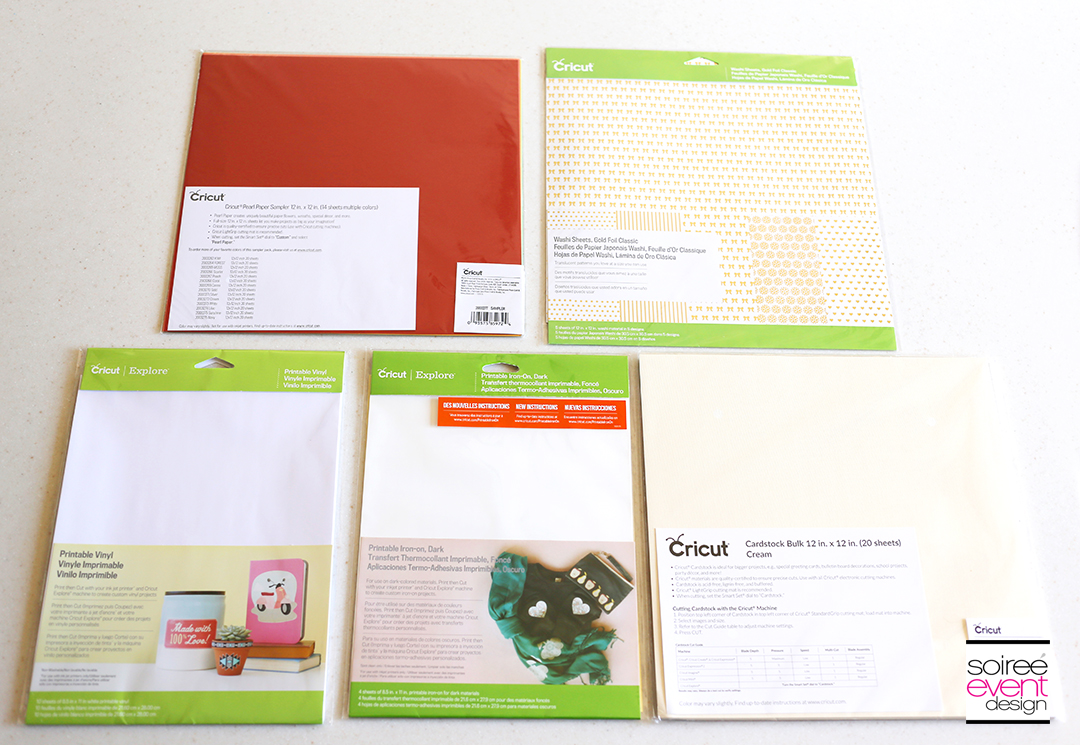
My creative brain is on overdrive right now! Now that I’ve completed my first project I have a TON of ideas for projects I want to make. With this assortment of vinyl, iron-on, vellum, cardstocks and more that Cricut sent me I am SET! AND…Riley’s birthday party is coming up in a few weeks and will be using my Cricut Explore Air™ 2 to make a few projects for her party! Check back next week where I’ll share with you those projects.
WANT MORE DETAILS ON THE CRICUT EXPLORE AIR™ 2?
If you don’t own a Cricket Explore Air™ 2 and are looking for more information or are considering getting one for yourself, check out the Cricut Explore Air™ 2 machine for more details. You can thank me later!
PIN FOR LATER

WHAT DO YOU THINK?
Do you already have a CRICUT EXPLORE AIR™ 2? What was your favorite project to make with it? If you don’t already have one…share with me your thoughts.
Cheers!
Tonya
This is a sponsored conversation written by me on behalf of Cricut. The opinions and text are all mine.
FOLLOW ME ON PINTEREST FOR MORE INSPIRATION!
Check out my PINTEREST BOARDS HERE for lots of party, holiday, food and home decor inspiration!
DON’T MISS A POST! SUBSCRIBE TO MY BLOG!
Want to get more of my “GIRLFRIEND TIPS” and party inspiration? Be sure to SUBSCRIBE to my blog so you can get all my blog posts delivered right to your email’s inbox so you won’t miss a thing! Subscribing is easy! Just enter your email address in the above right corner of this page and be sure to confirm your email once you get our confirmation to your inbox! That’s it! AND…you’ll get a code for 10% off your next order in our shop.