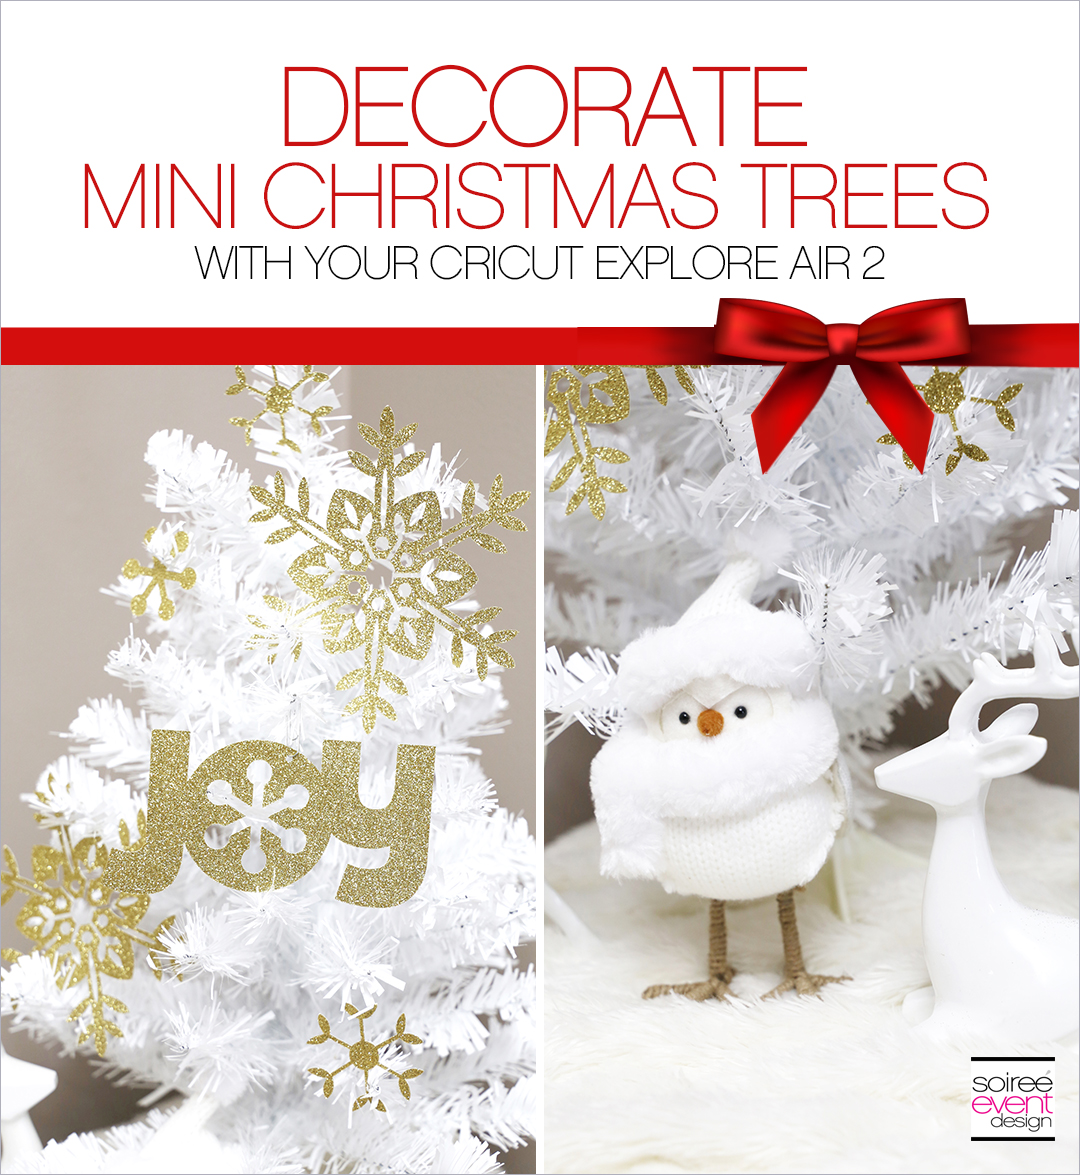
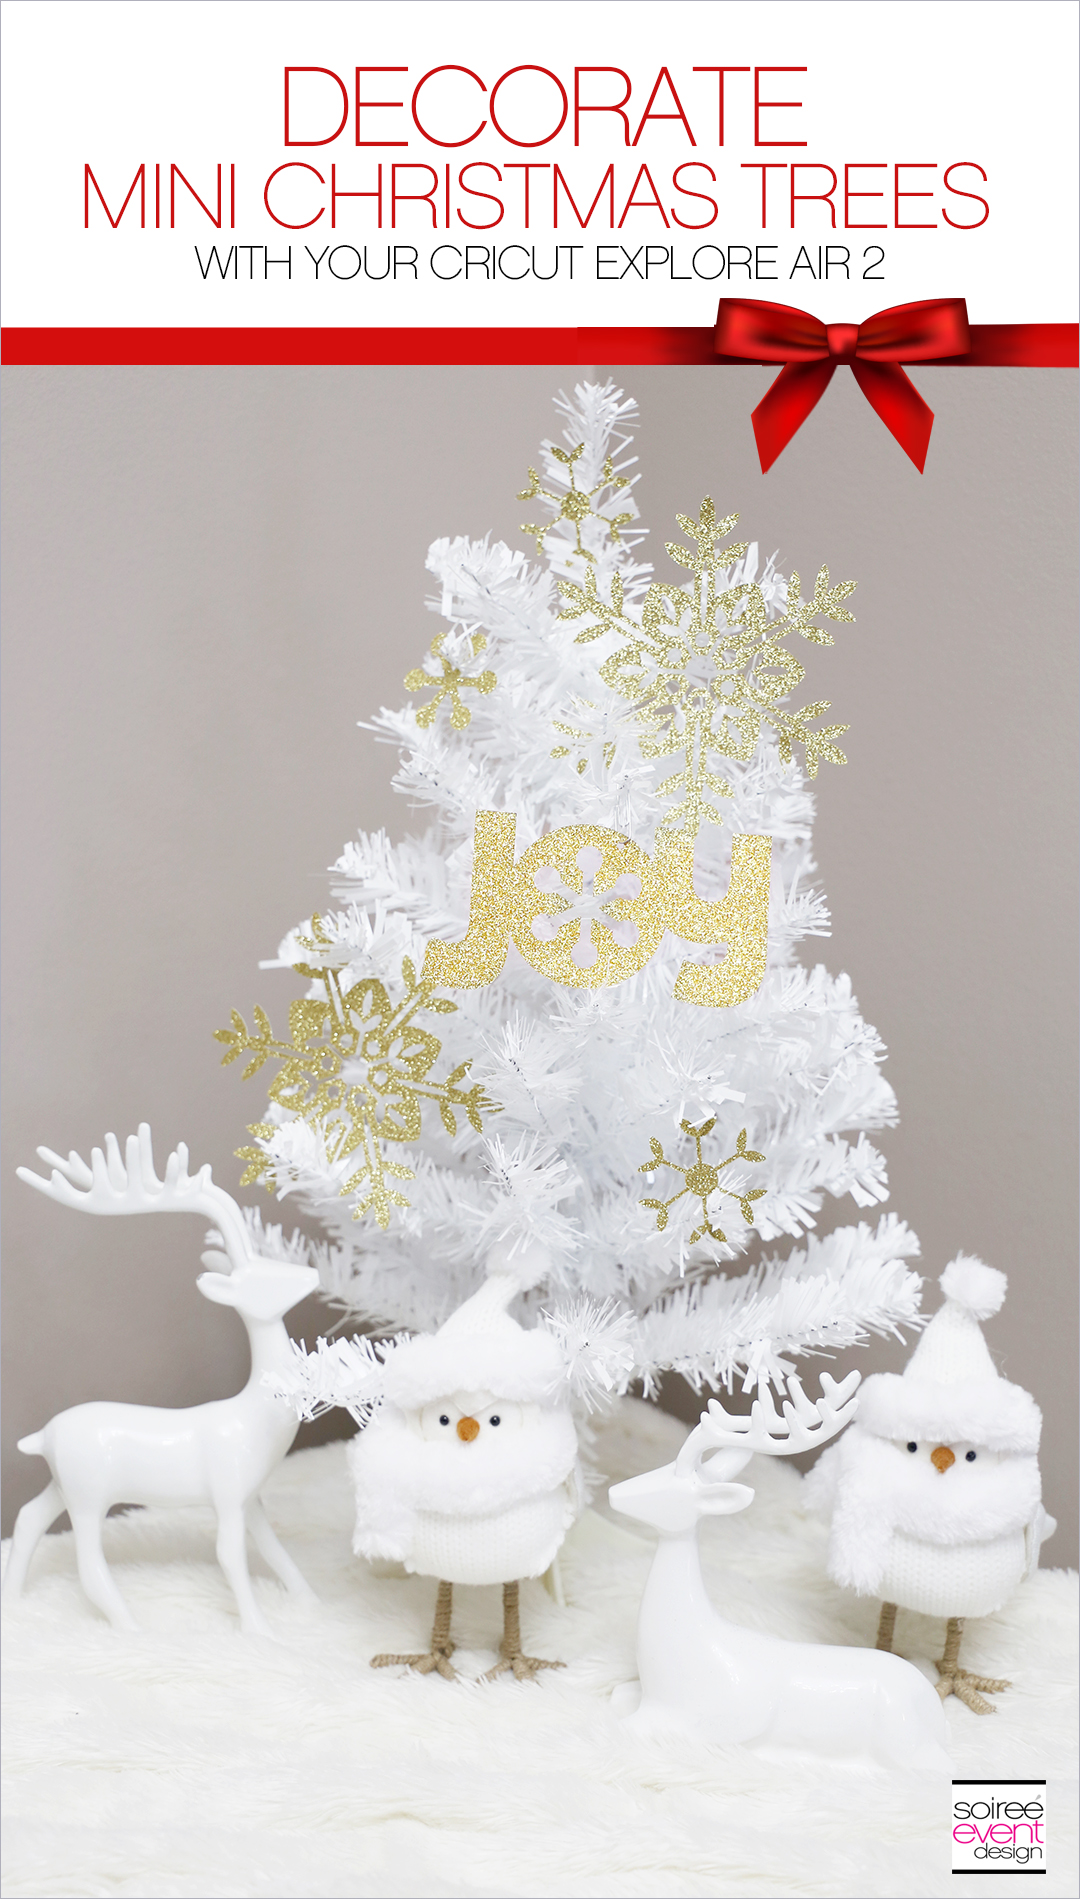
Hey, party peeps! I’m continuing to decorate my home for Christmas this year and I am all about the mini Christmas Tree trend that’s happening. I added a few of these mini trees to my home’s decor and used my Cricut to make glittery gold paper decorations to decorate it! YES…this is seriously a money-saver! Make PAPER CHRISTMAS TREE DECORATIONS WITH CRICUT and you can get as creative as you want in the shapes you cut to the paper you use. I am so IN LOVE with my Cricut Explore Air™ 2 machine. If you don’t have one, check it out and see all the amazing things you can make with it from party decorations to home decor!
This is a sponsored conversation written by me on behalf of Cricut. The opinions and text are all mine. #CricutMade #CricutHoliday #ad
LET’S MAKE PAPER CHRISTMAS TREE DECORATIONS WITH THE CRICUT EXPLORE AIR™ 2
A few simple cuts on your Cricut and you can have paper Christmas Tree decorations you can add to your tree and create a winter wonderland scene in your home.
Want to see how to do it? Let’s get started!
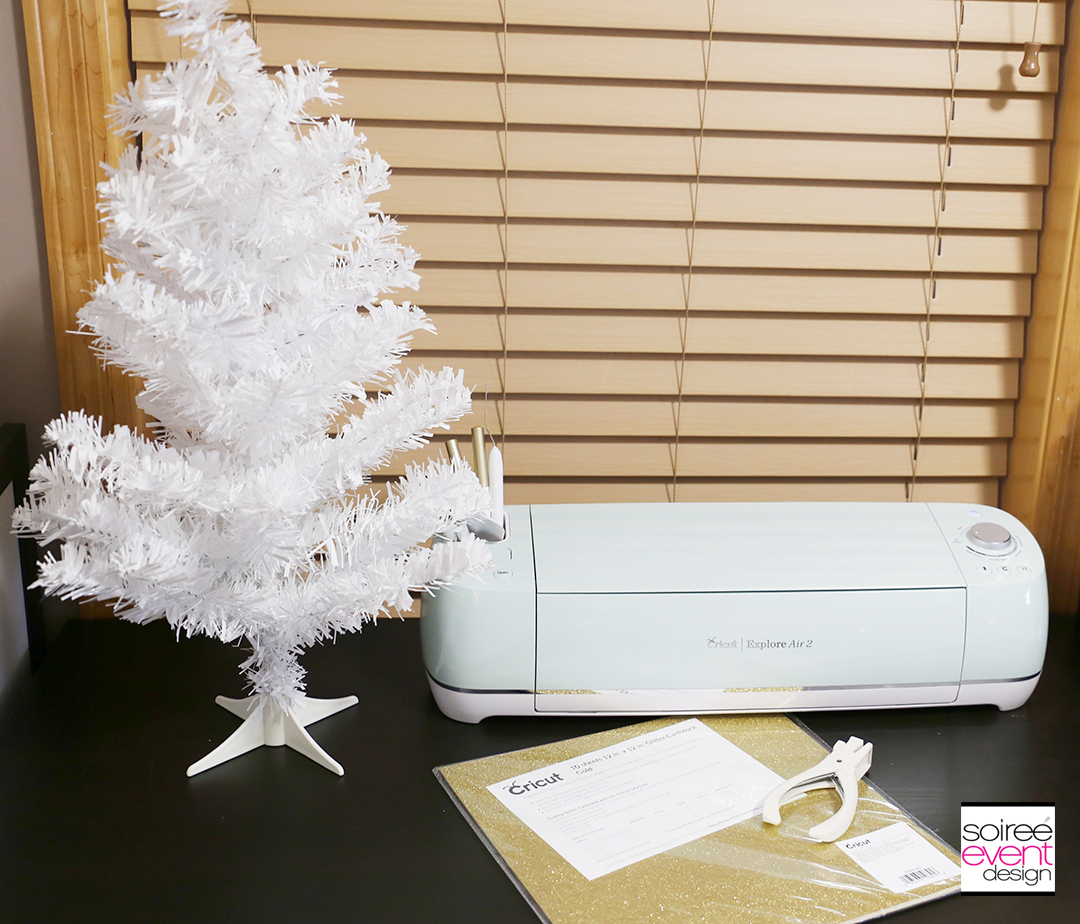
HERE’S WHAT YOU NEED
– Cricut Explore Air™ 2 machine
– Cricut Gold Glitter Cardstock
– Cricut Scraper Tool
– Mini Christmas Tree
– mini hole punch
– ornament hook (or paper clip)
– Cricut Design Space Project File
STEP 1 – Log In to Design Space + Load This Project!
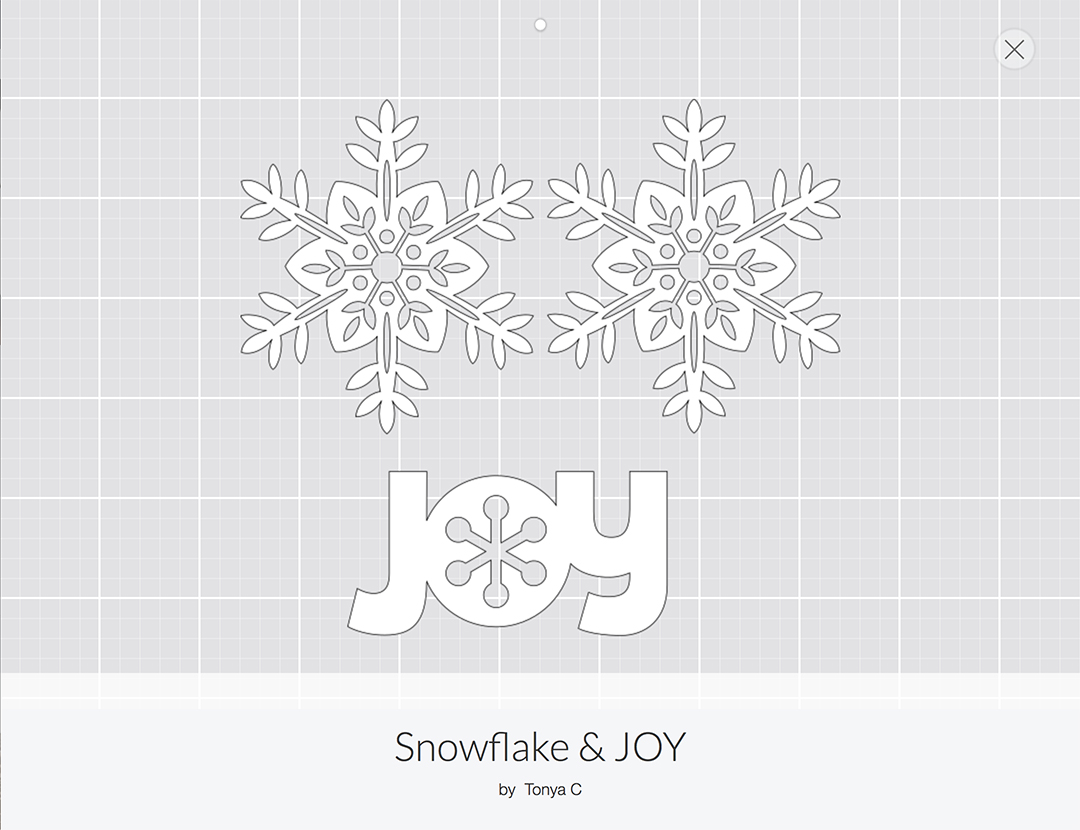
Cricut has an online interface called Cricut Design Space™ that walks you through every step of your project. Log in to Cricut Design Space™ and click here to make this Snowflake and JOY project.
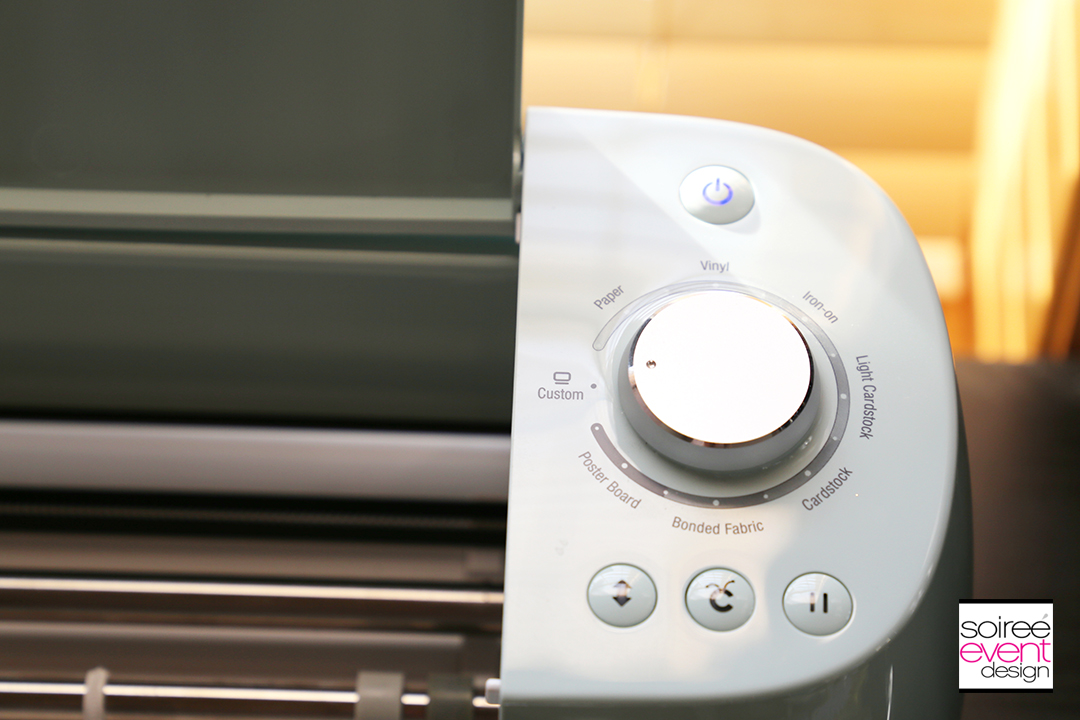
Turn the Smart Dial to CUSTOM then choose Glitter Cardstock in Design Space.
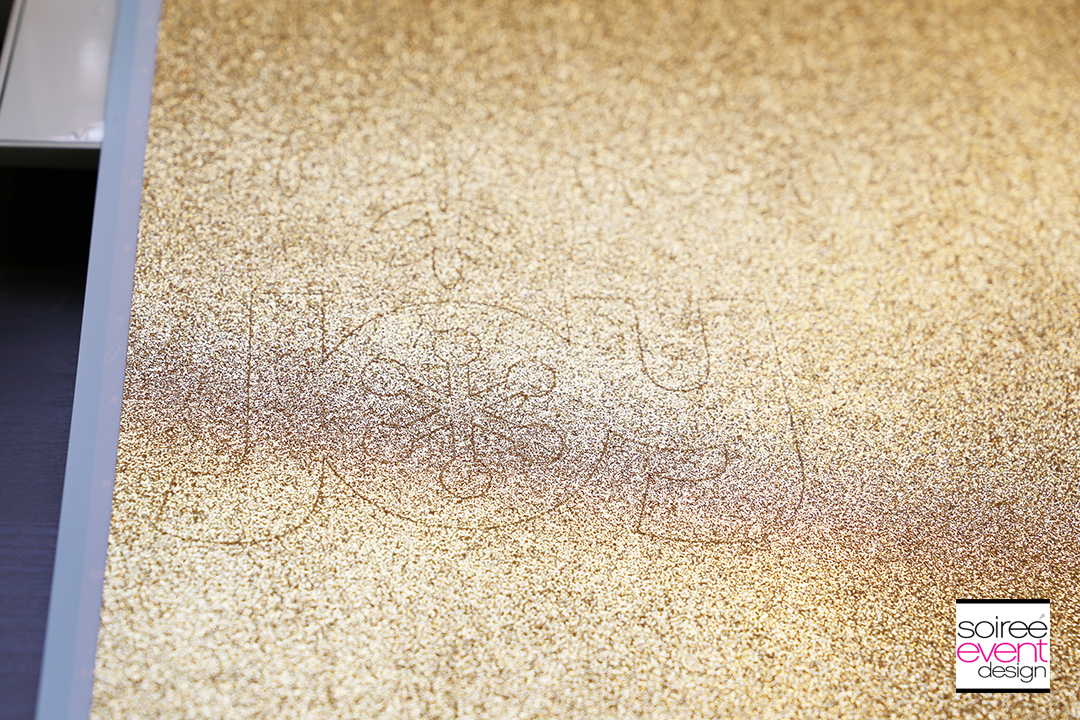
Load the cardstock into the Cricut on a mat and follow the on-screen instructions to cut the snowflakes and word JOY out of gold Cricut Glittered Cardstock.
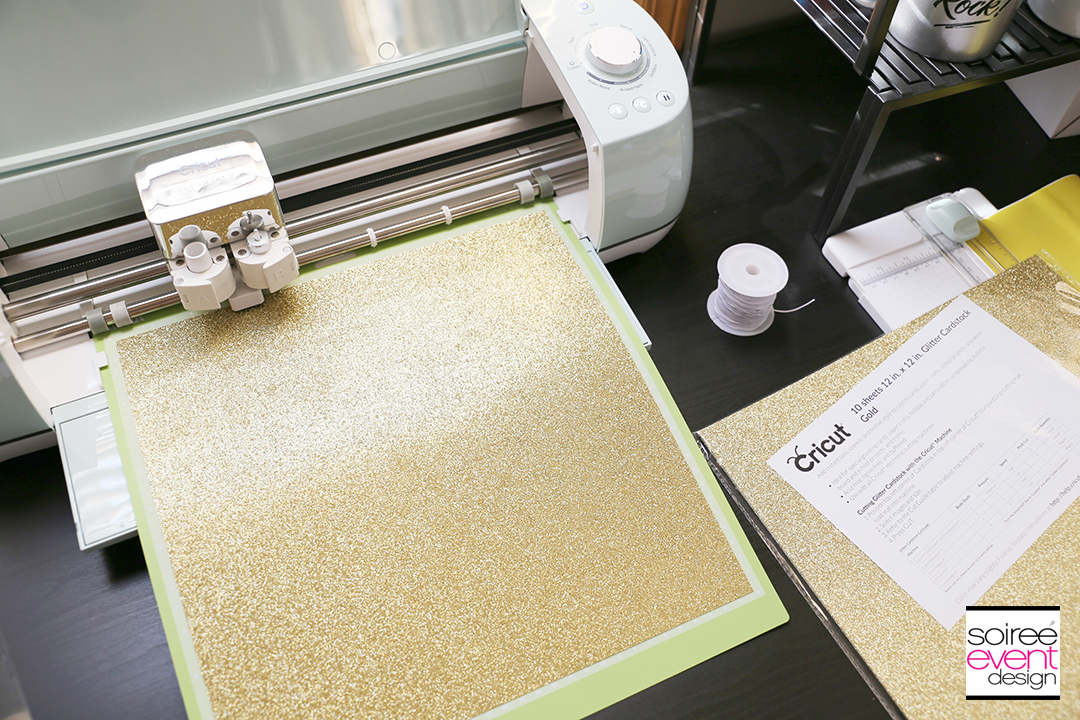
STEP 2 – Unload the Mat & Remove Your Designs!
Once the cutting is complete, Press the LOAD BUTTON to unload the mat from the Cricut.
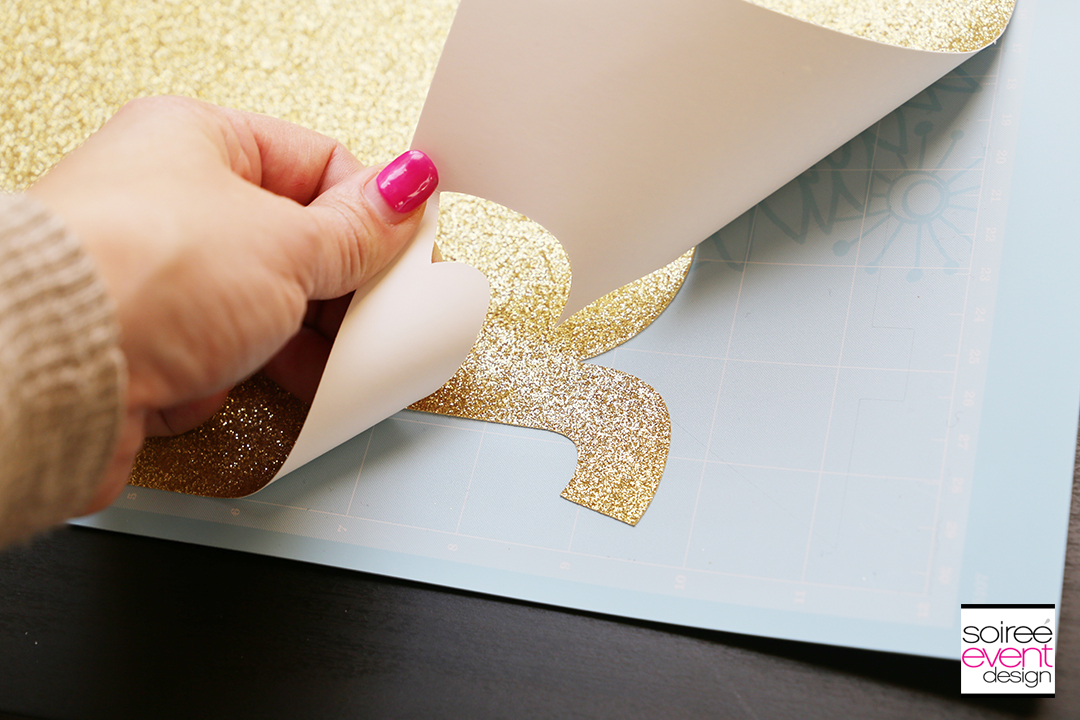
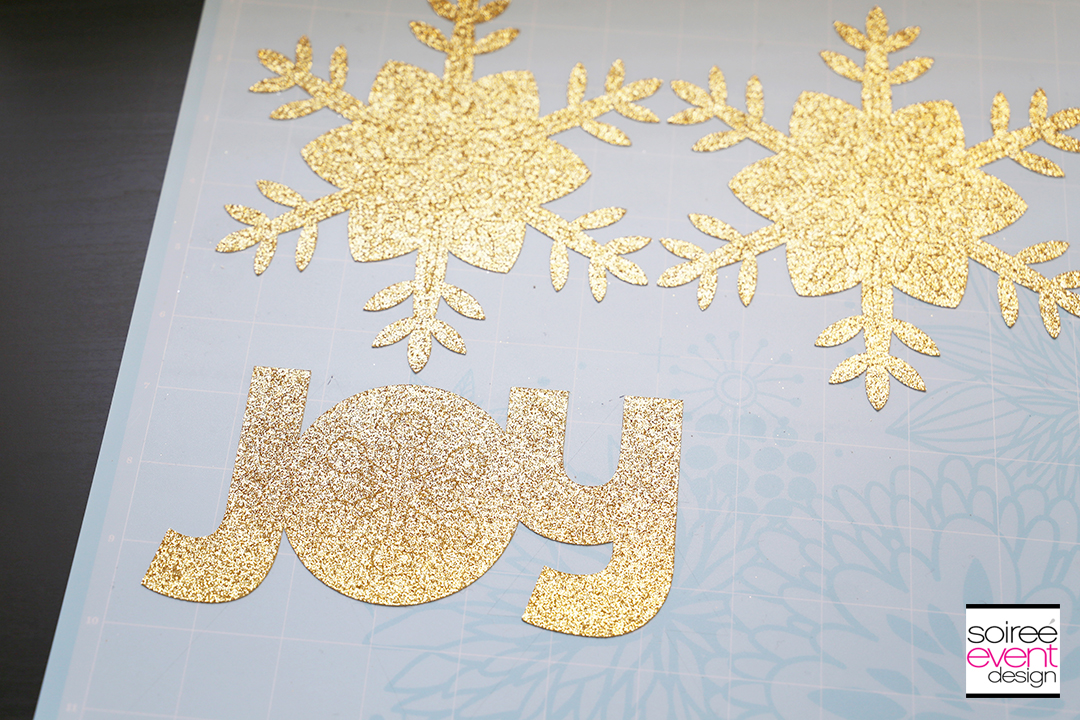
Slowly peel away the unwanted cardstock leaving the snowflake and word JOY on the mat.
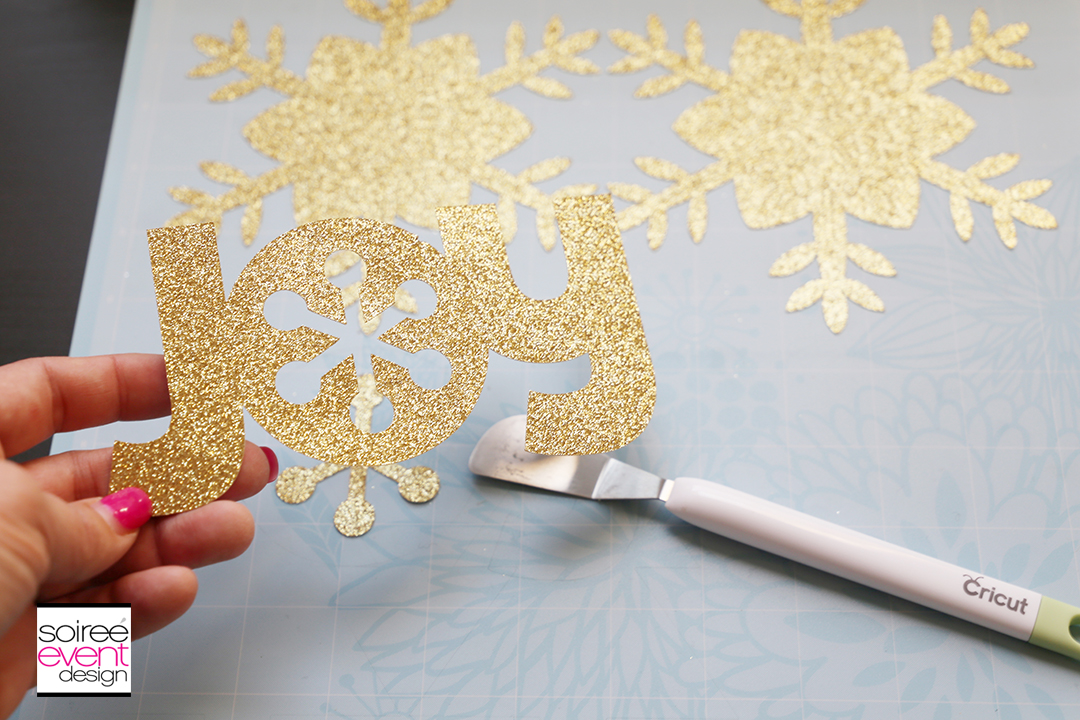
Starting at one edge of each shape, gently lift up the snowflakes and JOY word from the mat with the Cricut Scraper Tool. While doing this, most of the unwanted inner pieces will pop out. If they don’t all pop out, you may have to use the Cricut Weeder Tool to remove them.
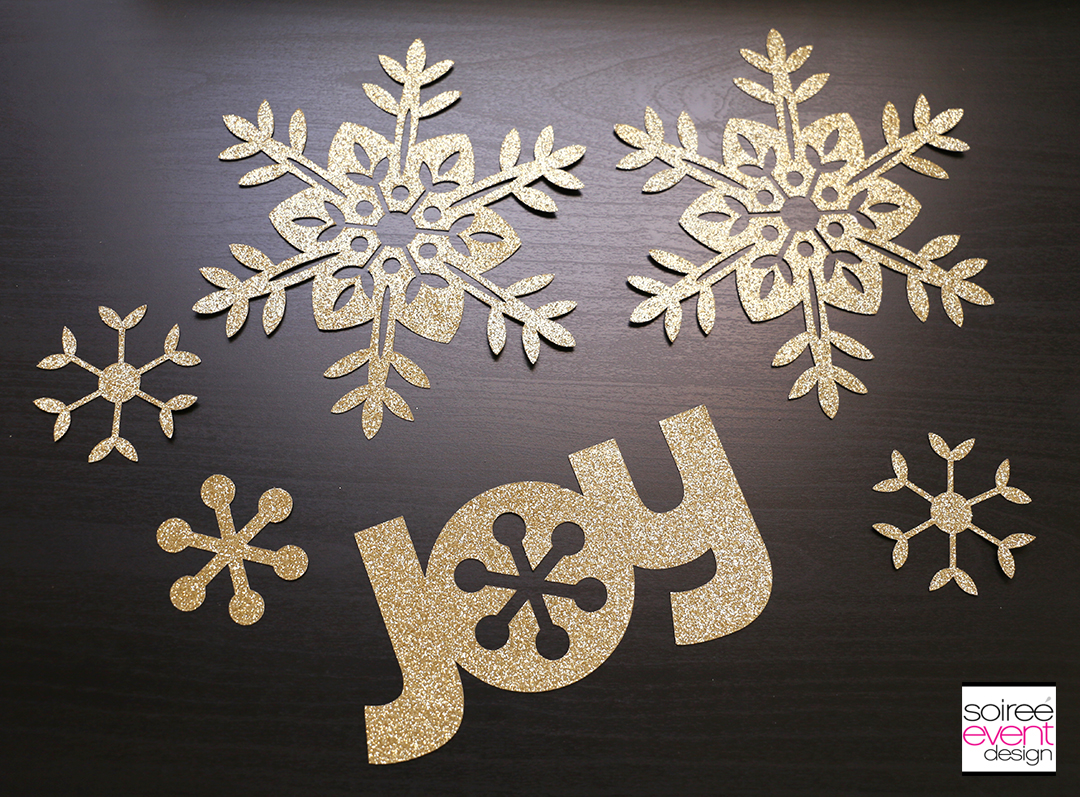
Be sure to keep the inner snowflake shapes inside the letter “O” in the word JOY and inside the snowflakes. They are perfect snowflake shapes that you can use as paper decorations.
GIRLFRIEND TIP: You should have 2 large snowflakes, 3 small snowflakes and 1 word JOY which is enough to decorate a mini tree. If you need more, simply cut the project again and get double the amount of paper decorations.
STEP 3 – Prepare To Hang Your Paper Ornaments!
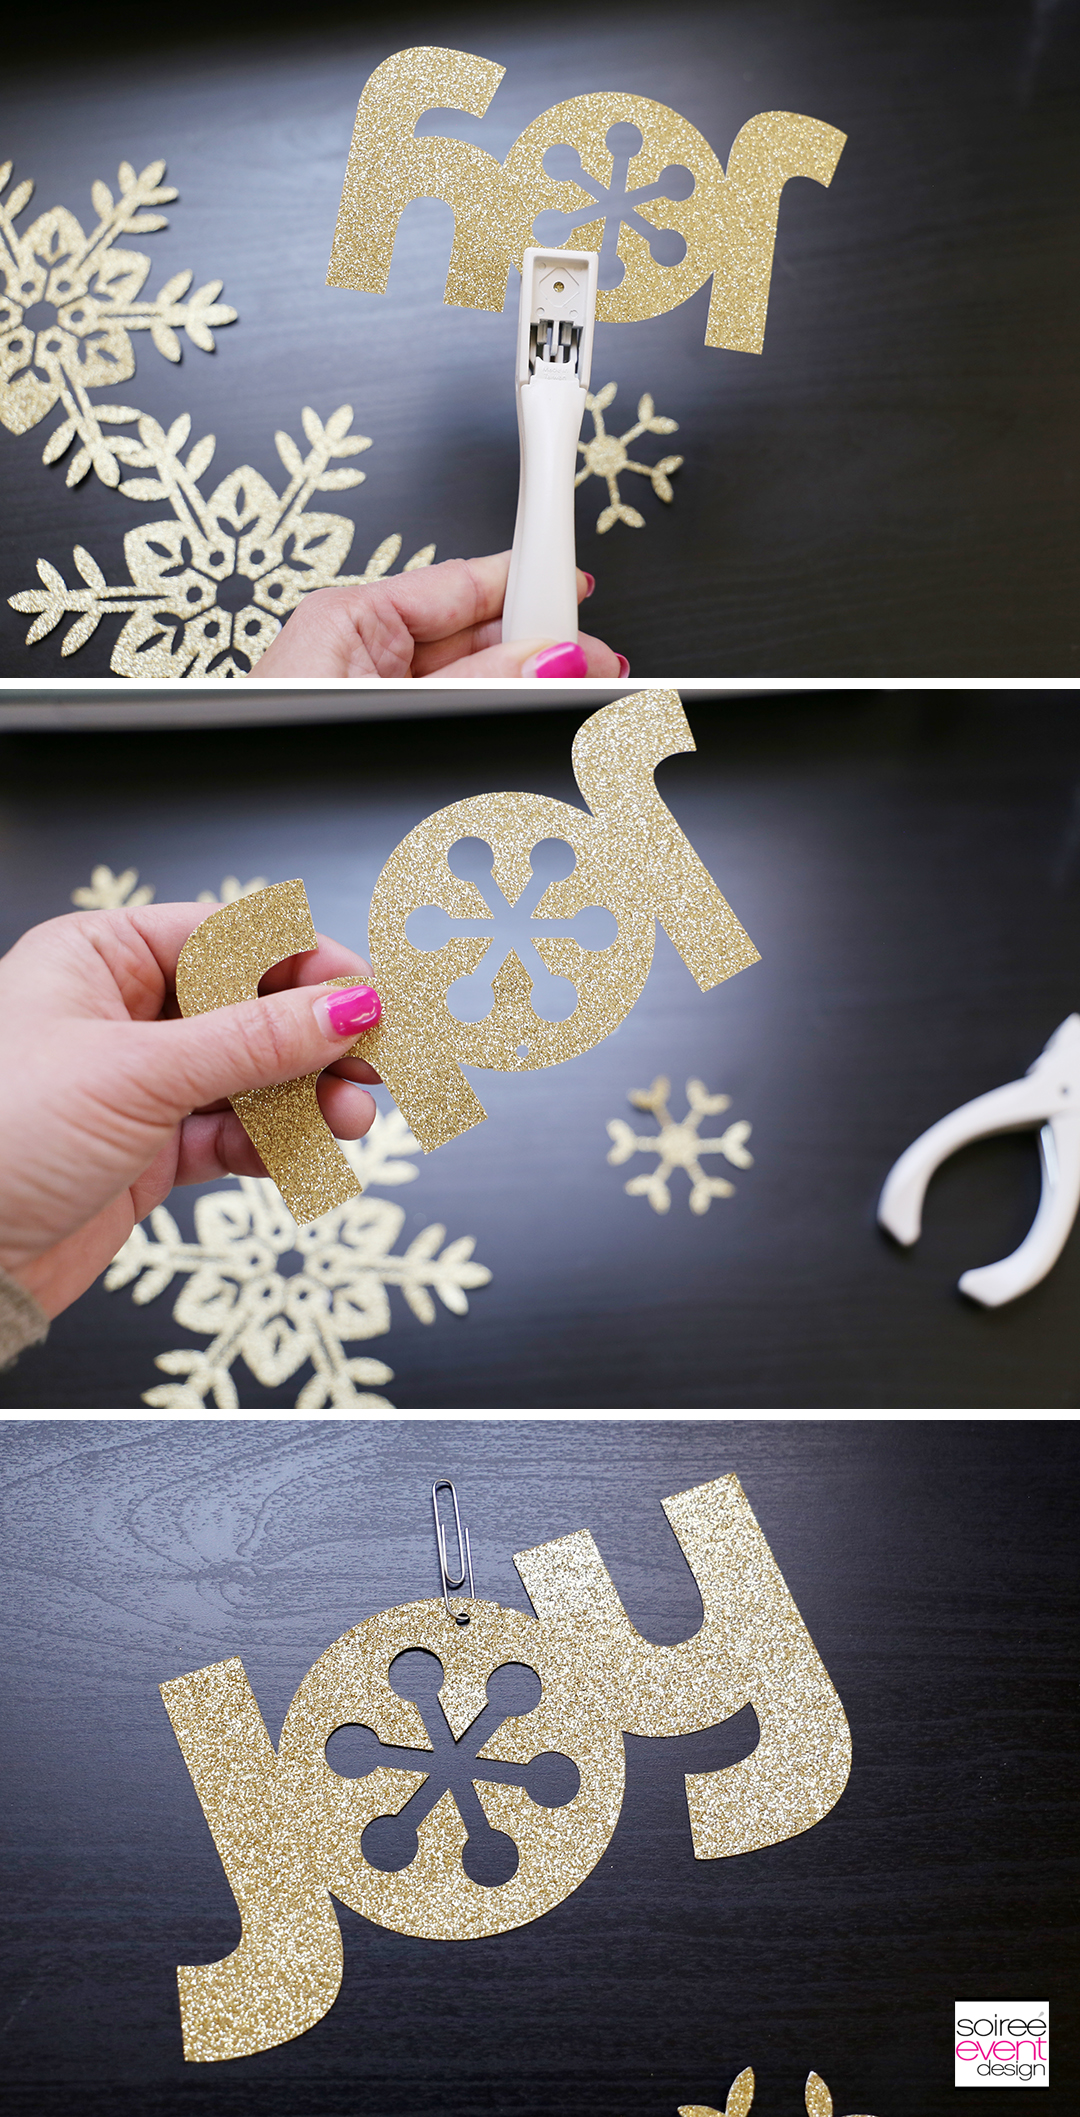
Using a mini hole punch, put a hole in the top middle of the JOY paper ornament. This will allow you to hang it on the mini tree branches with an ornament hook. The snowflakes won’t require a hook as you can simply nestle them in between the branches and they will stay in place.
STEP 4 – Decorate Your Mini Tree with your Paper Christmas Tree Ornaments!
Start with the JOY ornament and hang it on a branch on the front center of your mini tree. Nestle in the snowflakes among the branches around the word JOY to fill in the tree.
GIRLFRIEND TIP: Using paper Christmas Tree ornaments to decorate a mini tree is perfect as the branches of the mini trees won’t hold a lot of weight. AND…the possibilities are endless. How cool would it be to personalize your mini trees with your family’s name! Now, that’s what I’m going to do to my kid’s mini trees this year! Thanks Cricut!
STEP 5 – Display Your Mini Tree!
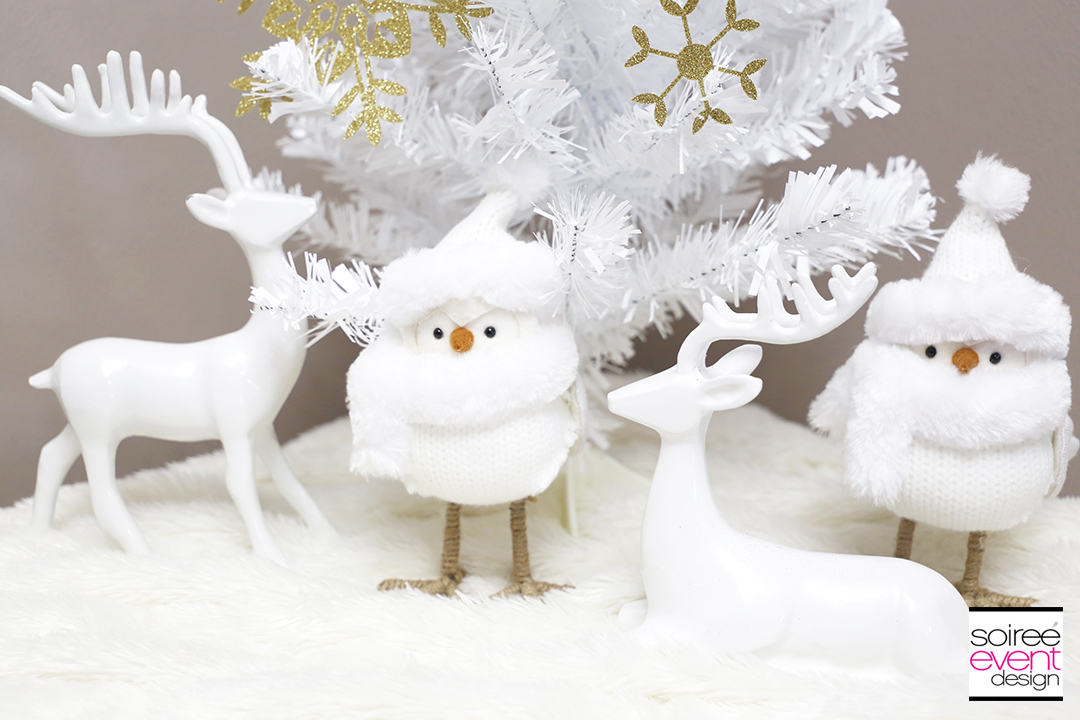
NOW…HERE COMES THE FUN PART! Decorating my home is one of my passions. Creating little moments in my home just makes me happy. I added some pizzazz to a corner of my home and created a winter wonderland scene by draping a fur blanket over a table for fabulous texture, then top it with the mini tree.
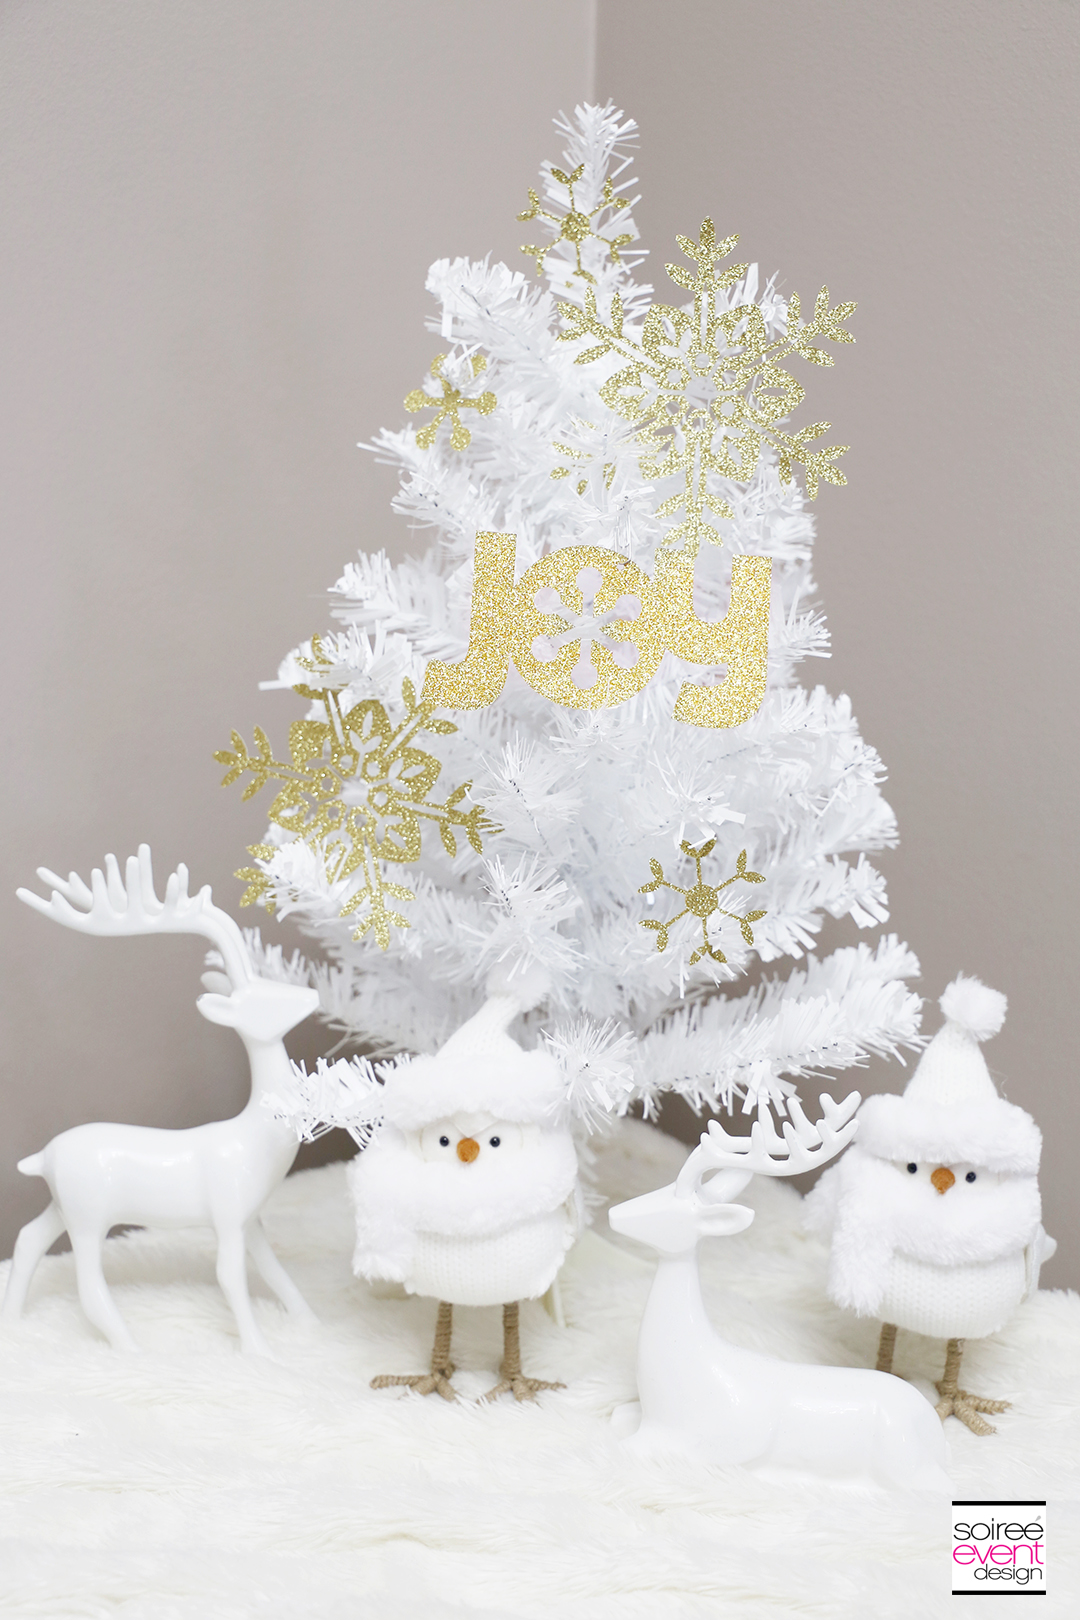
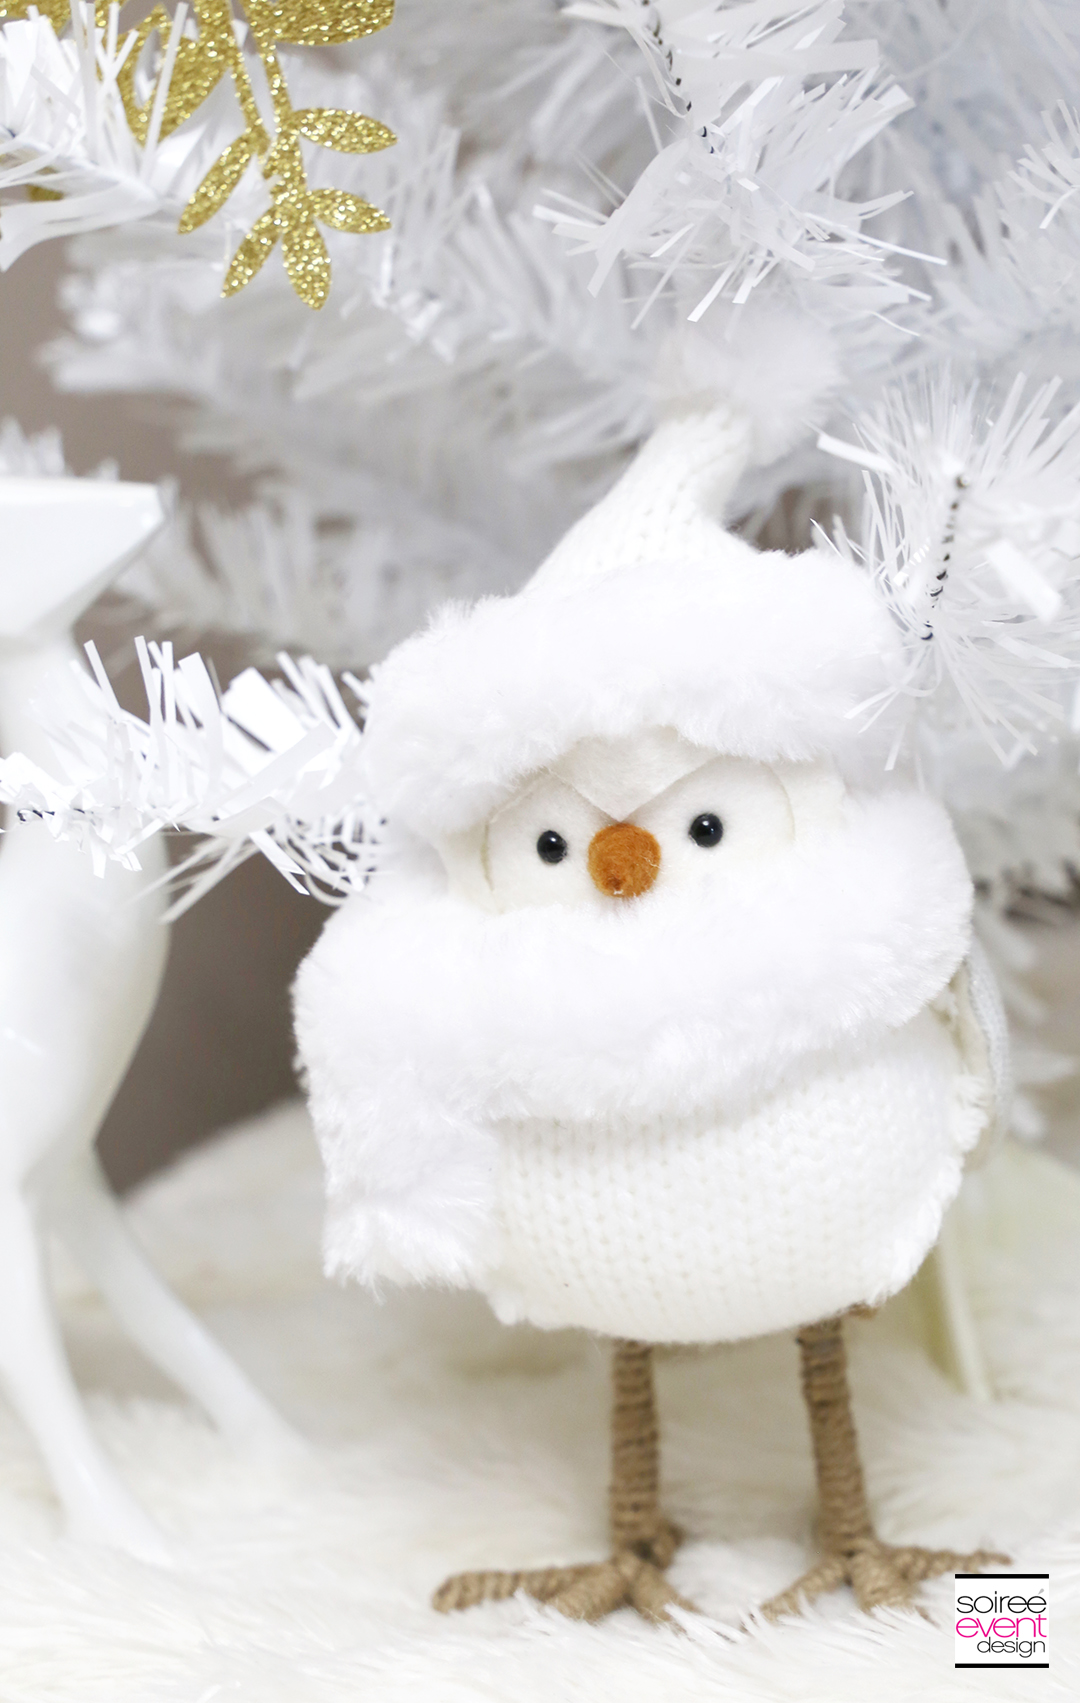
I added these adorable birdies and ceramic reindeer to up the adorable factor and BAM…a super cute Christmas vingnette that adds a festive touch to my home for the holidays!
How do you use your Cricut to add festive touches to your home for the holidays?
Be sure to check out my Stocking Mantel Table I designed last week using my Cricut to make Farmhouse Decorations using the same JOY and snowflake shapes but in a totally different way. I think you’re gonna love it!
Last year, we started a new holiday tradition and I surprised my kids with their own Mini Christmas Trees they got to decorate and put in their bedrooms. If you missed it, check it out HERE.
PIN FOR LATER!
ENTER TO WIN A NEW CRICUT MAKER!
WANT TO SEE MORE OF MY CRICUT PROJECTS & POSTS?
Click on any of the projects & posts below:
– Make Farmhouse Holiday Decorations with Cricut!
– Check out the NEW Cricut Explore Air™ 2 and up your DIY game!
– My First Project with the new Cricut Explore Air™ 2
– Make Custom Party Plates with the new Cricut Explore Air™ 2
– Make DIY Sweet 16 Party Invitations with Cricut™
– How to Make #16ROCKS! Sweet 16 T-Shirts with Cricut!
– 4th of July Superhero Flag Shield Backpack and Water Bottle with Cricut
WHAT DO YOU THINK?
Do you already have a CRICUT EXPLORE AIR™ 2? What was your favorite project to make with it? If you don’t already have one…share with me your thoughts.
LOOKING FOR MORE IDEAS? FOLLOW ME ON PINTEREST FOR LOTS OF INSPIRATION!
CLICK HERE to check out my PINTEREST BOARD full of recipes, parties, home decor, DIY projects and more!
DON’T MISS A THING!
Be sure to SUBSCRIBE to my blog so you can get all my blog posts delivered right to your email’s inbox so you won’t miss a thing! Subscribing is easy! Just enter your email address in the above right corner of this page and be sure to confirm your email once you get our confirmation to your inbox! That’s it! AND…you’ll get a code for 10% off your next order in our shop. YUP…GOTTA LOVE THAT!
Happy Holidays!
Tonya
This is a sponsored conversation written by me on behalf of Cricut. The opinions and text are all mine.
