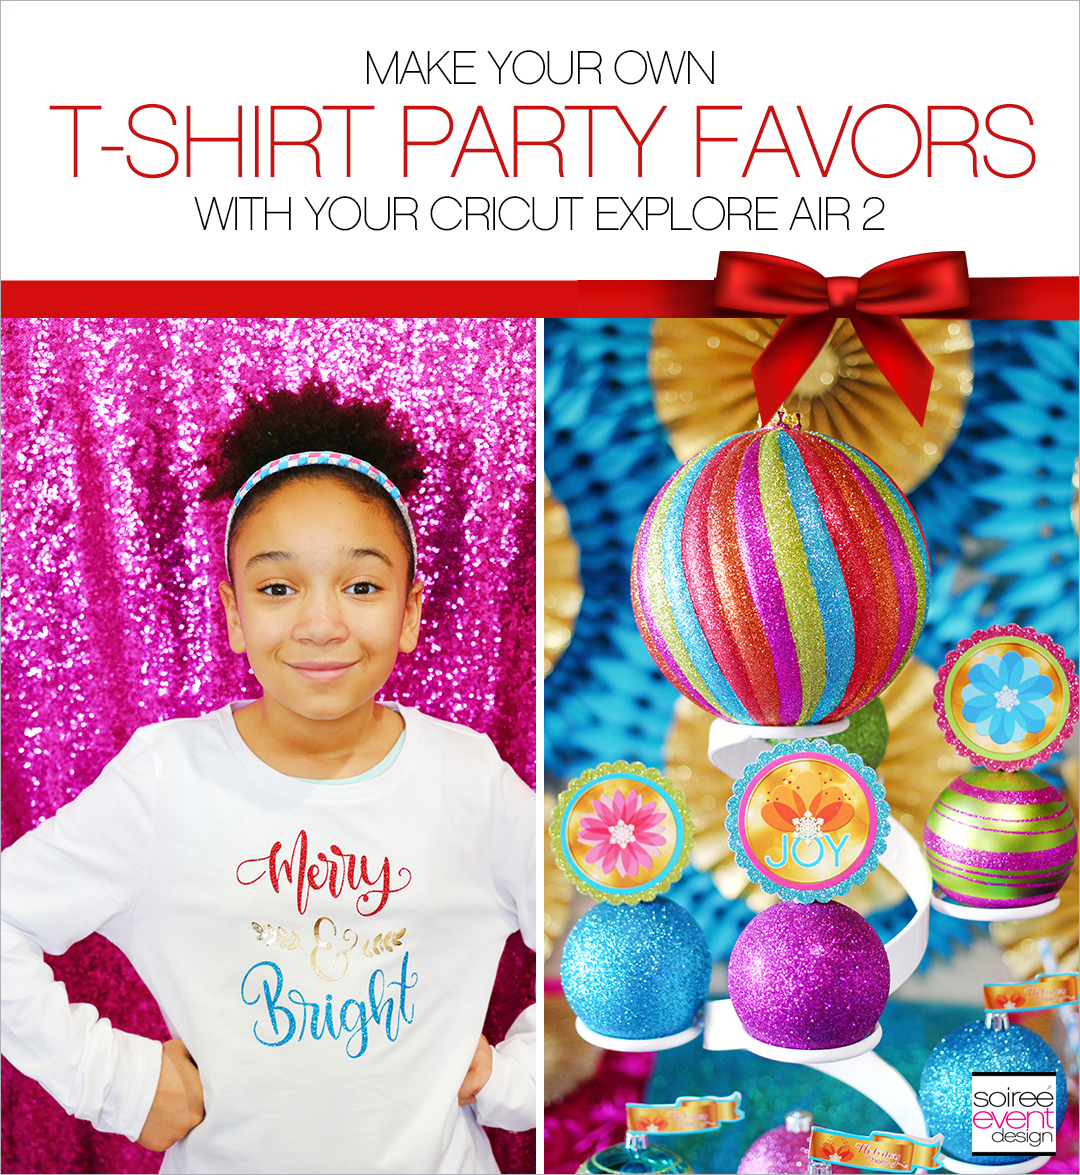
Hey party peeps! I LOVE Christmas! It’s a time of giving, spreading joy and a time of wonderment and excitement for children. After living in California for many years, I decided to design a theme that is a tribute to the summery Christmas’ spent there. I can remember quite a few years where we put up the tree with shorts on! Now living in Minnesota where it is very cold and snow-covered at Christmas time, I thought it would be fun to design a summery MERRY & BRIGHT CHRISTMAS PARTY theme to contrast with the frozen tundra that is usually outside my window during the holidays.
BE SURE TO SCROLL DOWN TO GET YOUR FREE MERRY & BRIGHT T-SHIRT TUTORIAL AND SVG FILE FOR CRICUT.
SET THE SCENE FOR A BRIGHT CHRISTMAS PARTY!
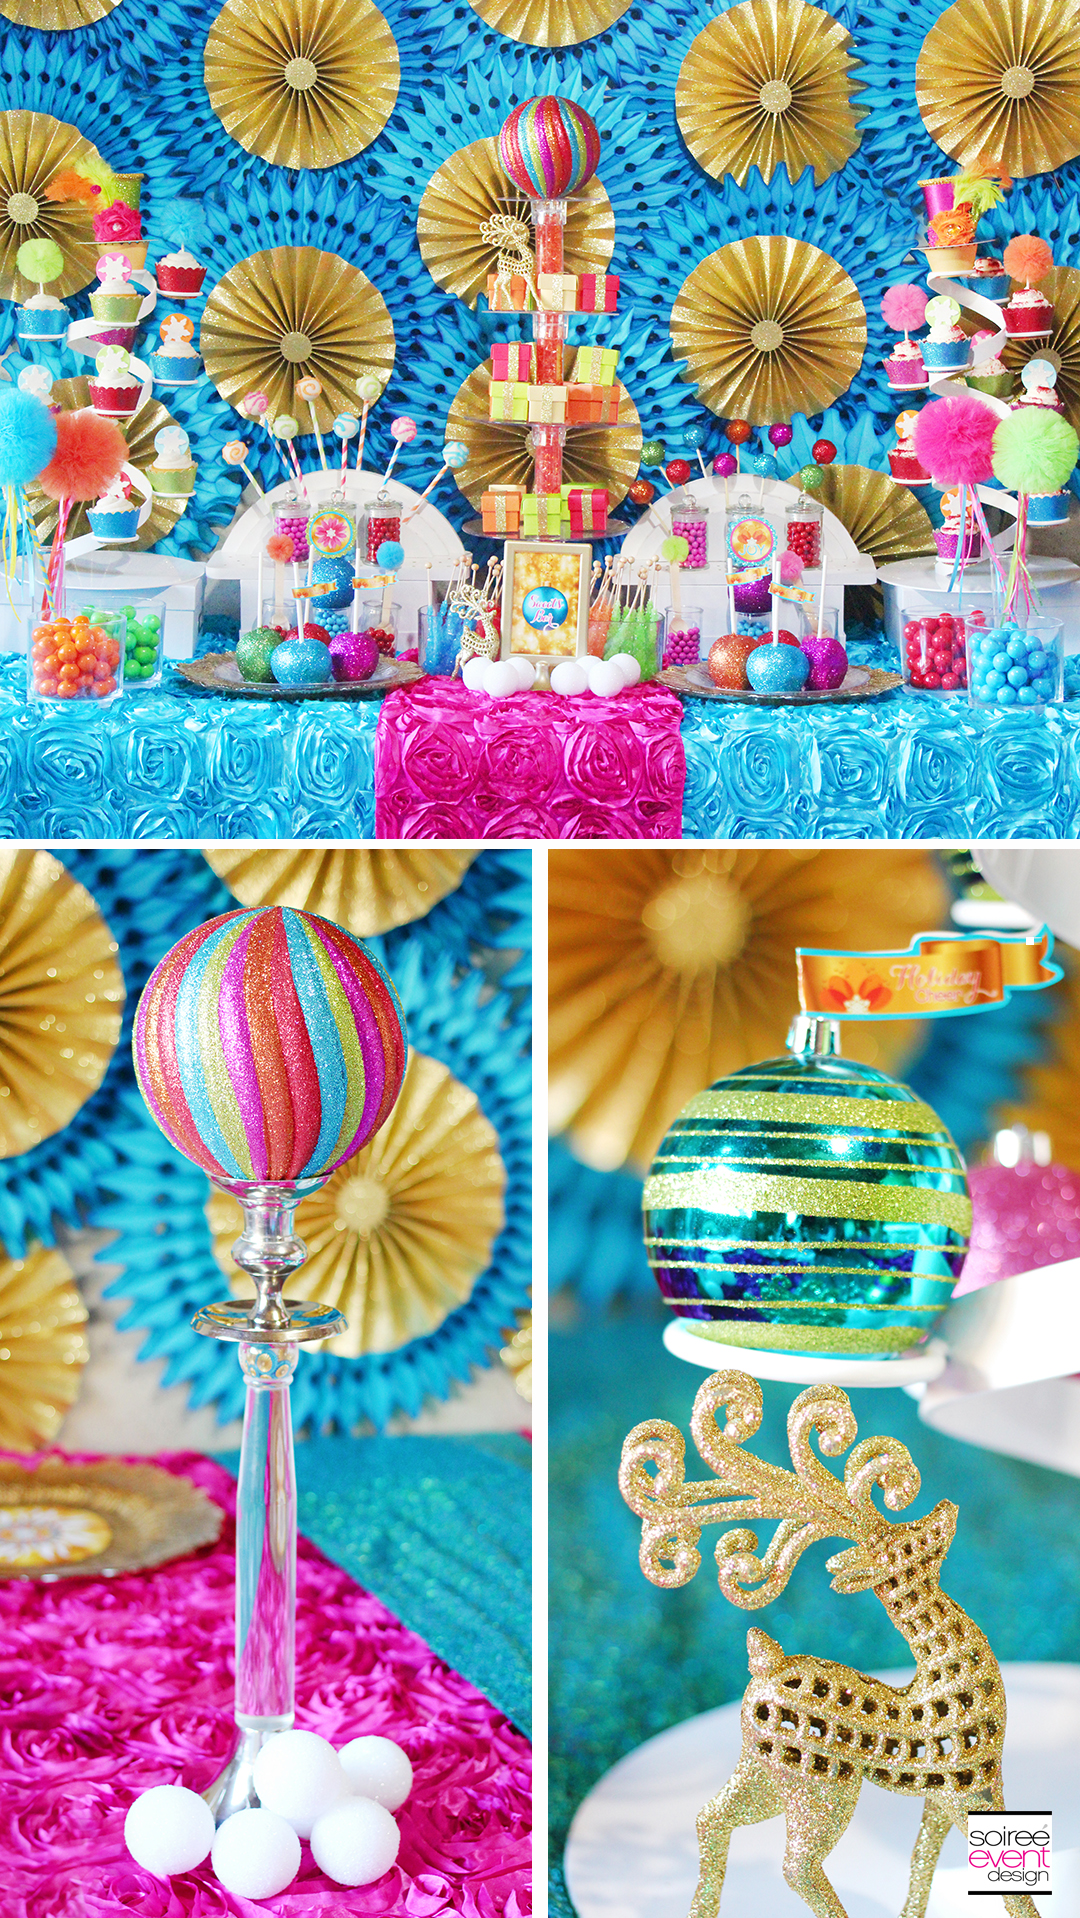
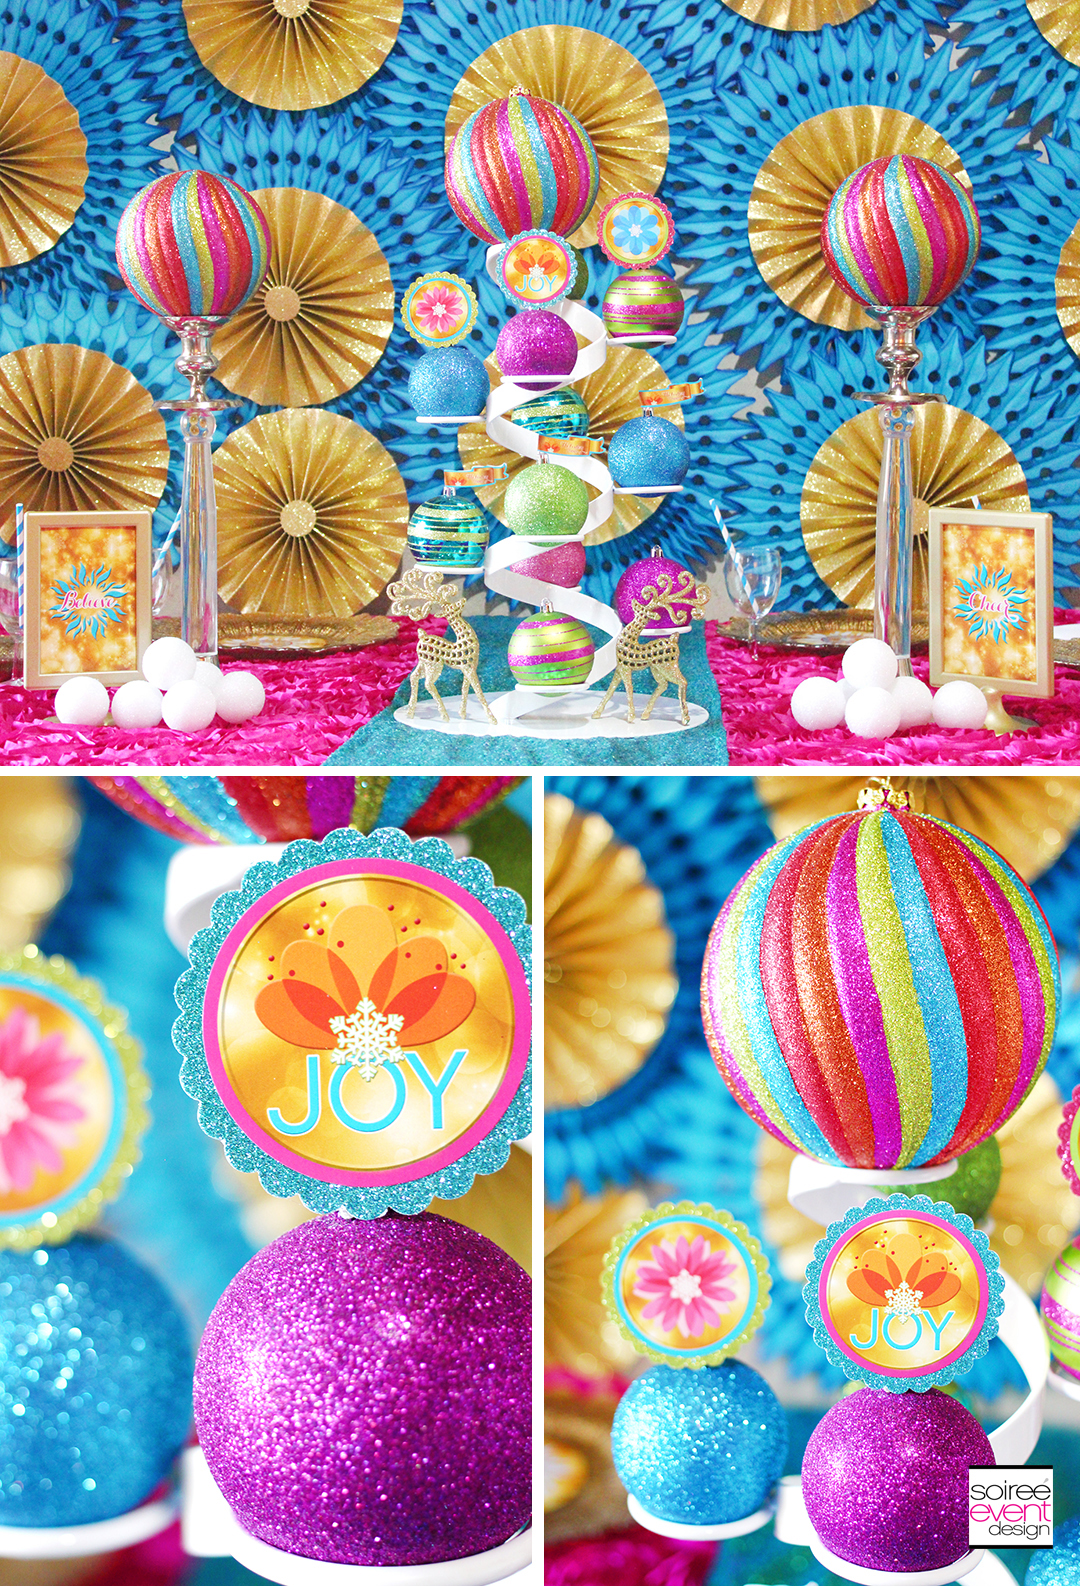
I created this showstopper gold and turquoise pinwheel backdrop that reminded me of many sunny days spent at the beach in California. The decor plan consisted of a vibrant glittery color palette mixed in with modern pops of white snowballs and
snowflakes and grounded with metallic gold.
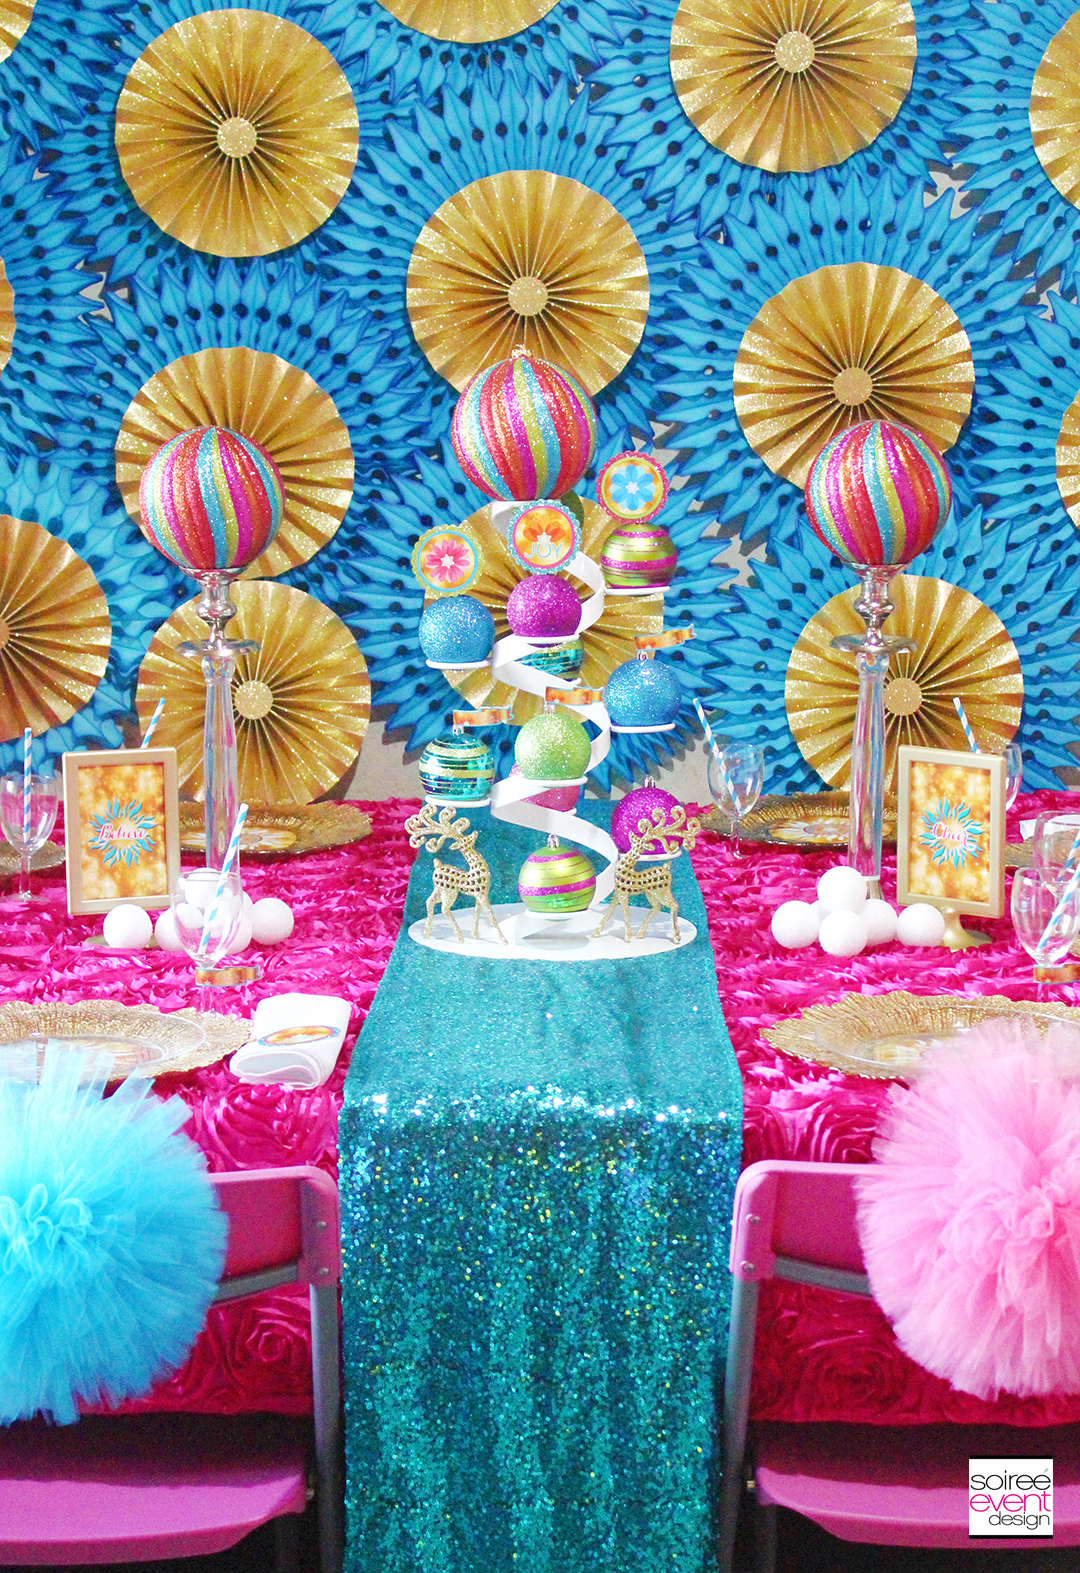
The rosette tablecloth was the inspiration for this design. They come in many bright vibrant colors and was perfect topped with this turquoise sequin runner that just sparkled in the light just like the ocean!
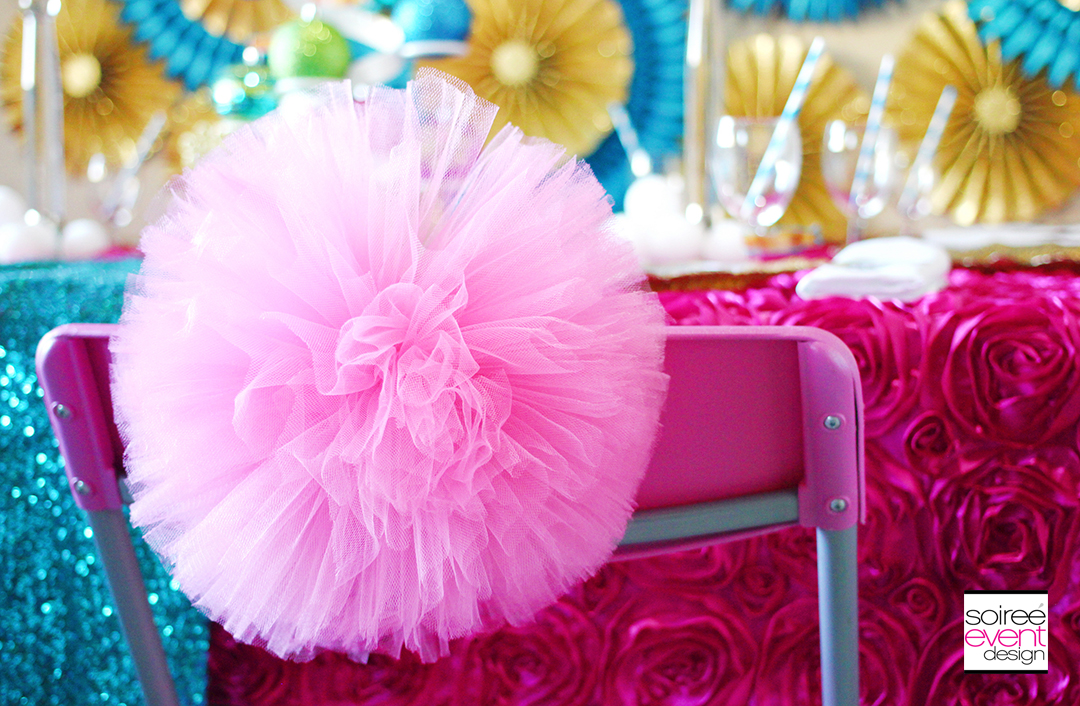
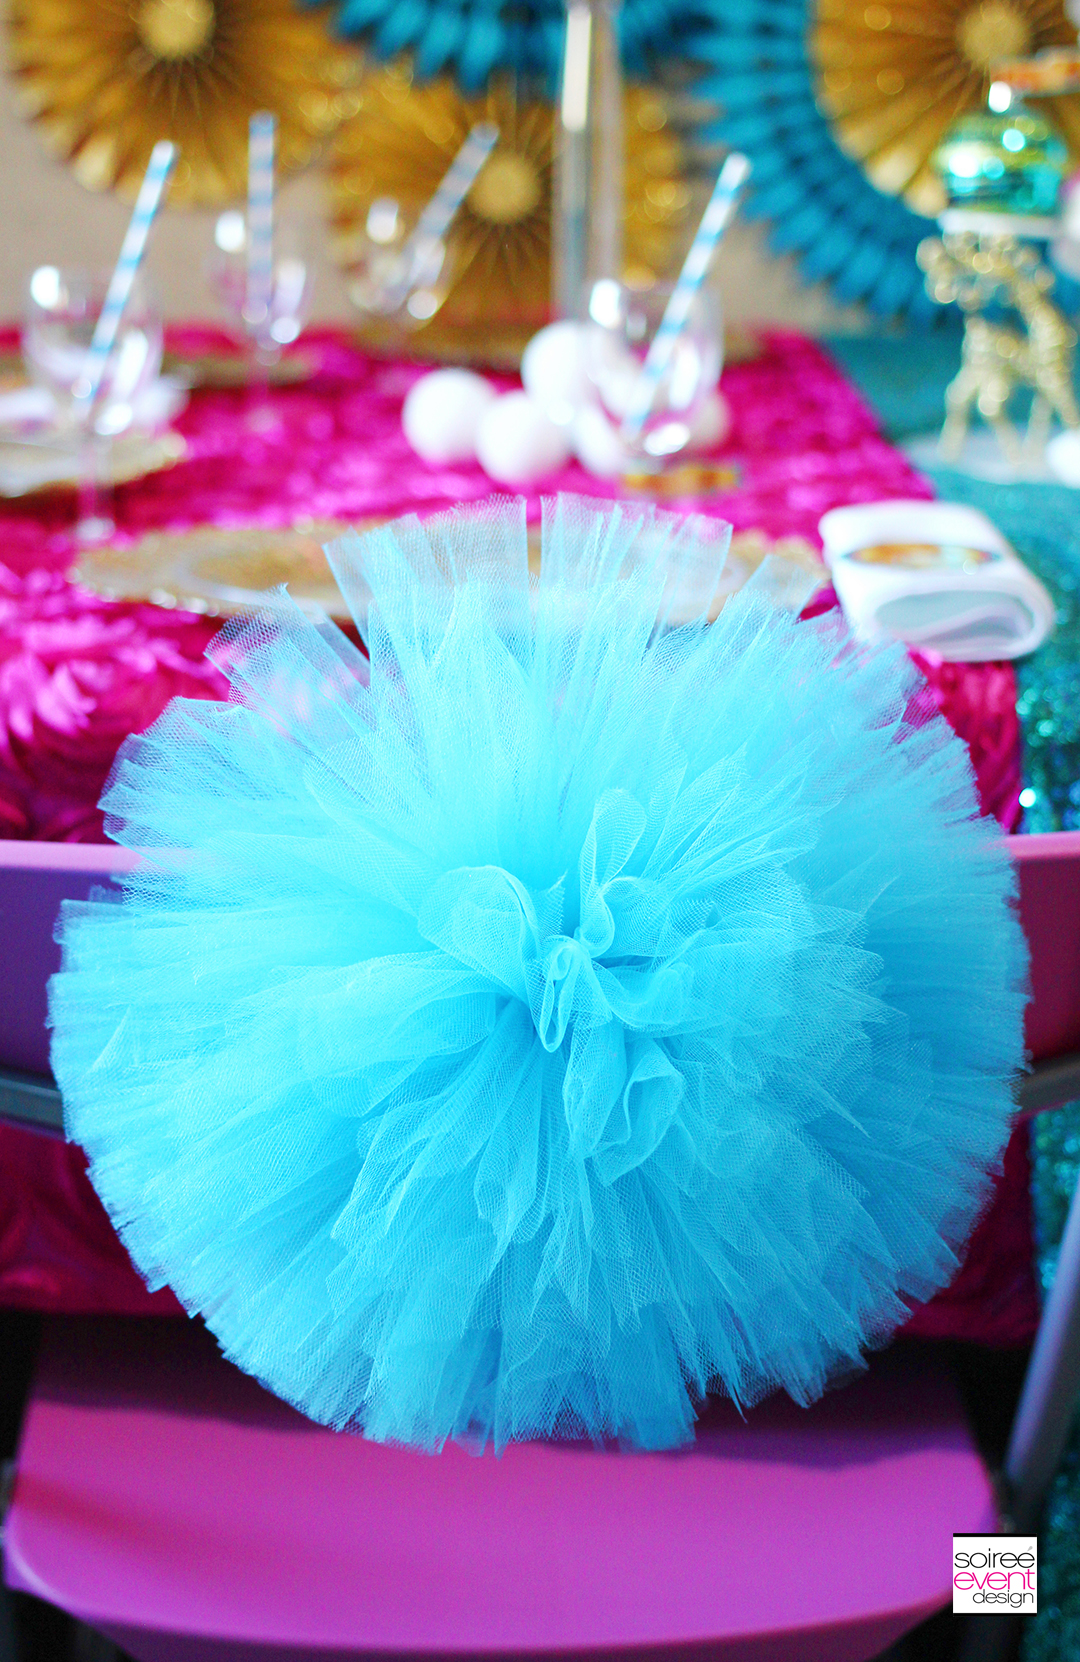
For a touch of whimsey, I added these fabulous vibrant colored tulle poms to the backs of each chair.
CREATE CUSTOM PLACE SETTINGS WITH PRINTABLES!
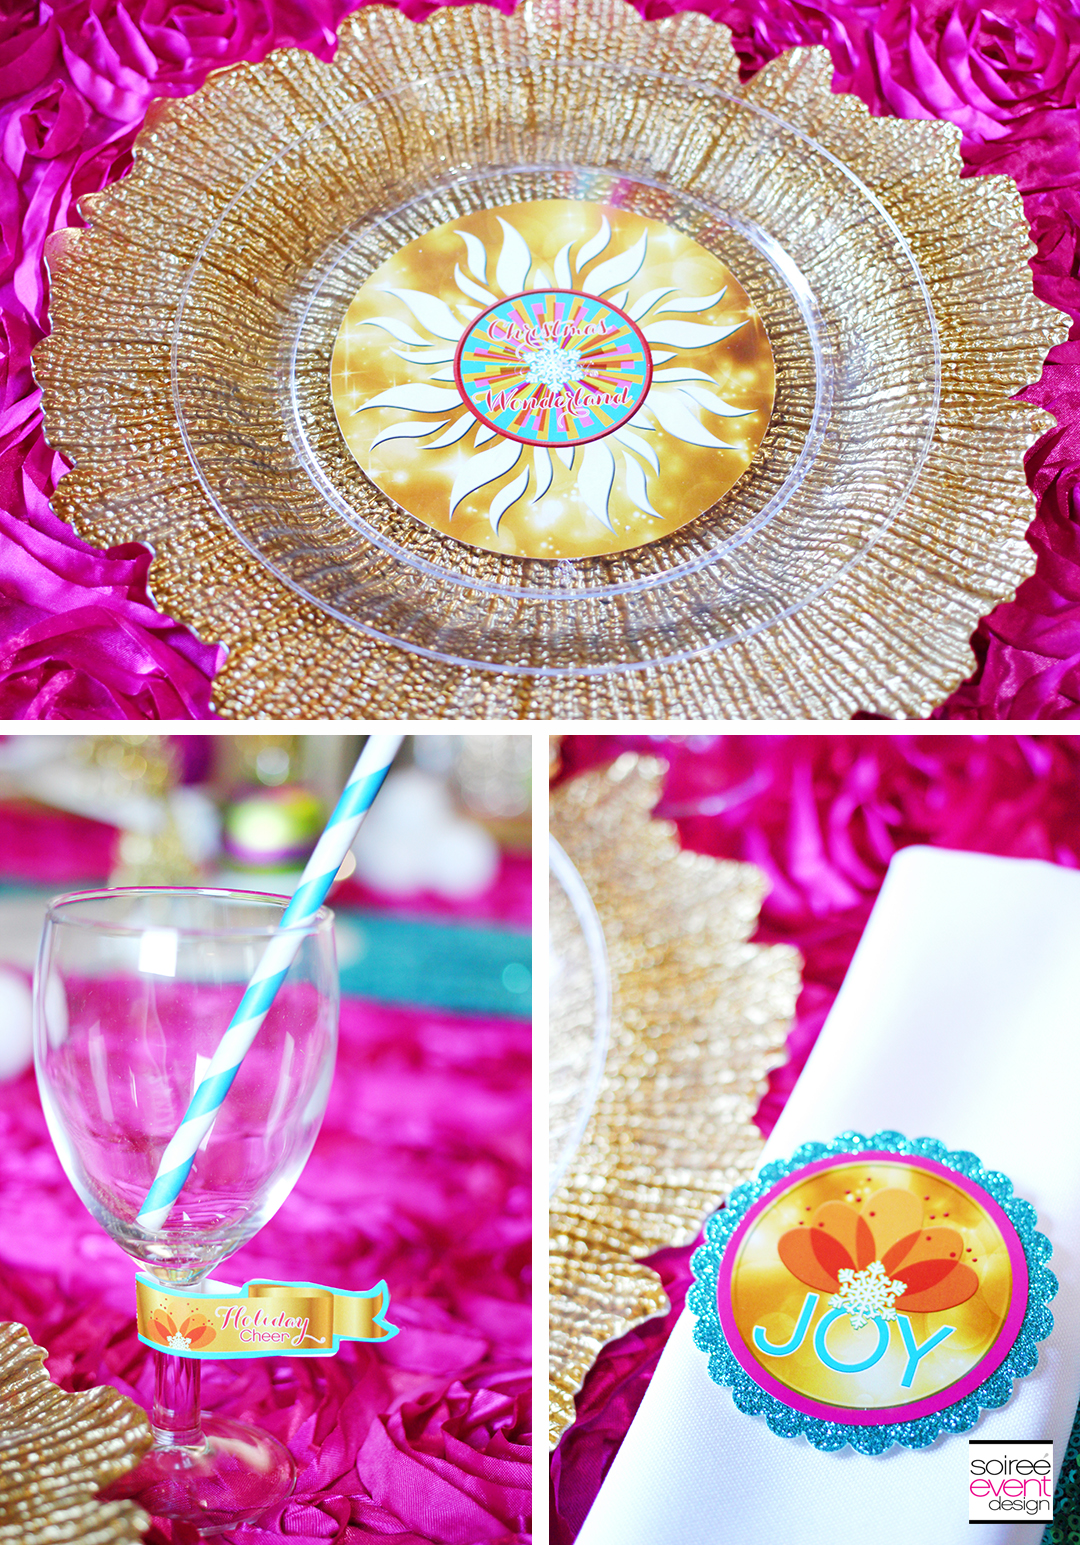
Printables always add a custom touch to any party. This “Christmas Wonderland” printable collection is available in my shop. My Cricut Explore Air™ 2 machine makes it super easy to cut your own designs! No more paper punches and cutting my printables out by hand. Such a timesaver! Simply print out the printables and cut them out with the Cricut. This was one of my favorite features of the Cricut Explore Air 2! This is a sponsored conversation written by me on behalf of Cricut. The opinions and text are all mine. #CricutMade #CricutHoliday #ad
Create custom place settings by topping golden glass flower shaped chargers with printable plate inlays, wrapping napkins with printable circle napkin rings and embellishing stemmed glasses with printable straw flags.
DESIGN A WHIMSICAL CENTERPIECE!
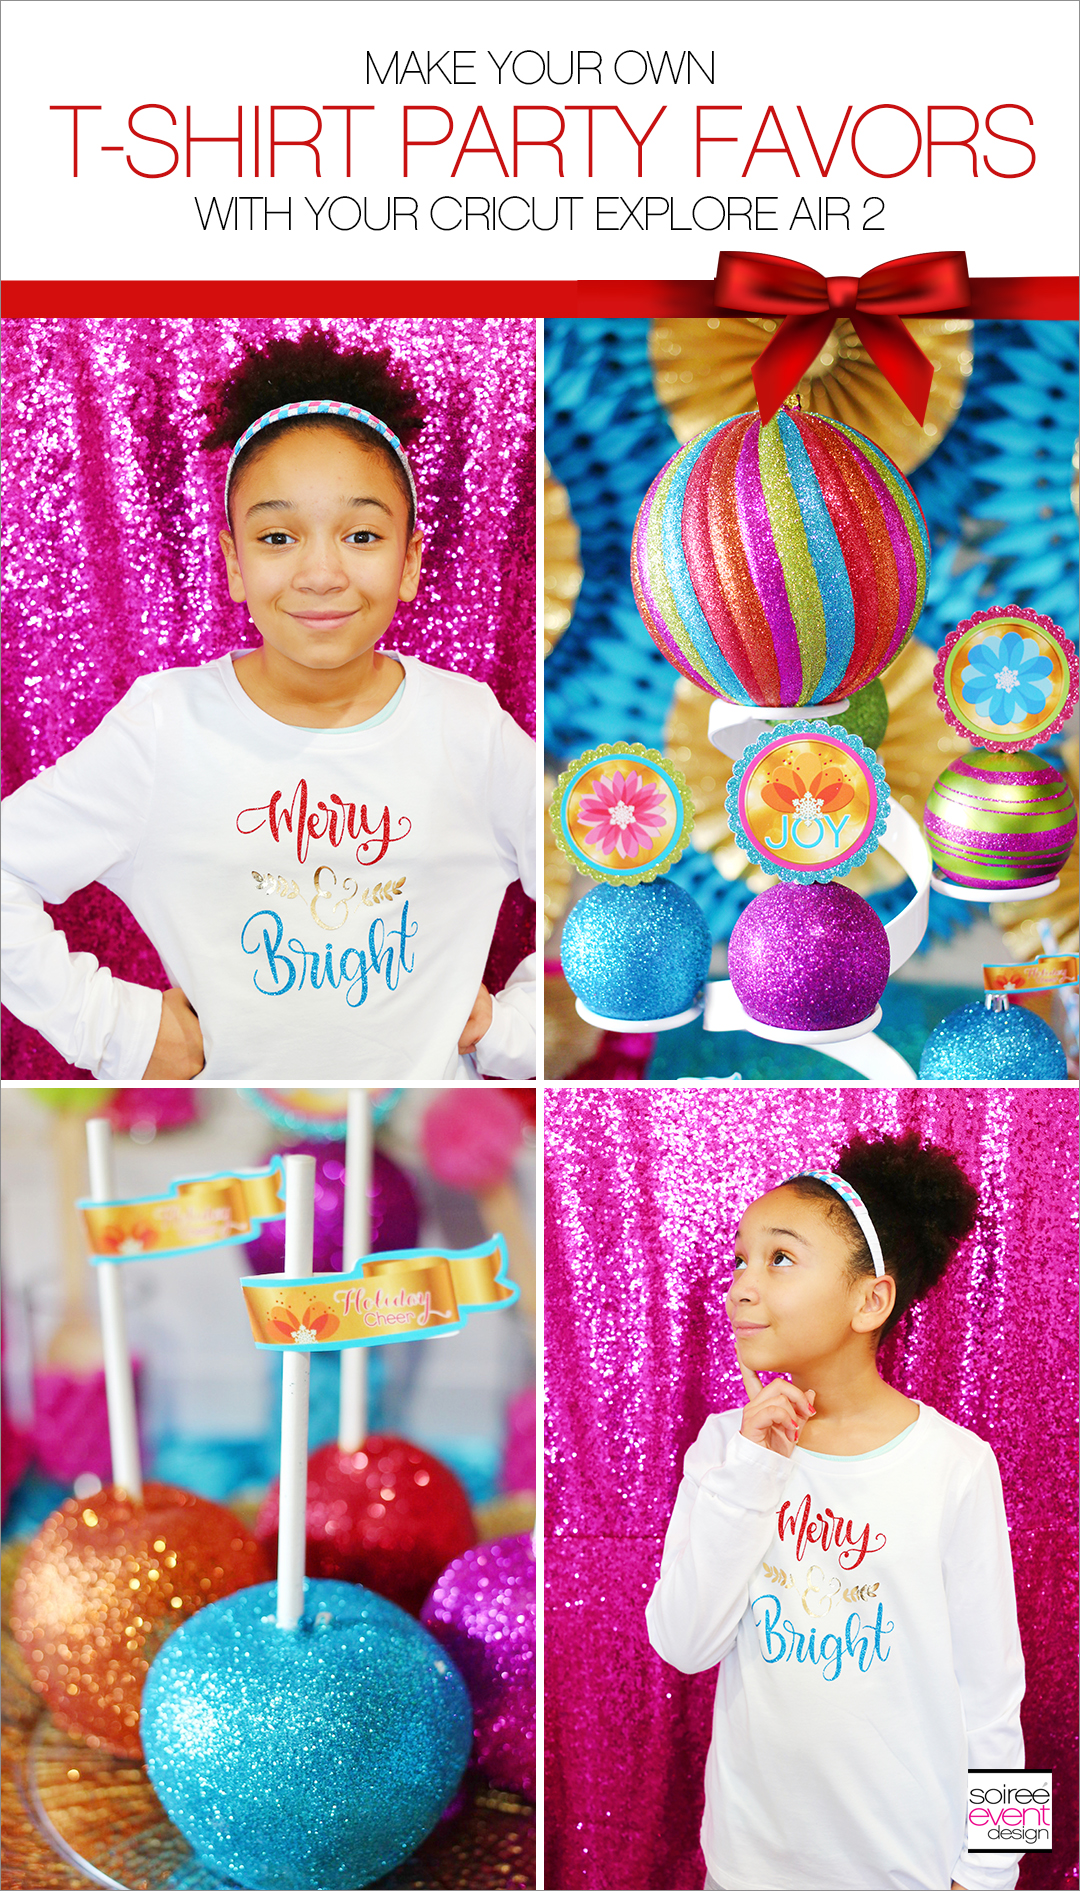
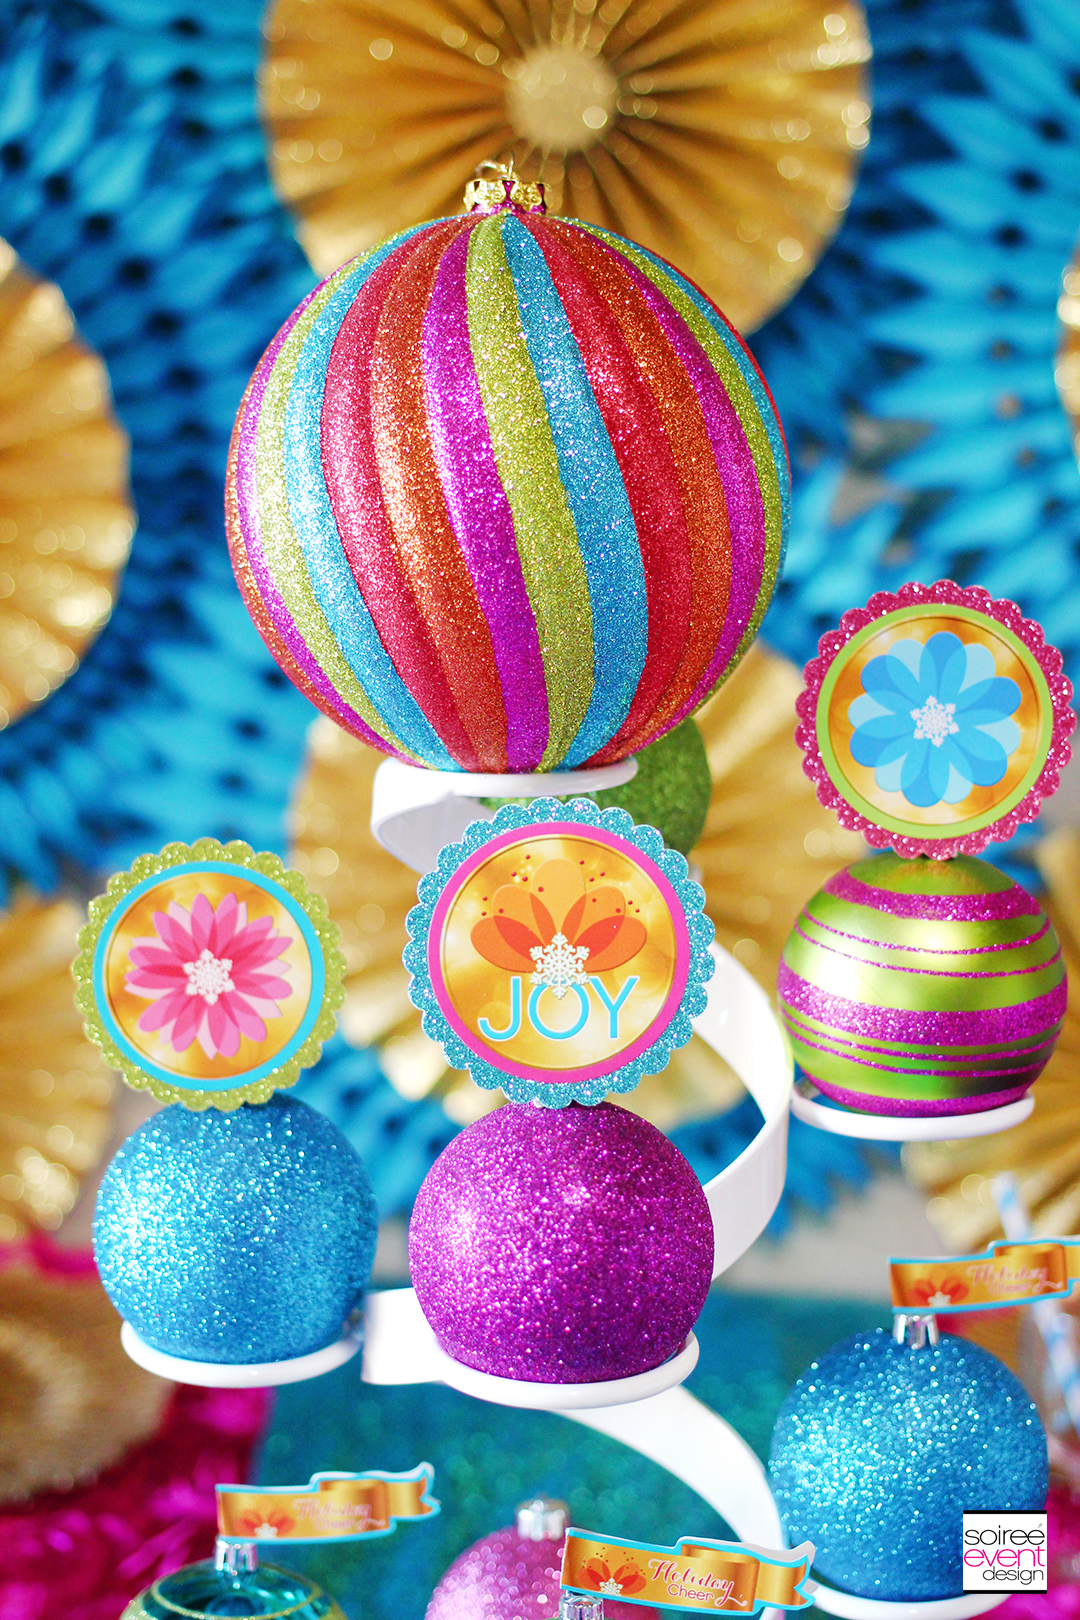
To create a whimsical touch to my party table, I used a spiral cupcake stand to create my version of a modern Christmas tree centerpiece. Instead of cupcakes, I placed glittery ornaments on the stand. How cute is that! And to further customize it, I simply placed printable circles and straw flags to the tops of them.
DRESS TO MATCH THE BRIGHT CHRISTMAS PARTY THEME!
As a special added touch, have the guest of honor dress up in an outfit that matches the theme of the party. This tutu dress, mini top hat and tulle wand is the perfect whimsical outfit for your guest of honor to wear to greet her friends and set the tone for this unique holiday theme.

MAKE YOUR OWN MERRY & BRIGHT T-SHIRT PARTY FAVORS!
I LOVE designing t-shirts as party favors for themed parties. To match the Bright Christmas Party, I used Cricut turquoise and red glitter iron-on and metallic gold Cricut iron-on foil to make the shirts. I can easily make them on my Cricut Explore Air 2 and the new Cricut Easy Press! THIS is seriously THE BEST! If you don’t have one or are even curious about it, check it out for all the details.

Want to see how easy it is to make this? Let’s get started!
HERE’S WHAT YOU NEED
– Cricut Explore Air™ 2 machine
– Cricut Glitter Iron-On (turquoise and red)
– Cricut Foil Iron-On (gold)
– Cricut Weeding Tool
– Cricut Design Space “Merry & Bright” Project File
– white t-shirt
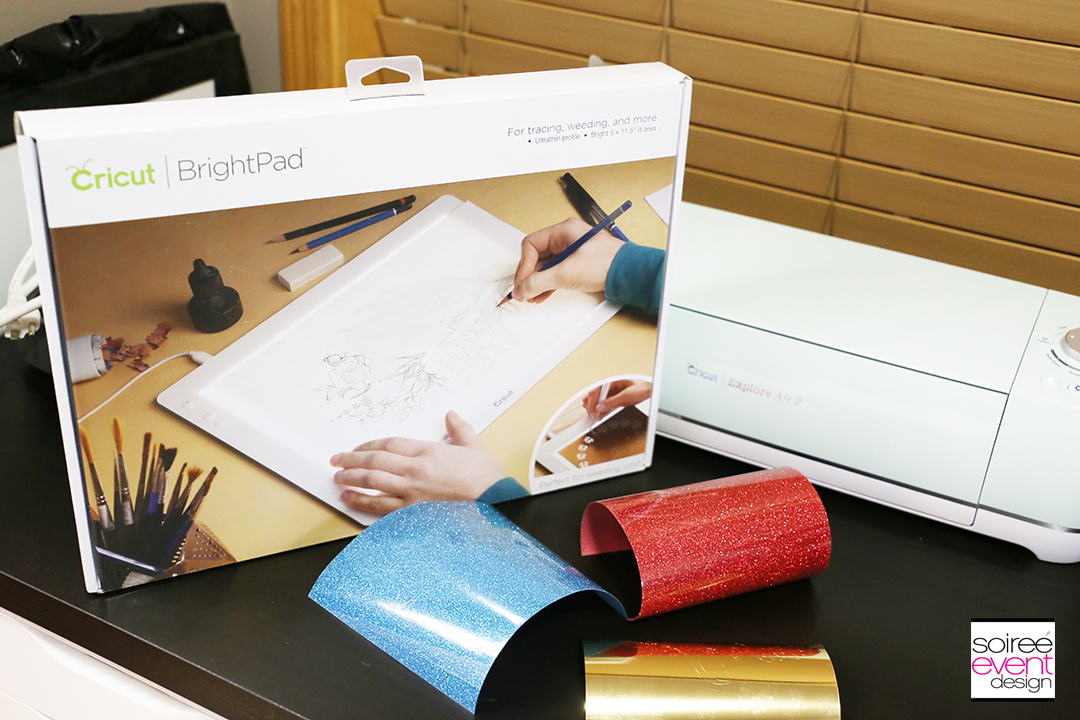
– Cricut BrightPad™
– Cricut EasyPress™
STEP 1 – Log In to Design Space + Load This Project!
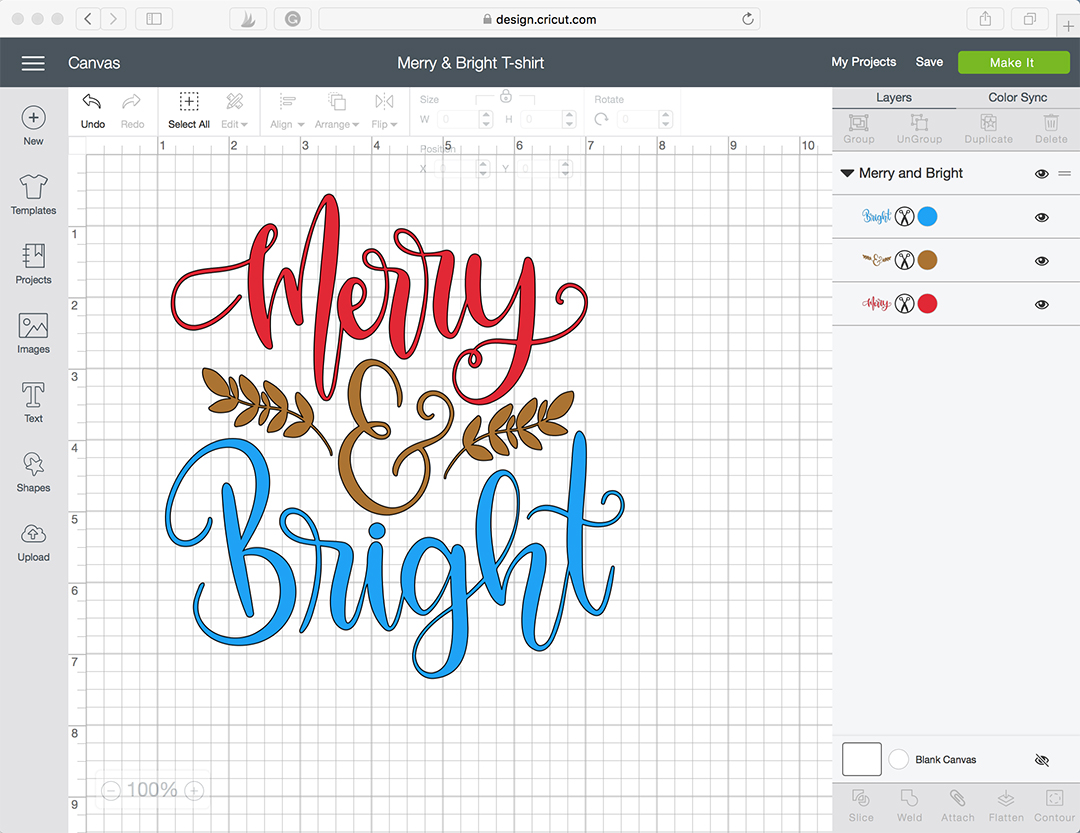
Cricut has an online interface called Cricut Design Space™ that walks you through every step of your project and has many images and ready-to-make projects that you can make without having to do the design yourself. Log in to Cricut Design Space™ and click here to make this Merry & Bright T-Shirt project.
STEP 2 – Cut Your Project!
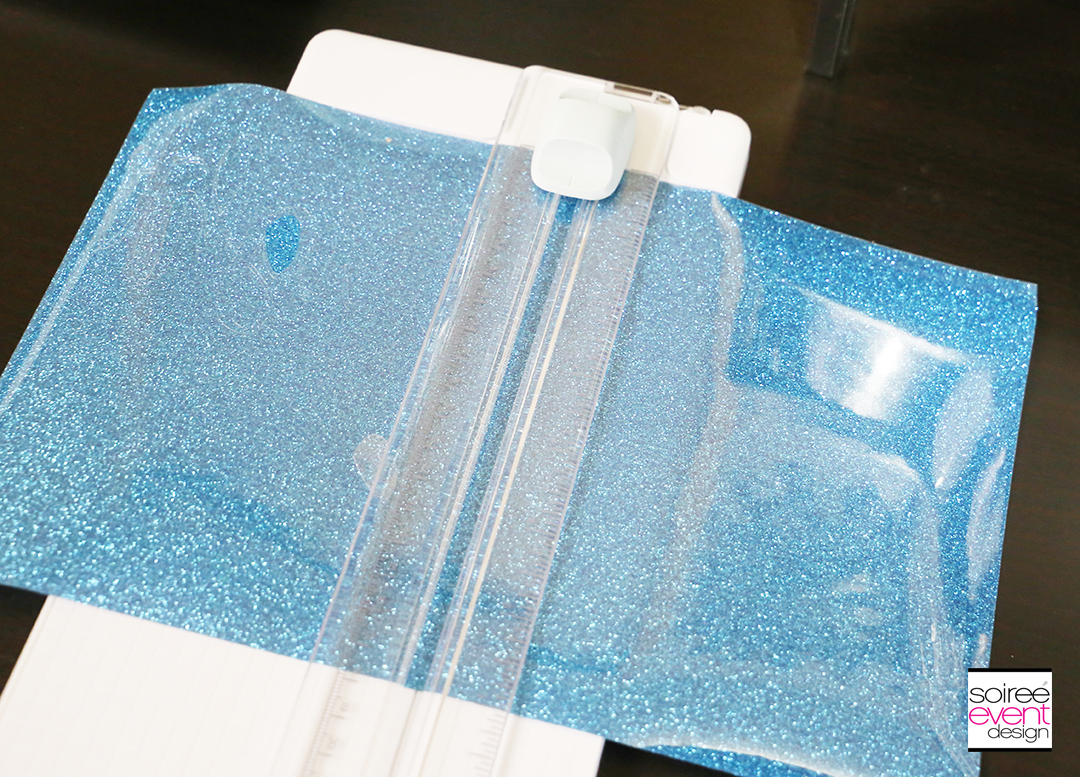
Trim each piece of iron-on paper with the Cricut paper cutter to the size you’ll need. The entire design is 7″ wide, so be sure to trim each piece atleast 8″ wide.
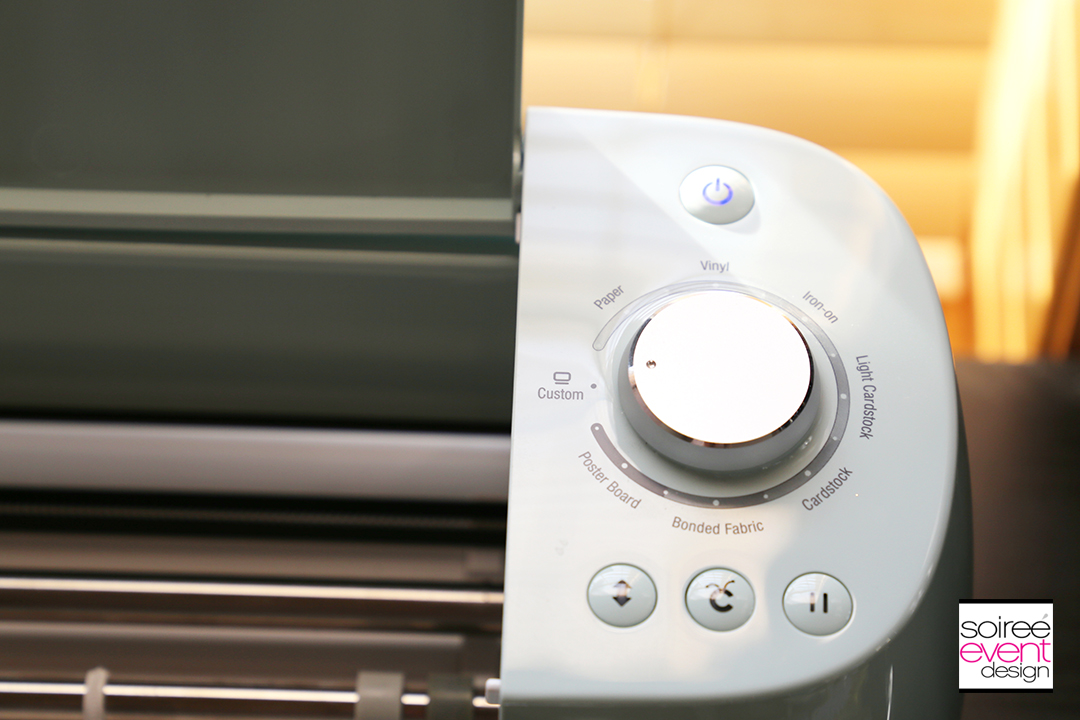
Turn the Smart Dial to CUSTOM then choose Glitter Iron-On and Foil Iron-On in Design Space before you cut the project.
One at a time, load the turquoise and glitter iron-on and the gold foil iron-on into the Cricut on a mat and follow the on-screen instructions to cut the project.
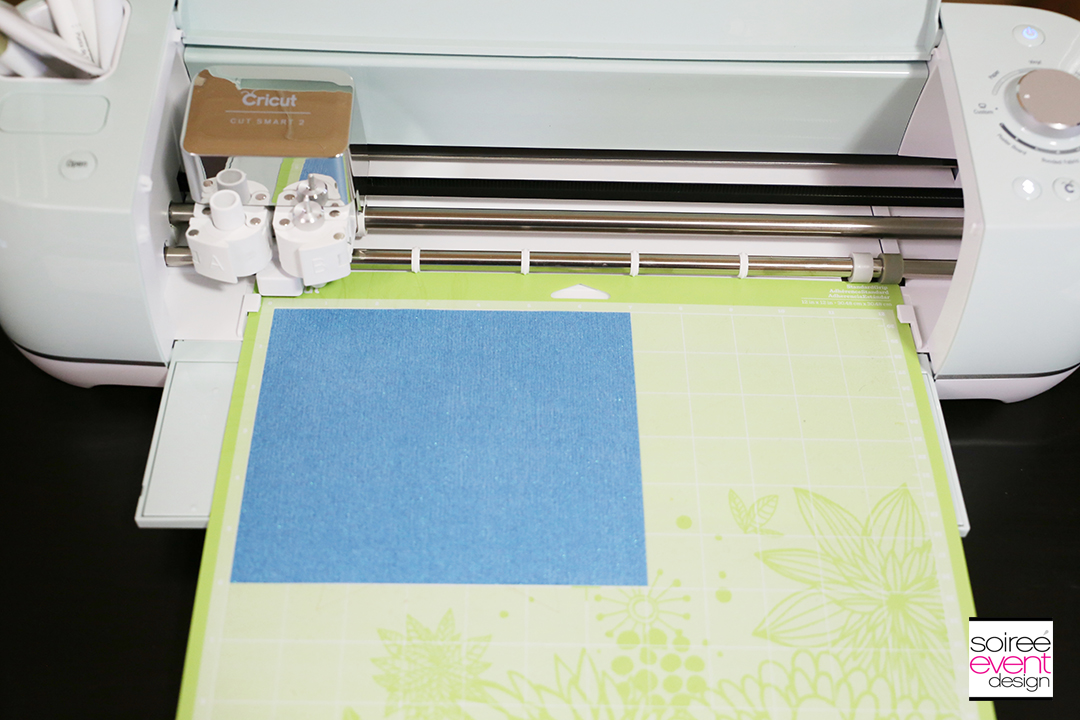
STEP 3 – Unload the Mat & Remove Your Designs!
Once the cutting is complete, Press the LOAD BUTTON to unload the mat from the Cricut. Remove the paper from the mats.
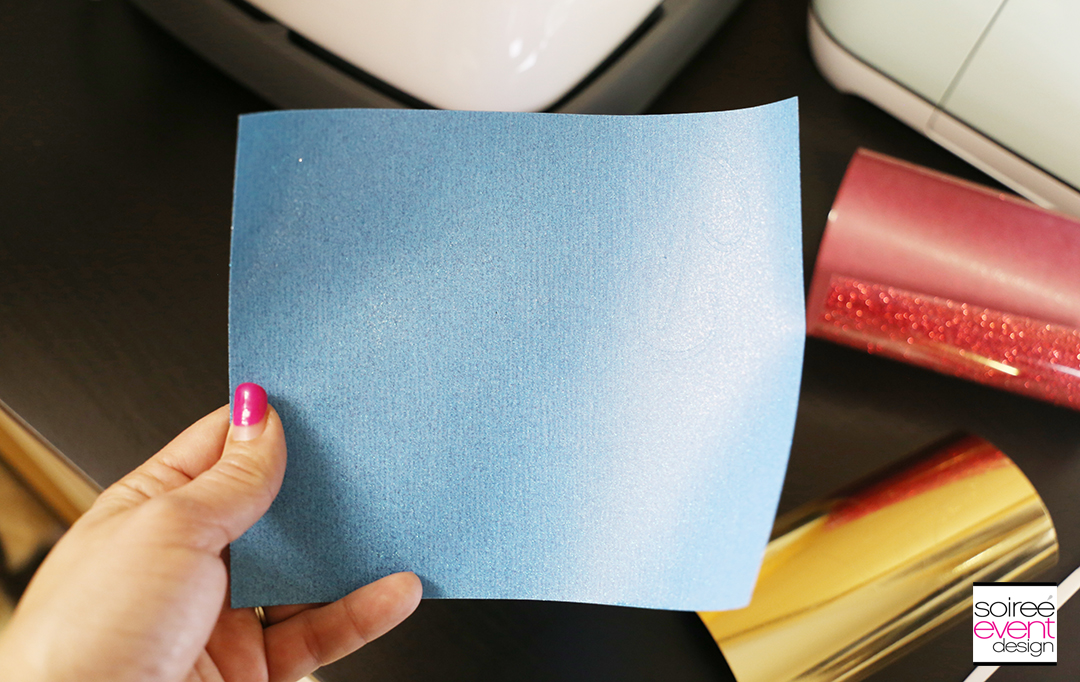
STEP 4 – Weed Your Designs!
Weeding is the process of removing the unwanted areas of your design like the insides of letters, etc. Designs printed on glitter iron-on are hard to see the cut lines. The new Cricut BrightPad makes this super easy to do!
Place your design on top of the BrightPad and the light shines brightly under your design and illuminates the cut lines so now you can see exactly where to weed your design!
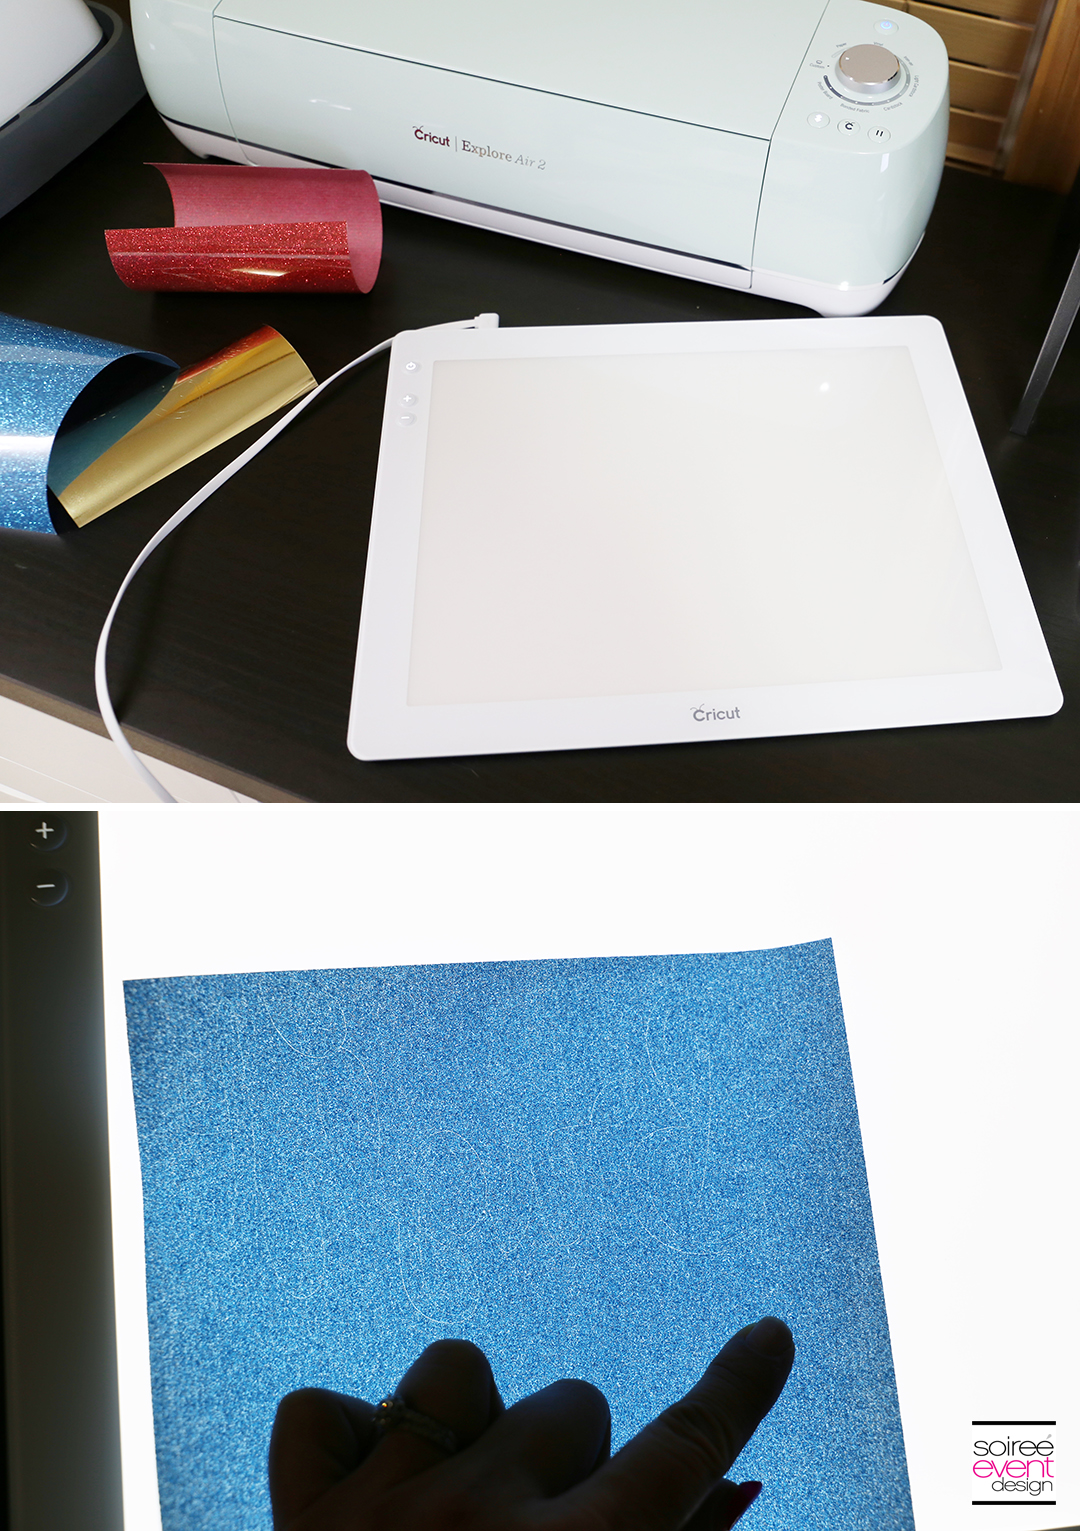
Slowly peel away the unwanted material leaving only the words/design on the liner. Then using the Cricut weeding tool remove the inside areas of the letters.
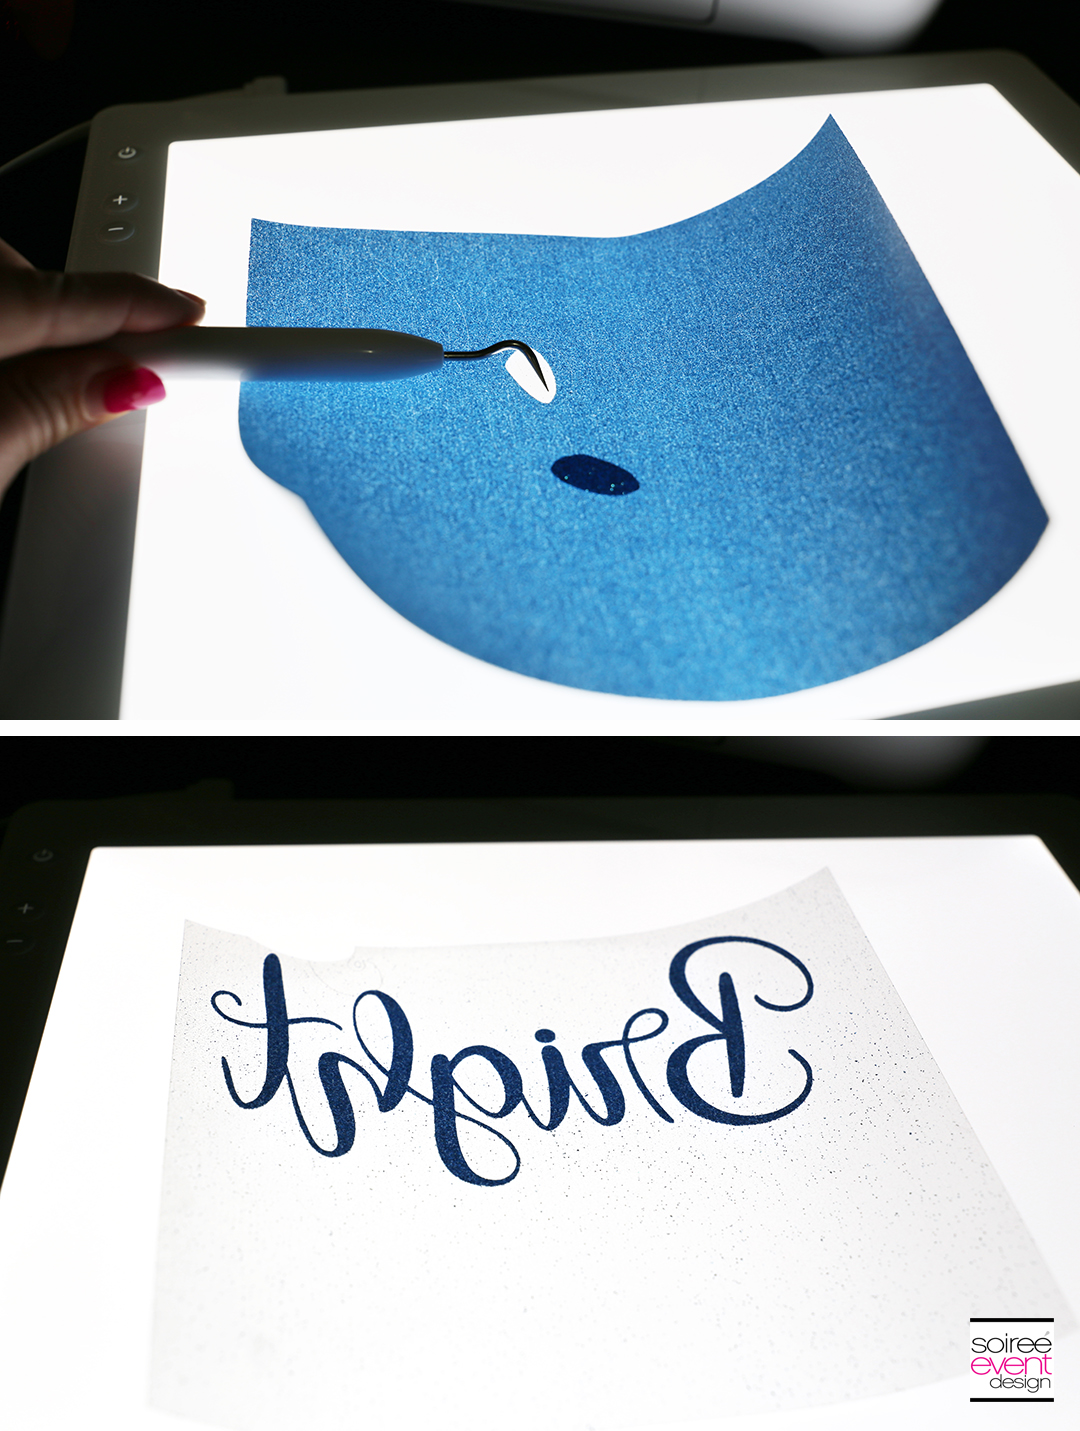
Repeat this process for each of the words in the design.
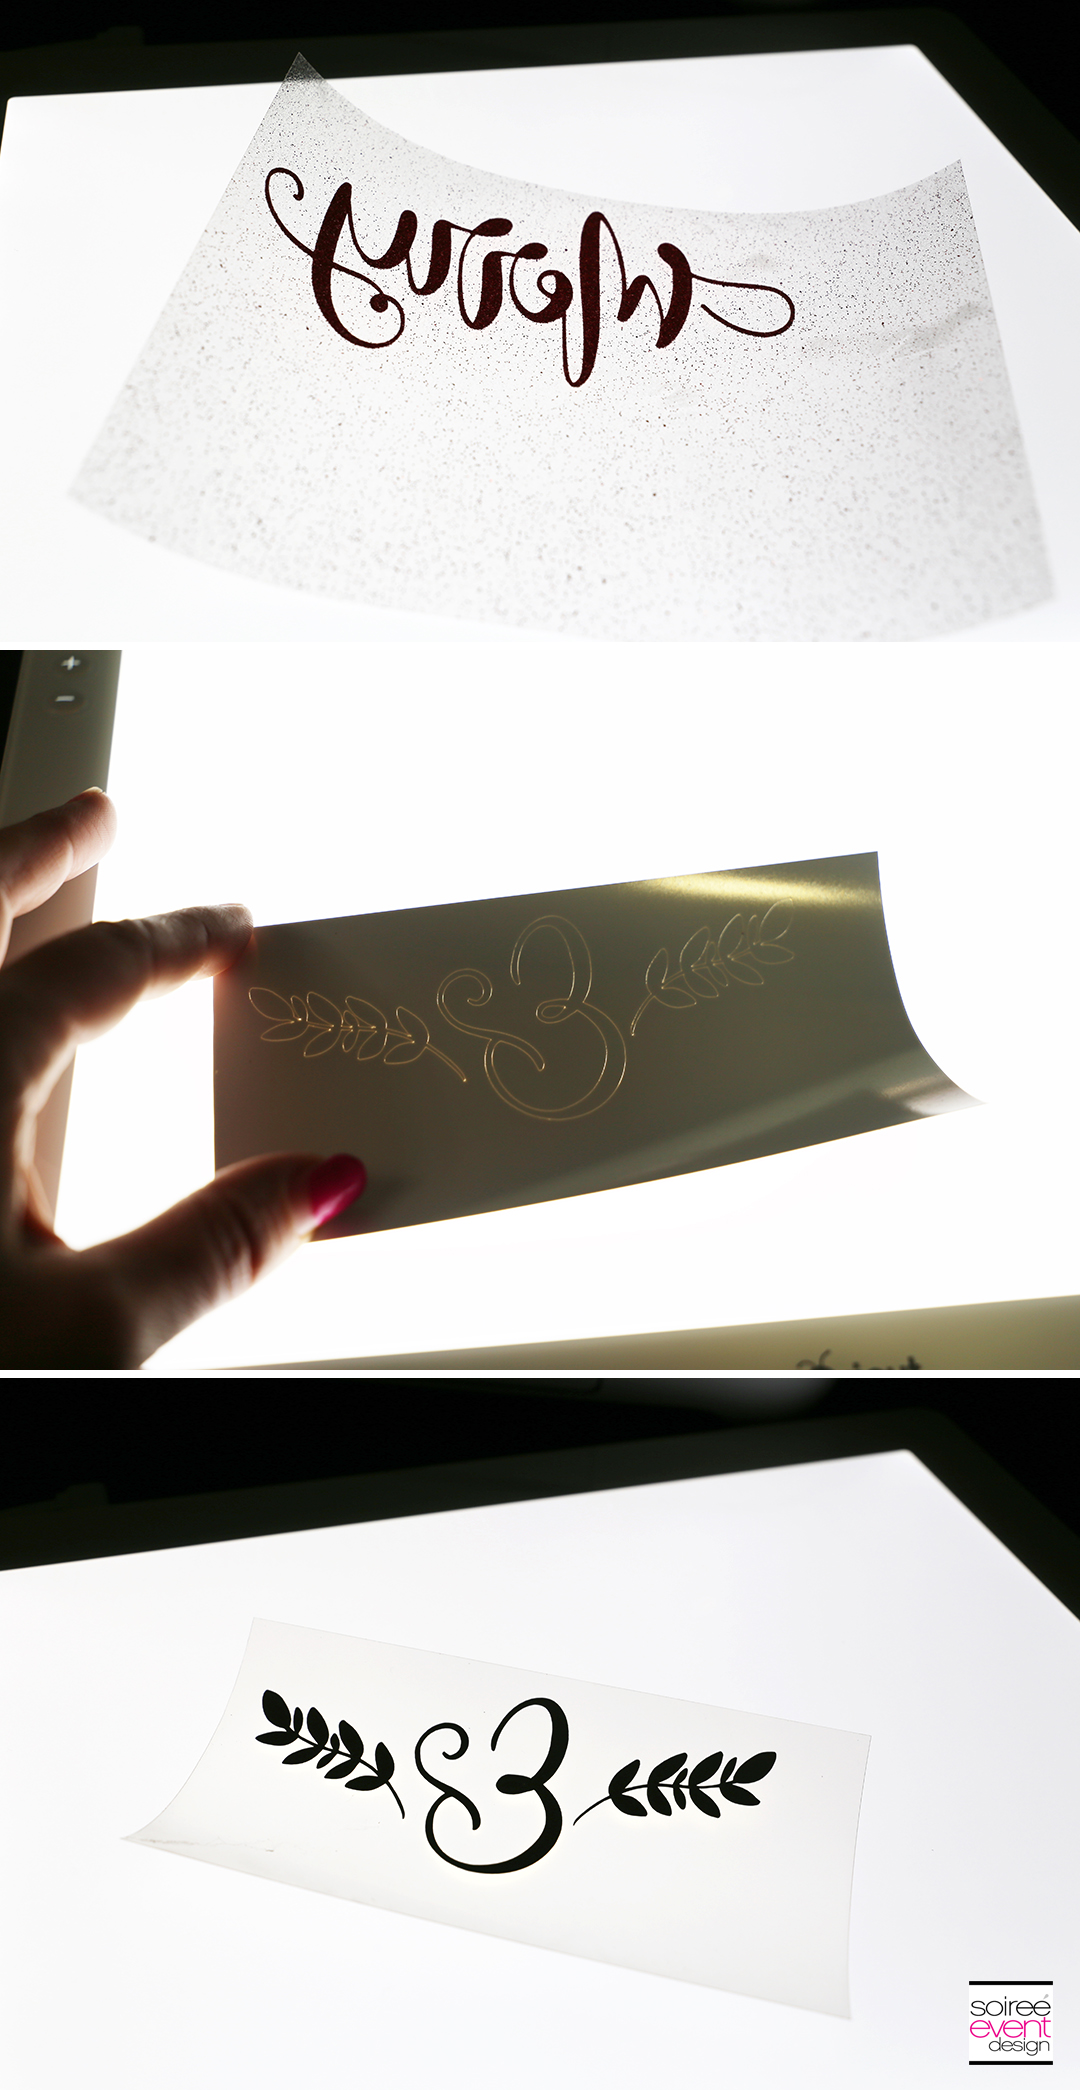
STEP 5 – Iron the Design on the T-Shirt with Cricut EasyPress!
Trim the liner close to the words. Turn on the Cricut EasyPress and set the temperature and timer according to the quick reference guide that comes with it. For this, I set the temp to 330 degrees and timer to 20 seconds. Place your t-shirt on a flat heat-resistant surface.
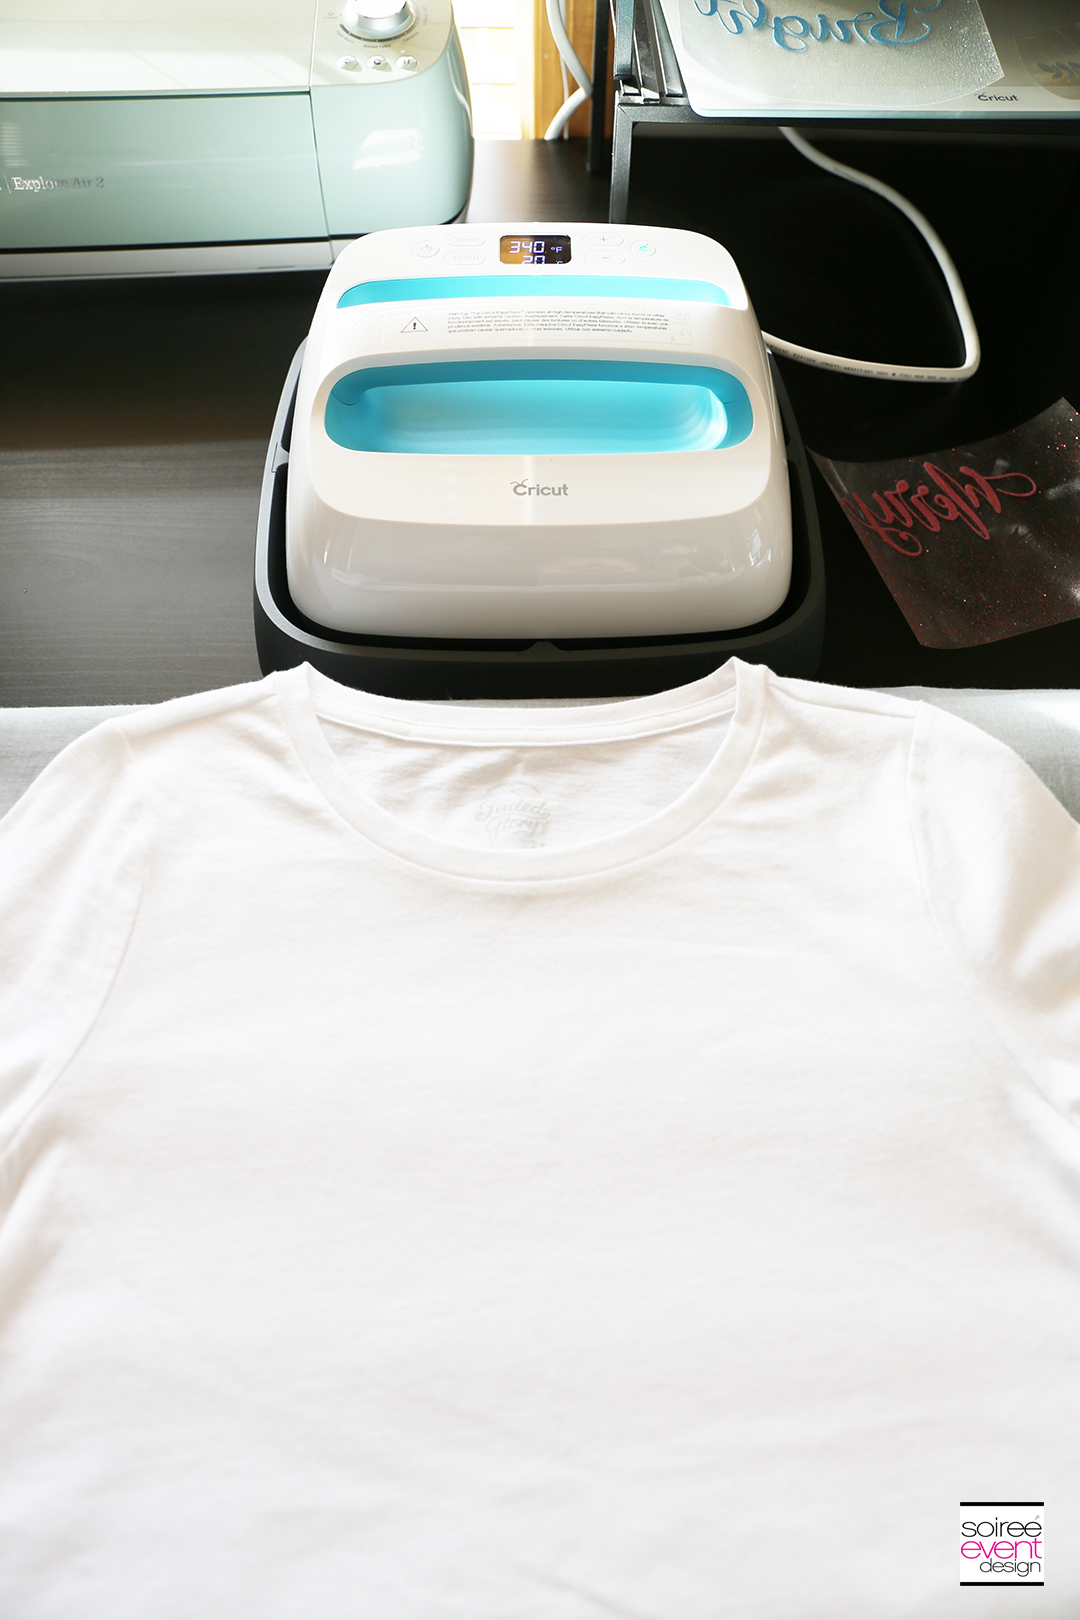
Place the hot EasyPress on top of the t-shirt for 10 seconds to heat up the shirt. Place the words, liner side up, on the shirt. Place the EasyPress on top of the design, apply firm pressure and press the Cricut button on the Easy Press to begin the timer. It will beep when it’s time to remove it. Turn the shirt over and do the same thing.
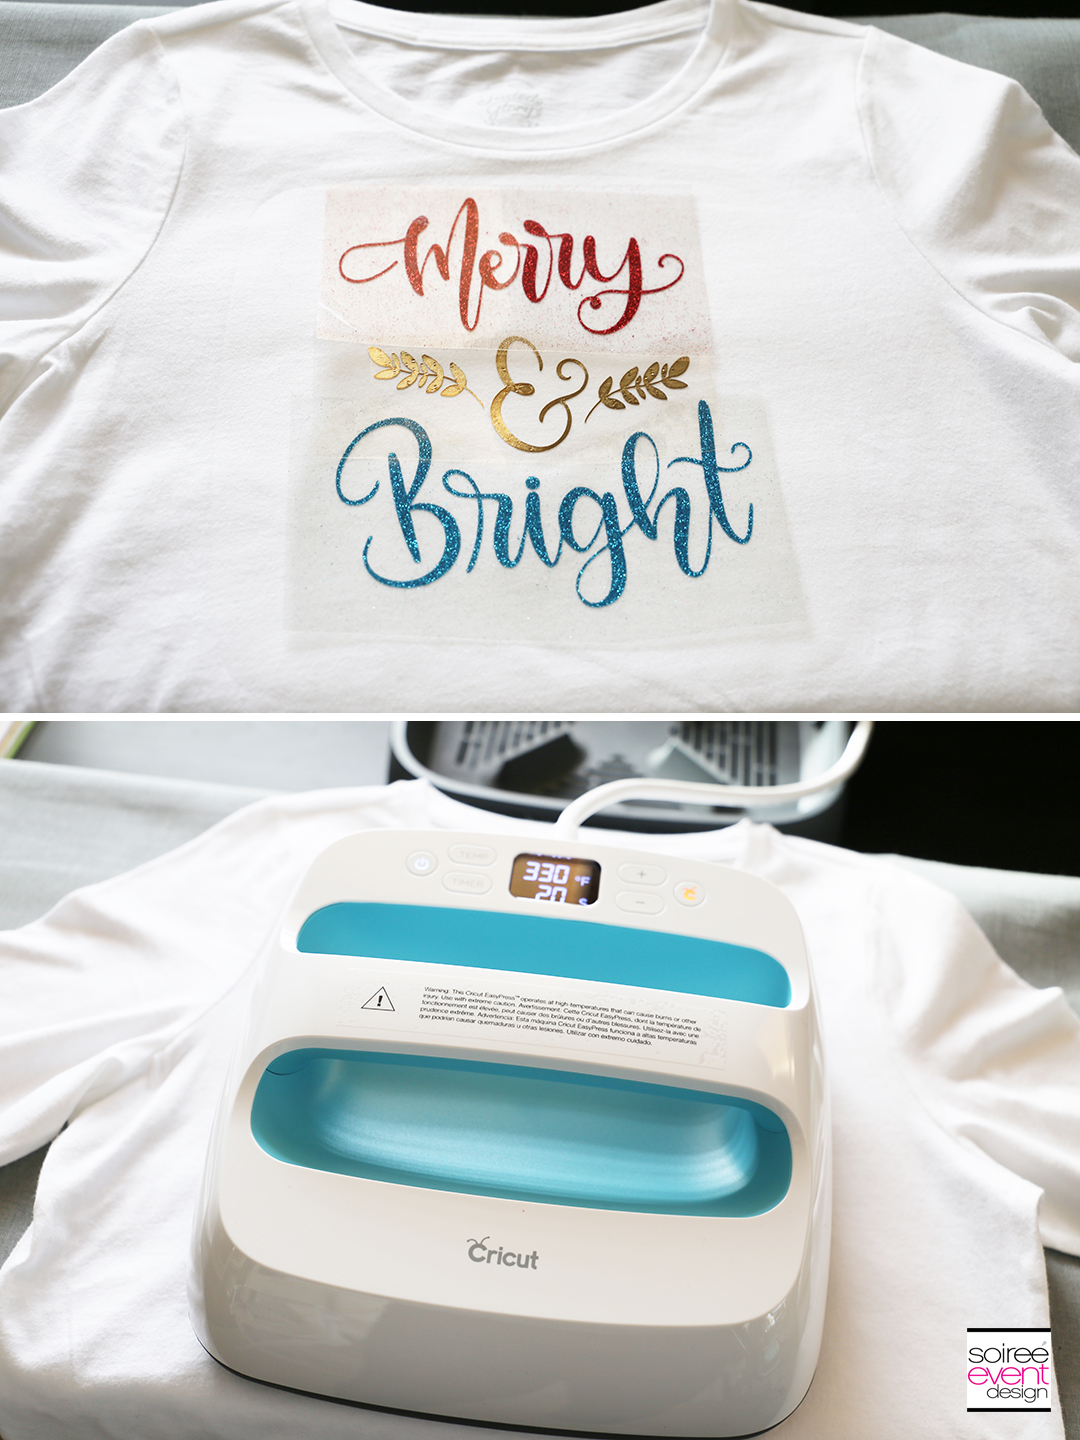
STEP 6 – Remove the Liner from the T-Shirt!
Once the t-shirt is completely cooled off, slowly peel away the liner. You’re done!
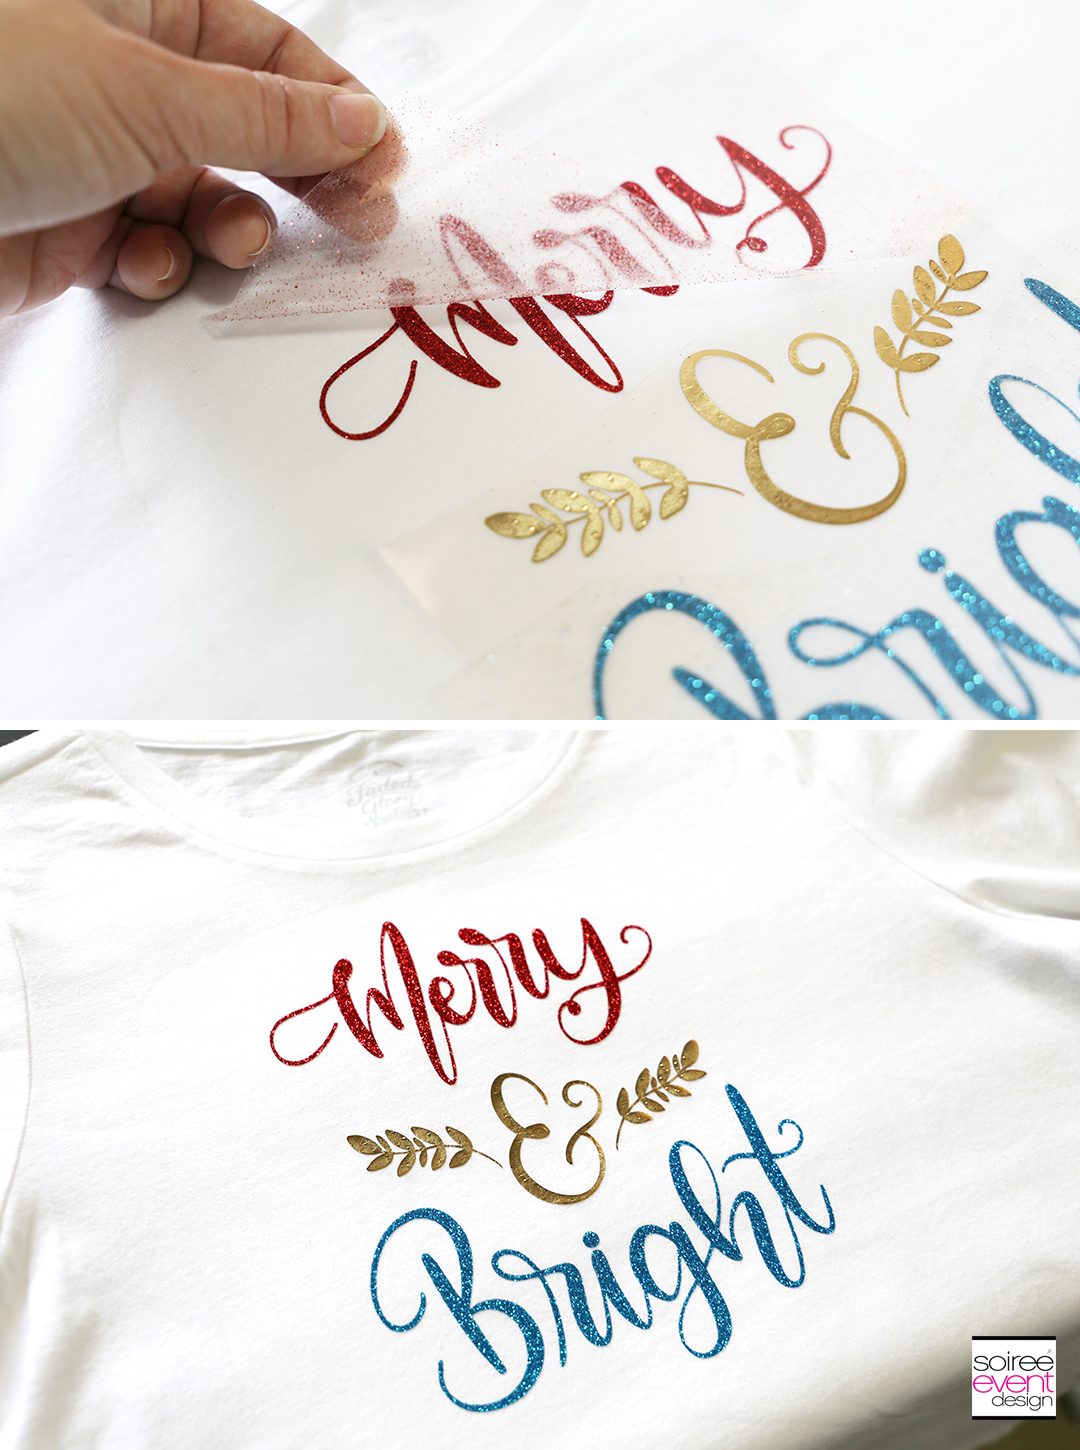
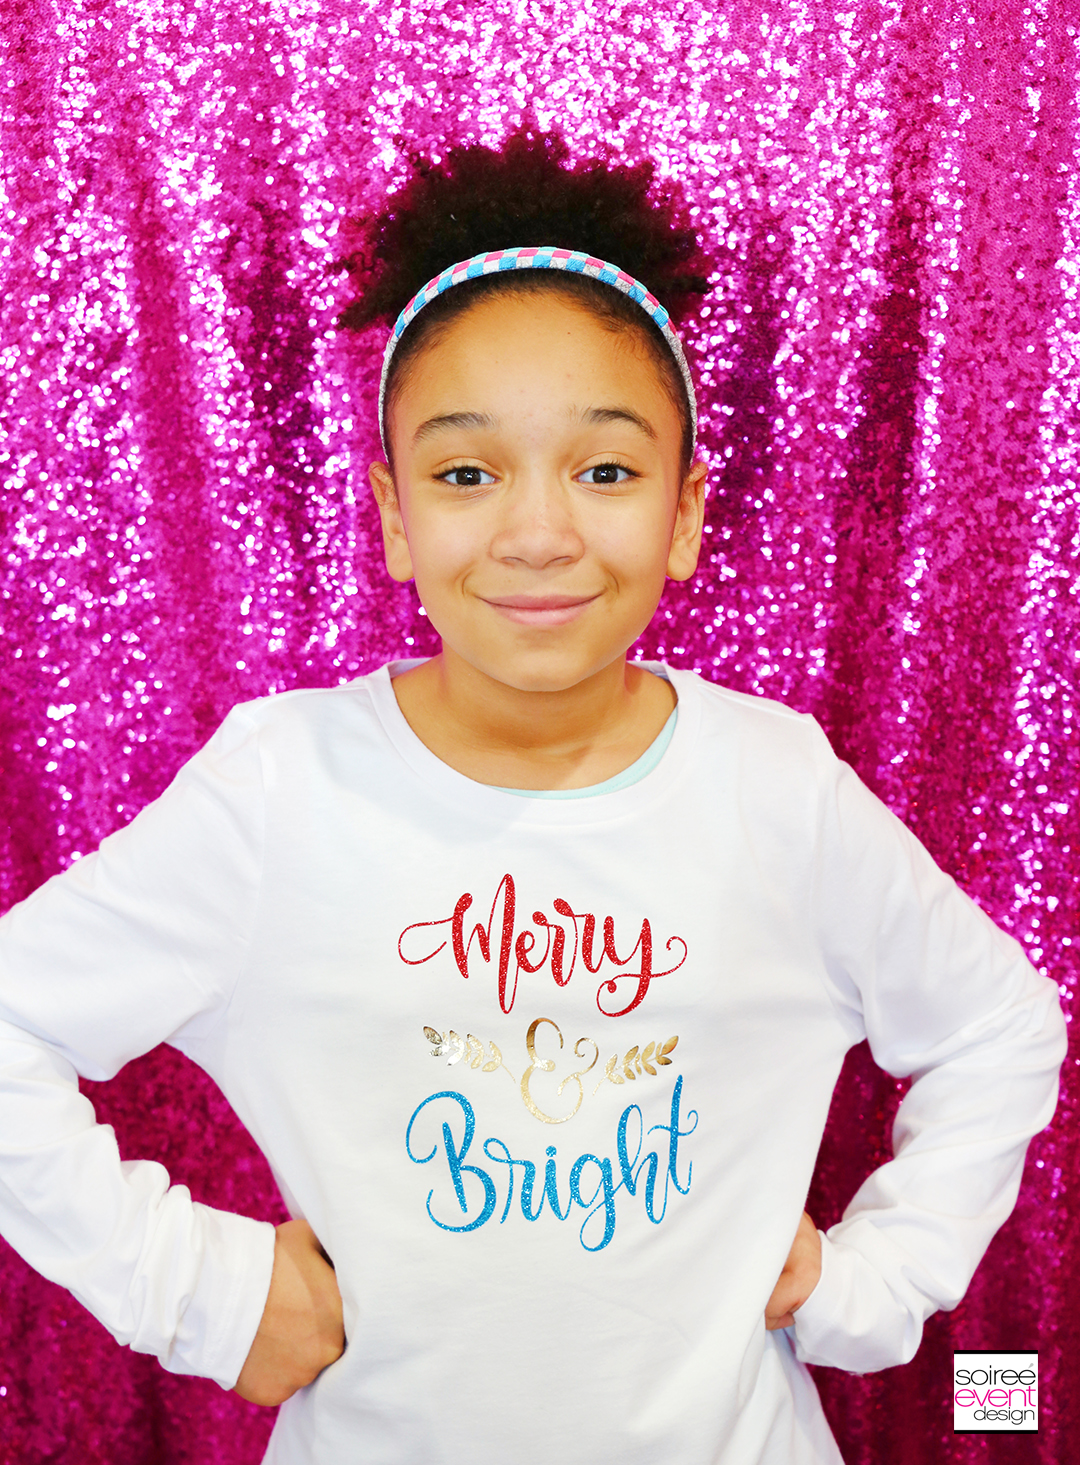
Give them to each guest when they arrive so they can wear them during the party, package them up to take home or send them with the party invite so guests can wear them to the party.
PIN FOR LATER!
ENTER TO WIN A NEW CRICUT MAKER!
WANT TO SEE MORE OF MY CRICUT PROJECTS & POSTS?
Click on any of the projects & posts below:
– Make Paper Christmas Tree Decorations with Cricut!
– Make Farmhouse Holiday Decorations with Cricut!
– Check out the NEW Cricut Explore Air™ 2 and up your DIY game!
– My First Project with the new Cricut Explore Air™ 2
– Make Custom Party Plates with the new Cricut Explore Air™ 2
– Make DIY Sweet 16 Party Invitations with Cricut™
– How to Make #16ROCKS! Sweet 16 T-Shirts with Cricut!
– 4th of July Superhero Flag Shield Backpack and Water Bottle with Cricut
WHAT DO YOU THINK?
Do you already have a CRICUT EXPLORE AIR™ 2? What was your favorite project to make with it? If you don’t already have one…share with me your thoughts.
LOOKING FOR MORE IDEAS? FOLLOW ME ON PINTEREST FOR LOTS OF INSPIRATION!
CLICK HERE to check out my PINTEREST BOARD full of recipes, parties, home decor, DIY projects and more!
DON’T MISS A THING!
Be sure to SUBSCRIBE to my blog so you can get all my blog posts delivered right to your email’s inbox so you won’t miss a thing! Subscribing is easy! Just enter your email address in the above right corner of this page and be sure to confirm your email once you get our confirmation to your inbox! That’s it! AND…you’ll get a code for 10% off your next order in our shop. YUP…GOTTA LOVE THAT!
Happy Holidays!
Tonya
This is a sponsored conversation written by me on behalf of Cricut. The opinions and text are all mine.
