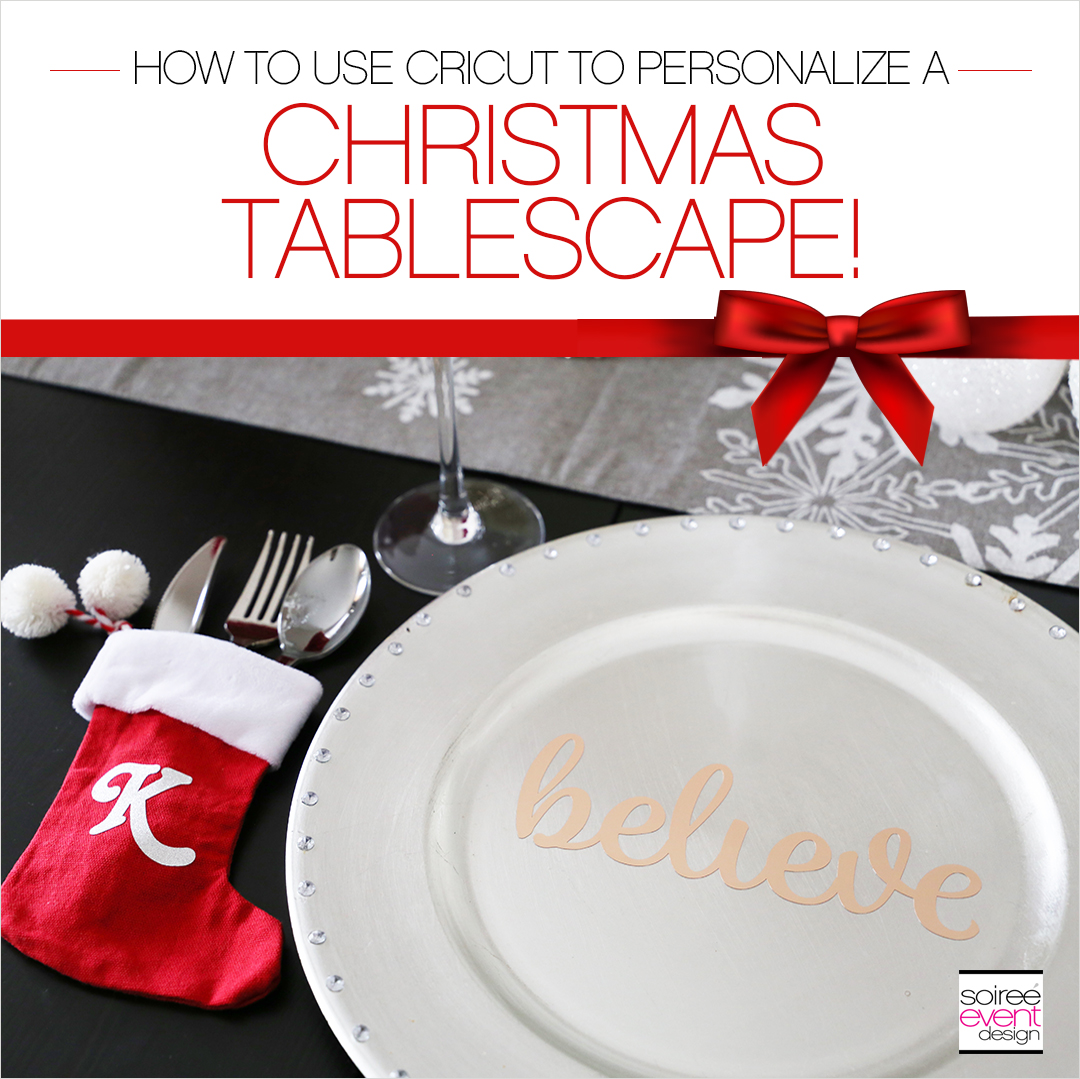
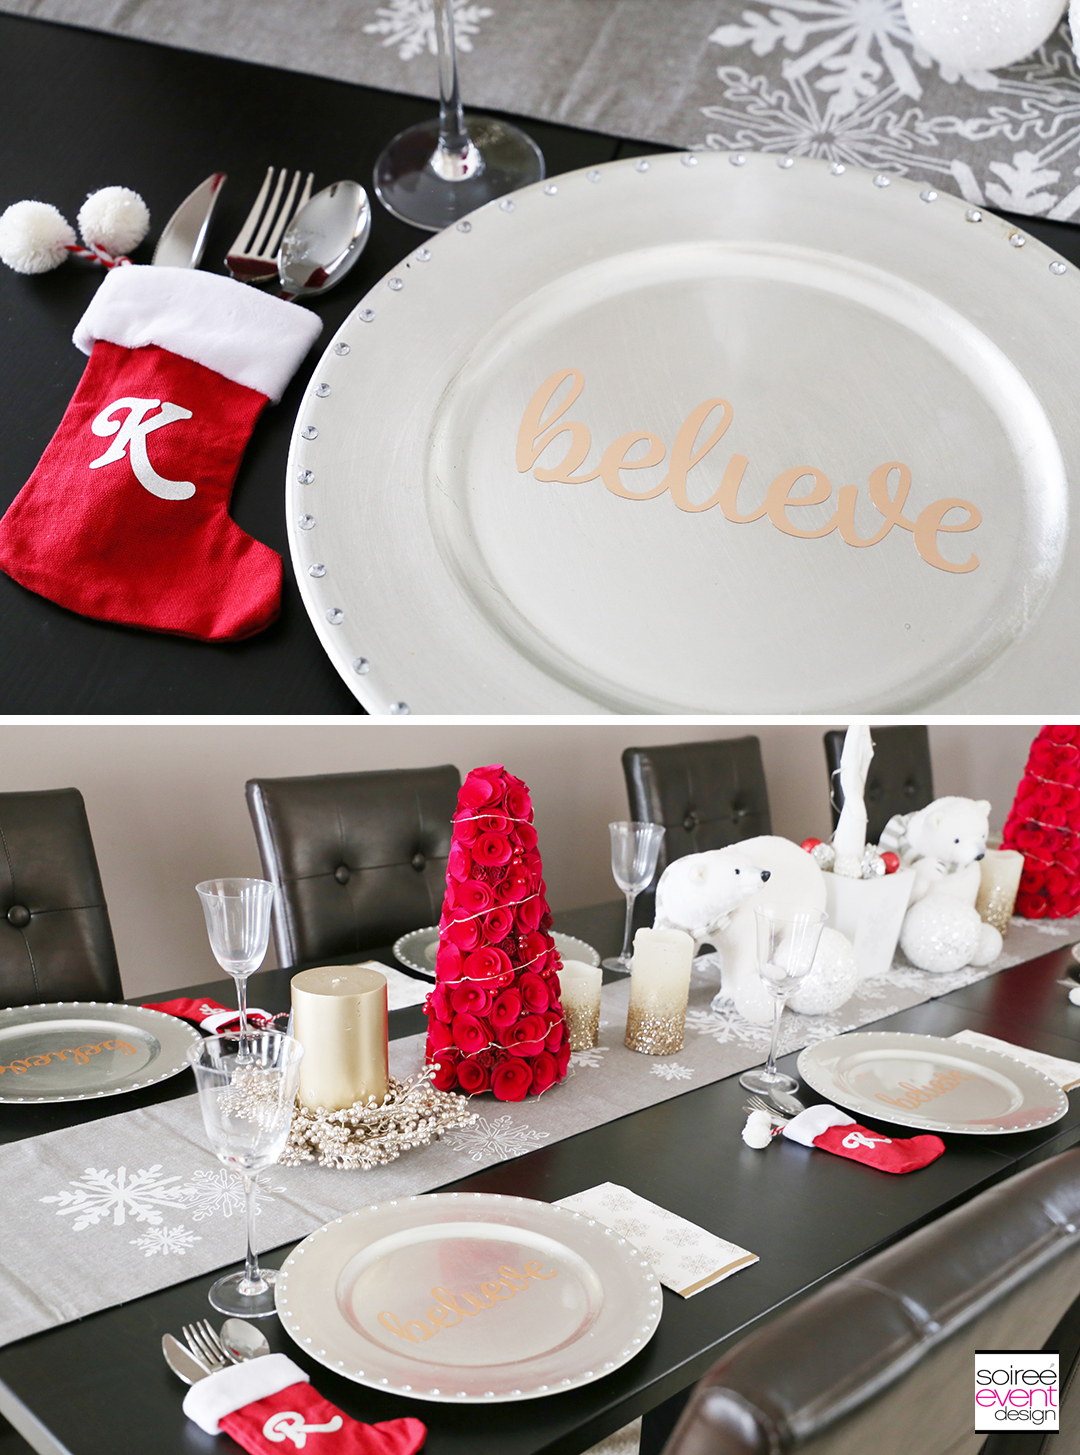
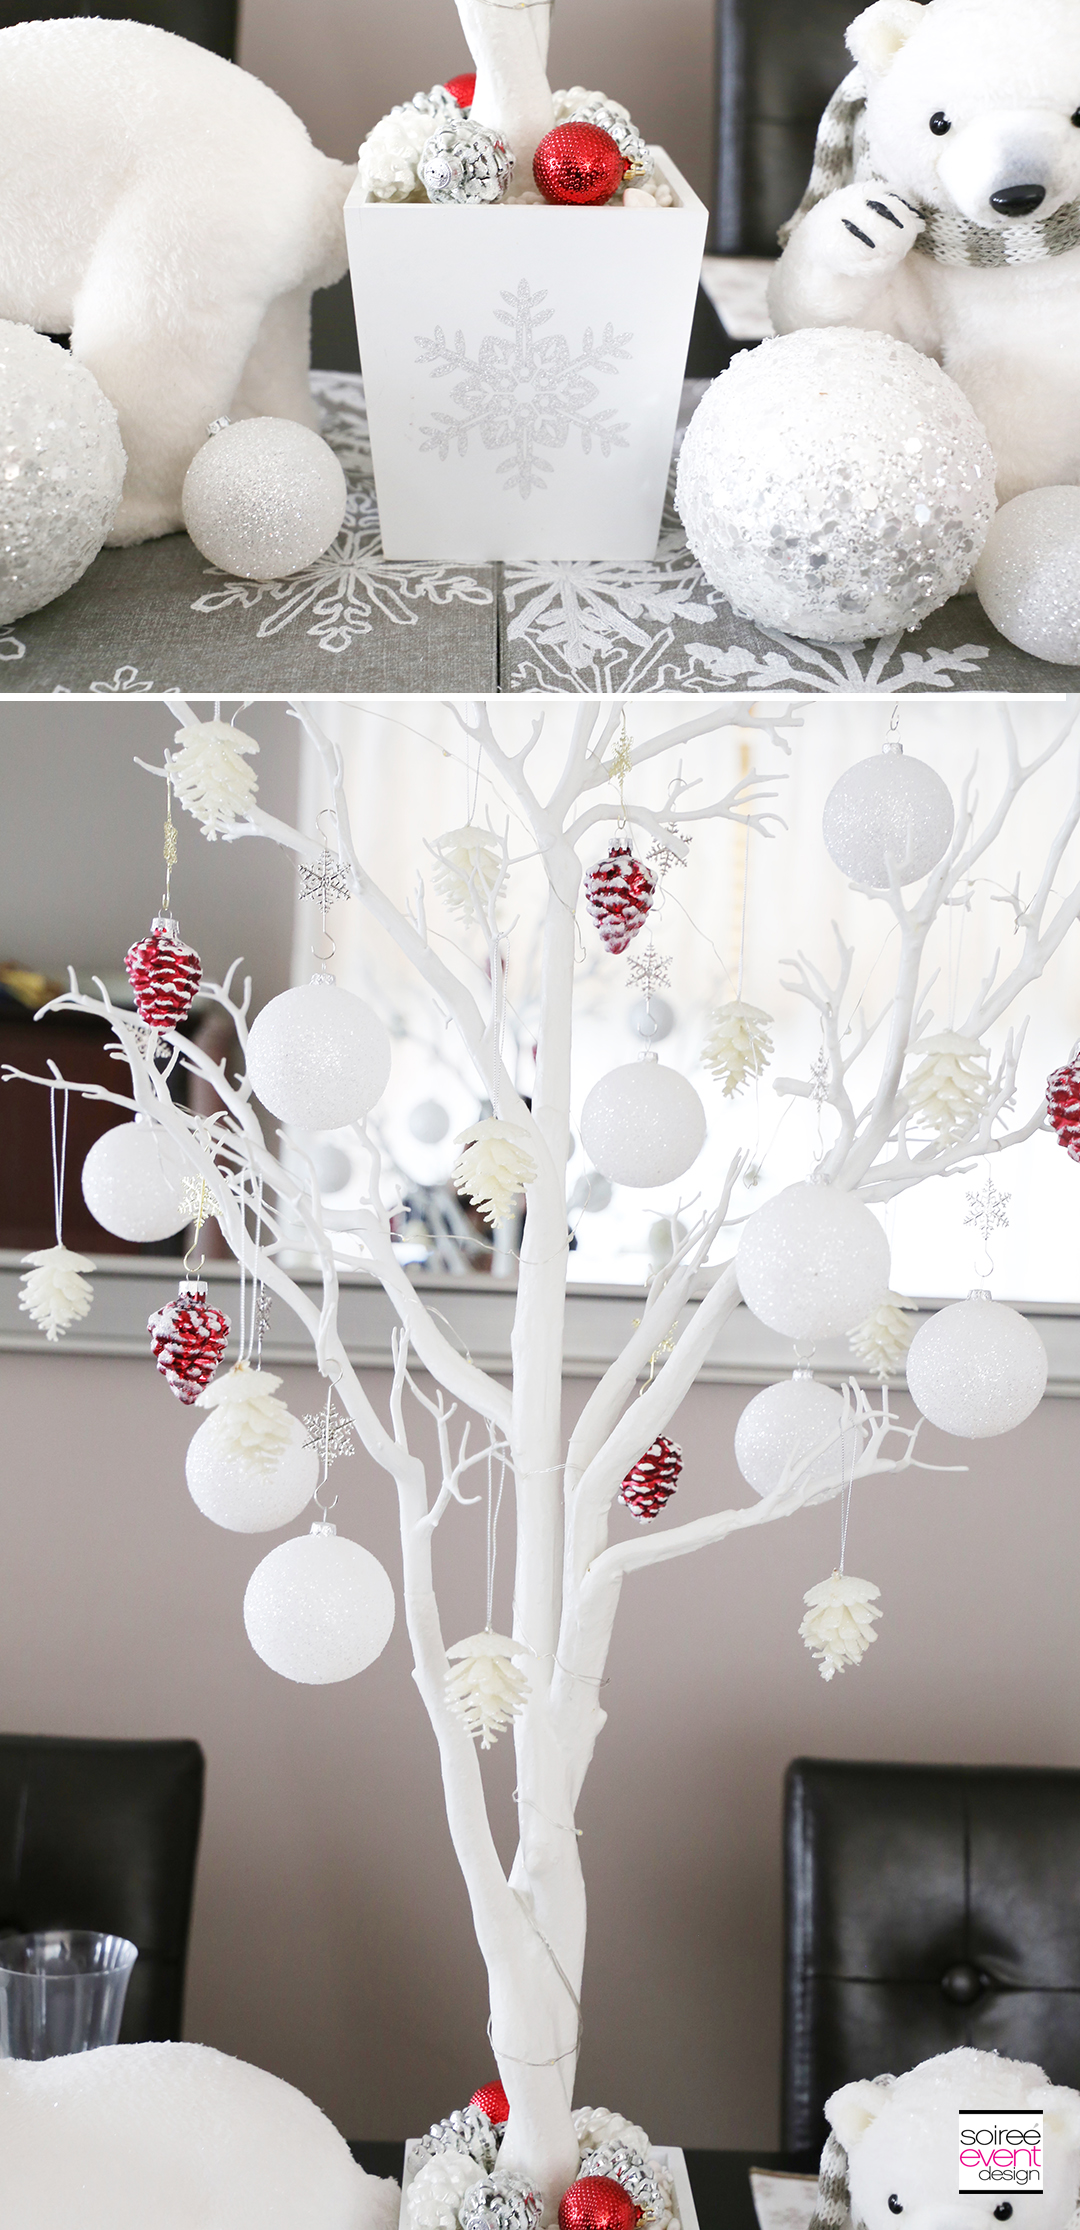
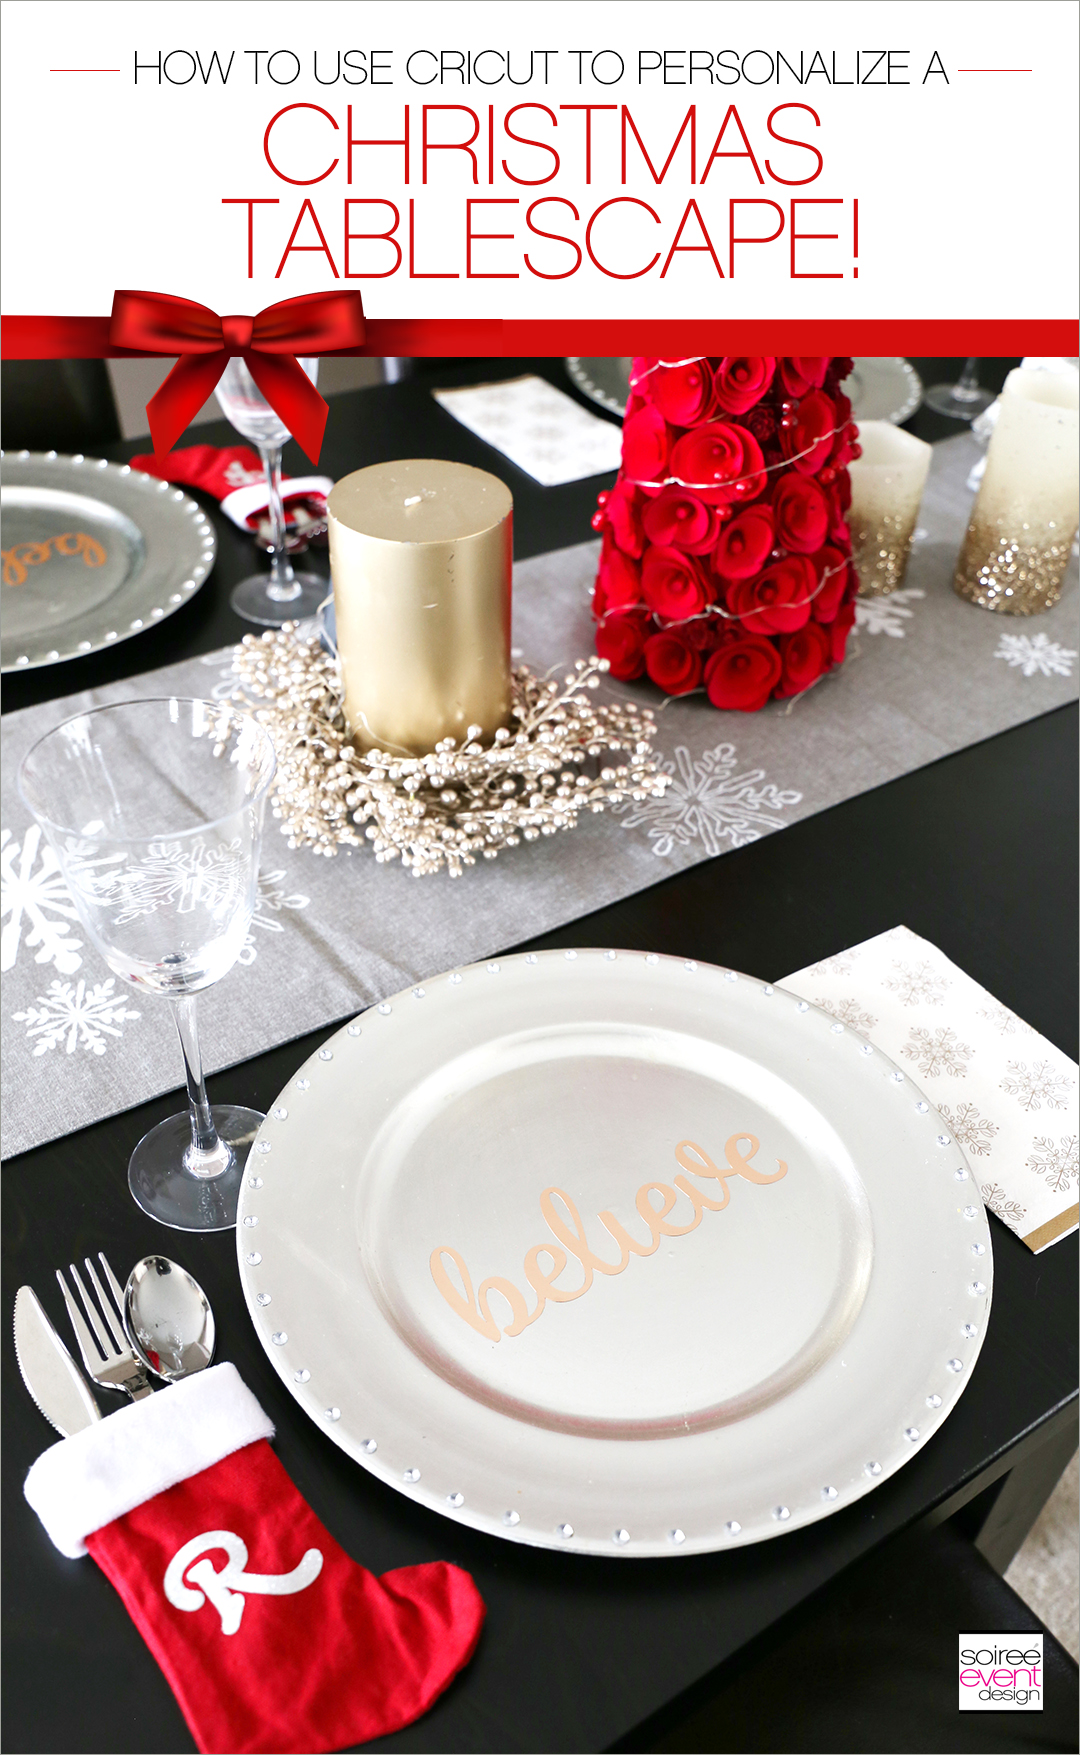
Hey party peeps! I just got finished decorating my dining table this year for Christmas. I love changing my dining table for each season. This year, I’m decorating my entire house with a neutral colors and pops of red! Today I’m going to show you how you can create a PERSONALIZED CHRISTMAS TABLESCAPE with Cricut by making personalized stocking utensil holders and personalized charger plates.
Adding personalized touches, for me, completes the table design. How fabulous does the table look?
MAKE YOUR OWN “BELIEVE” CHARGER PLATES & MONOGRAMMED STOCKING UTENSIL HOLDERS!
Personalizing your Christmas tablescape is super easy with the Cricut Explore Air™ 2 machine. Cricut has so many Ready to Make projects in Design Space that you can choose from to personalize your tablescape. I started with a blank slate with these silver chargers, snowflake patterned napkins and silver silverware. Let me show you how easy it is to transform these into personalized place settings.
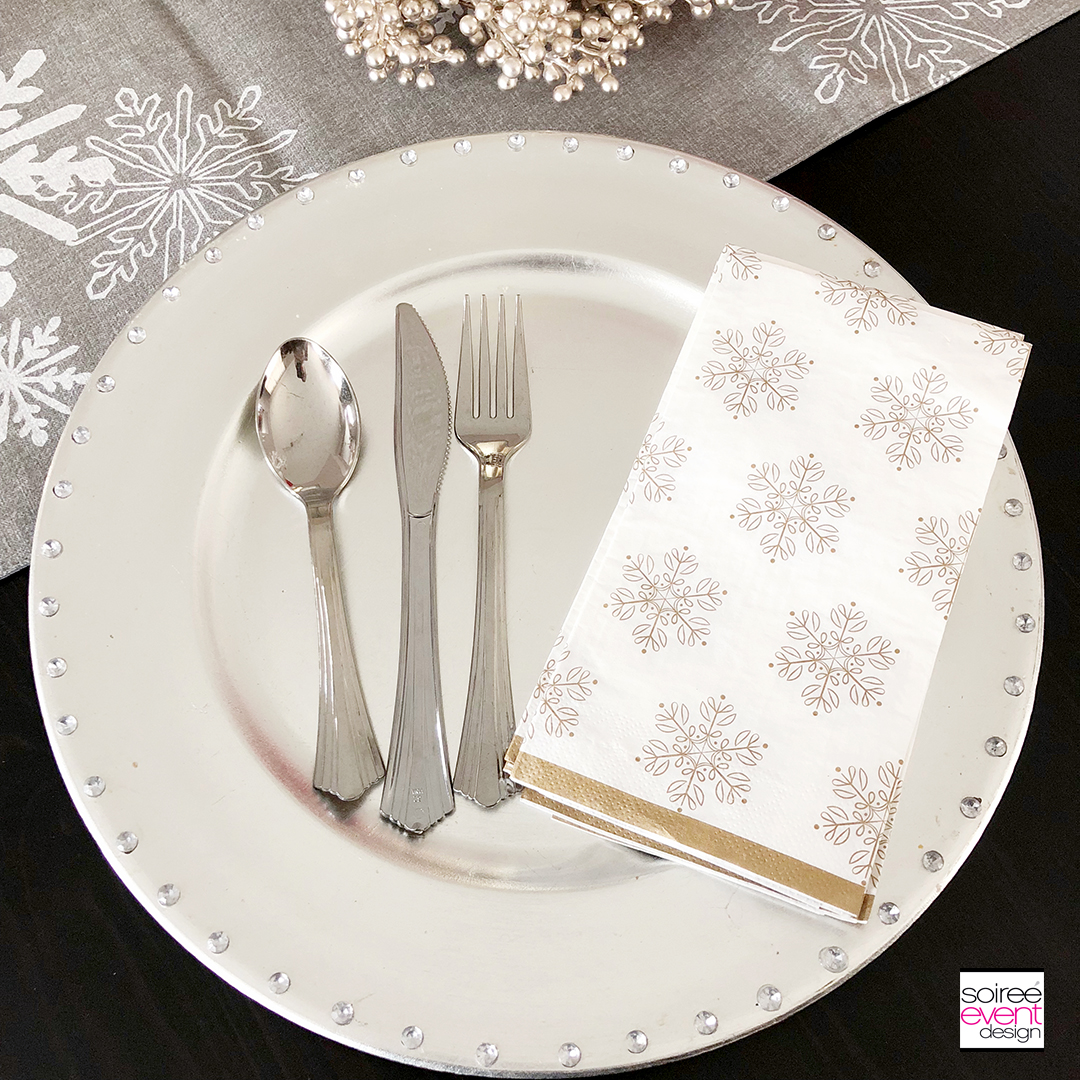
Want to see how easy it is to make these? Let’s get started!
HERE’S WHAT YOU NEED:
– Cricut Explore Air™ 2 machine
– Cricut Adhesive Foil
– Cricut Glitter Vinyl
– Cricut Transfer Tape (gold)
– Cricut Weeding Tool
– Cricut Scraper Tool
– Cricut Design Space “Believe Plates” Project File
– silver charger plates
STEP 1 – Log In to Design Space + Load This Project!
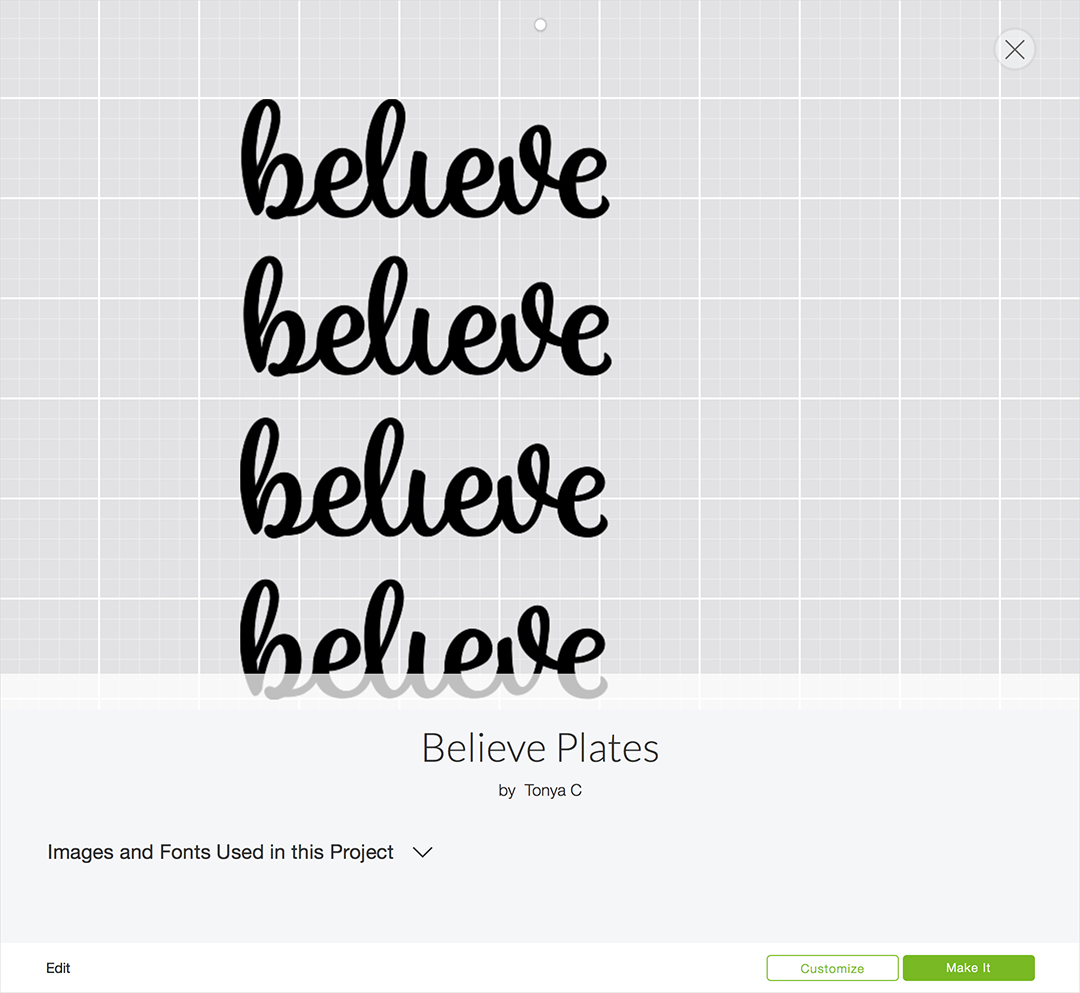
Cricut has an online interface called Cricut Design Space™ that walks you through every step of your project and has many images and ready-to-make projects that you can make without having to do the design yourself. Log in to Cricut Design Space™ and click here to make this Believe Plate Project.
STEP 2 – Cut Your Project!
Place a piece of adhesive foil on a standard grip mat and load it into your Cricut. Turn the Smart Dial to CUSTOM then choose Adhesive Foil in Design Space before you cut the project.
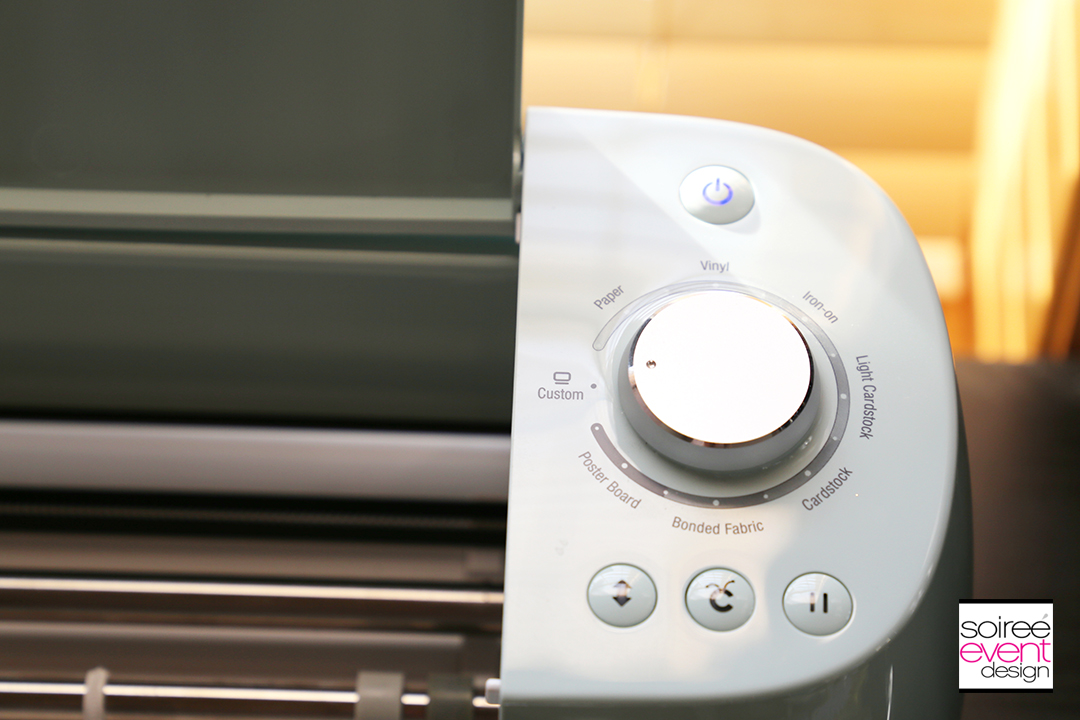
STEP 3 – Unload the Mat & Remove Your Design!
Once the cutting is complete, Press the LOAD BUTTON to unload the mat from the Cricut. Remove the paper from the mats.
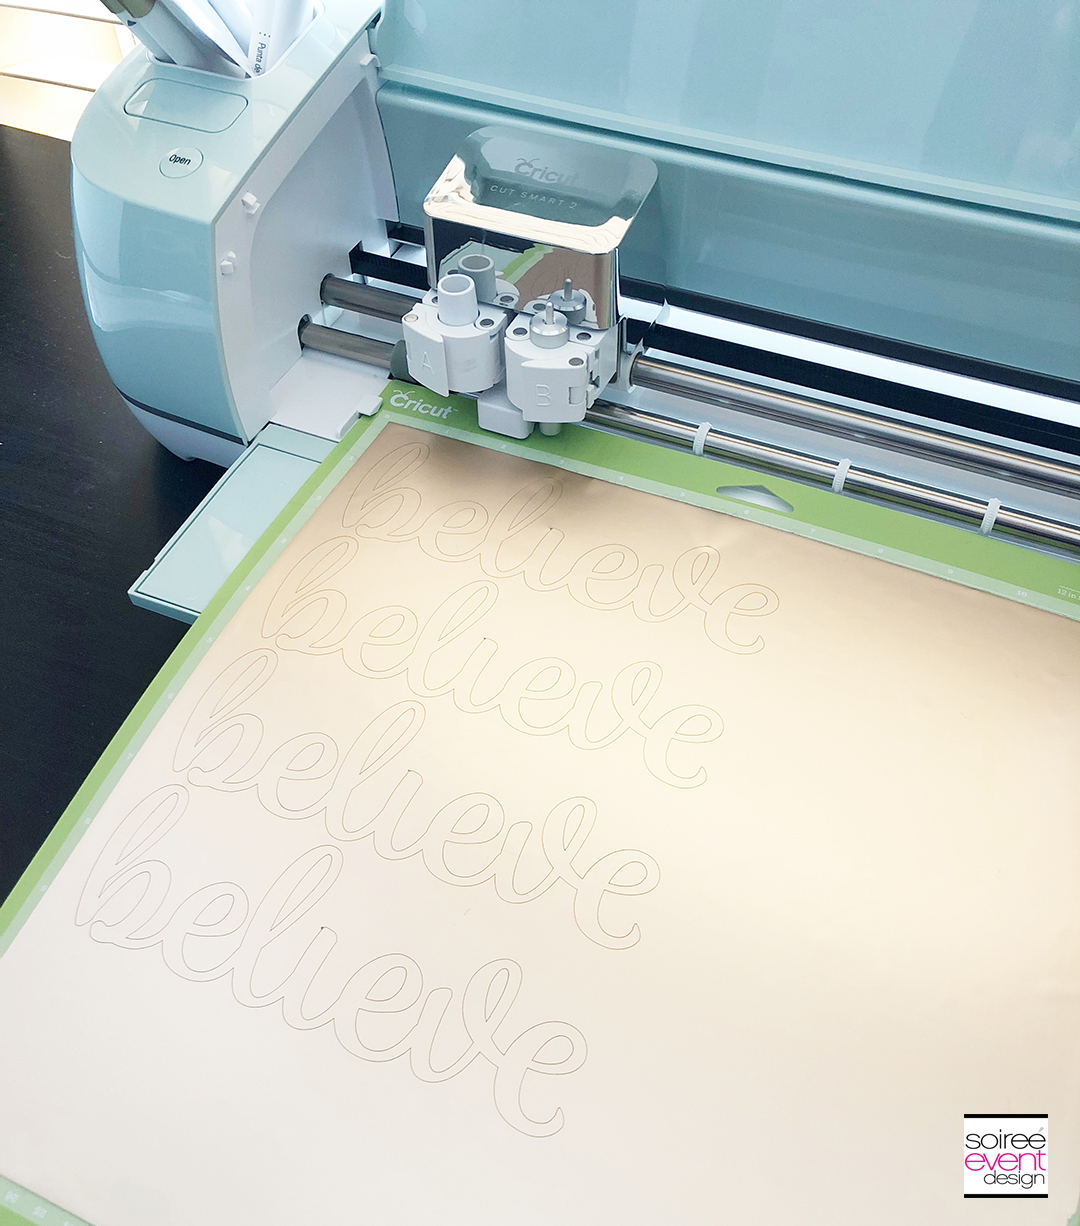
STEP 4 – Weed Your Designs!
Weeding is the process of removing the unwanted areas of your design like the insides of letters, etc. Slowly peel away the unwanted foil material leaving only the 4 “Believe” words on the liner.
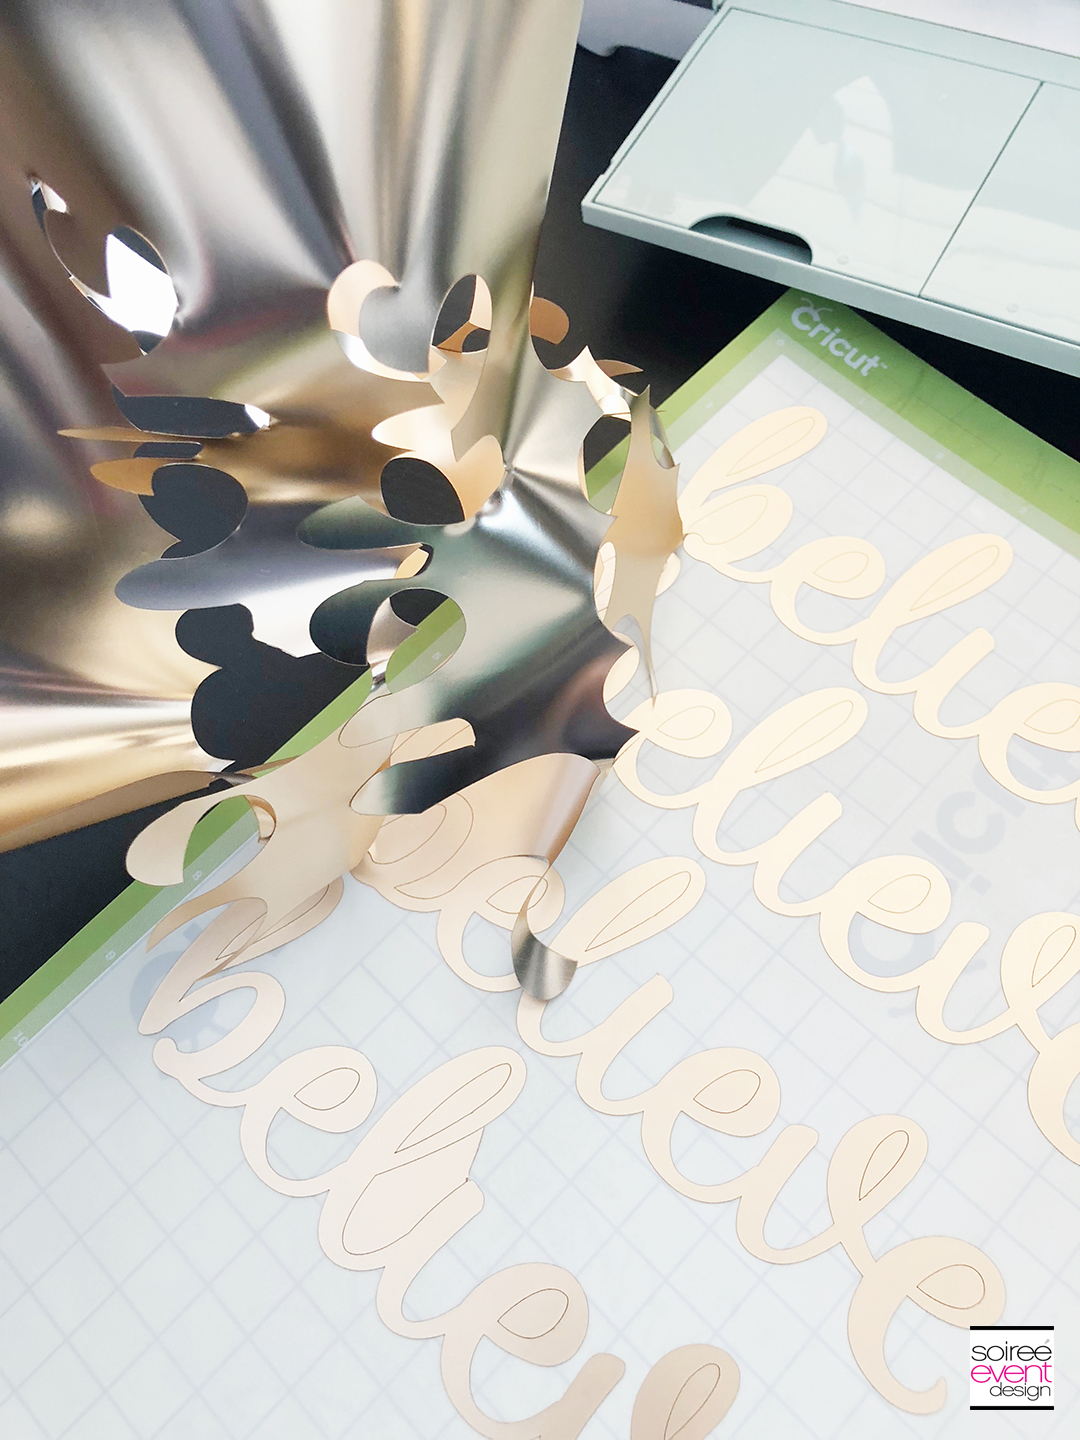
Then using the Cricut weeding tool remove the inside areas of the letters.
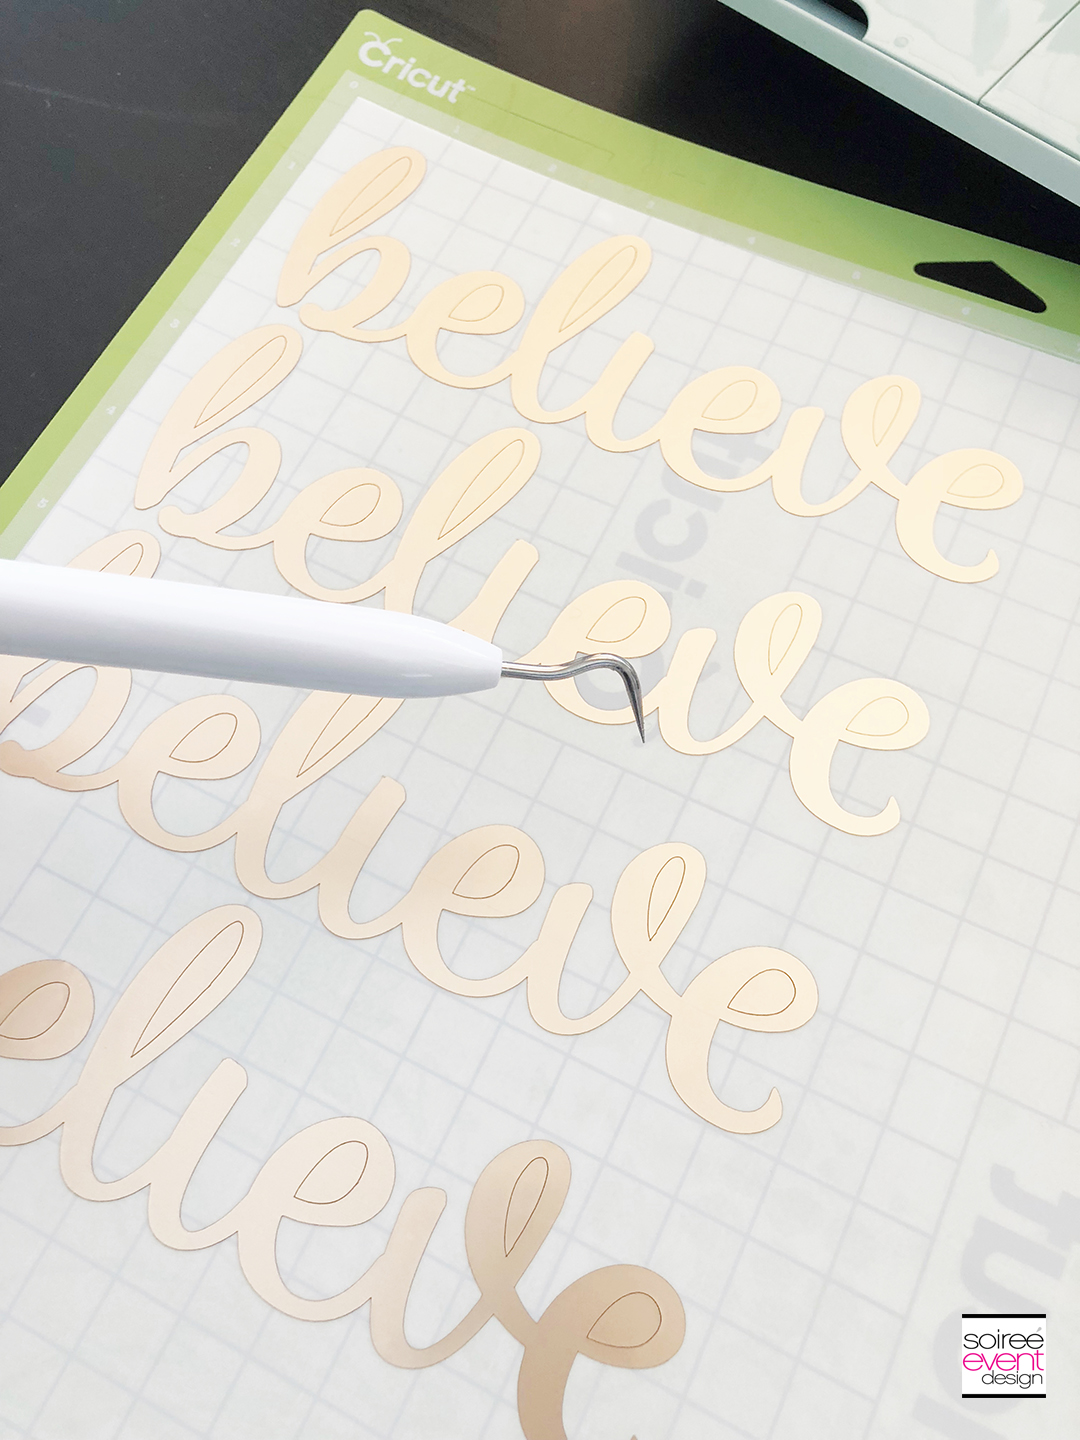
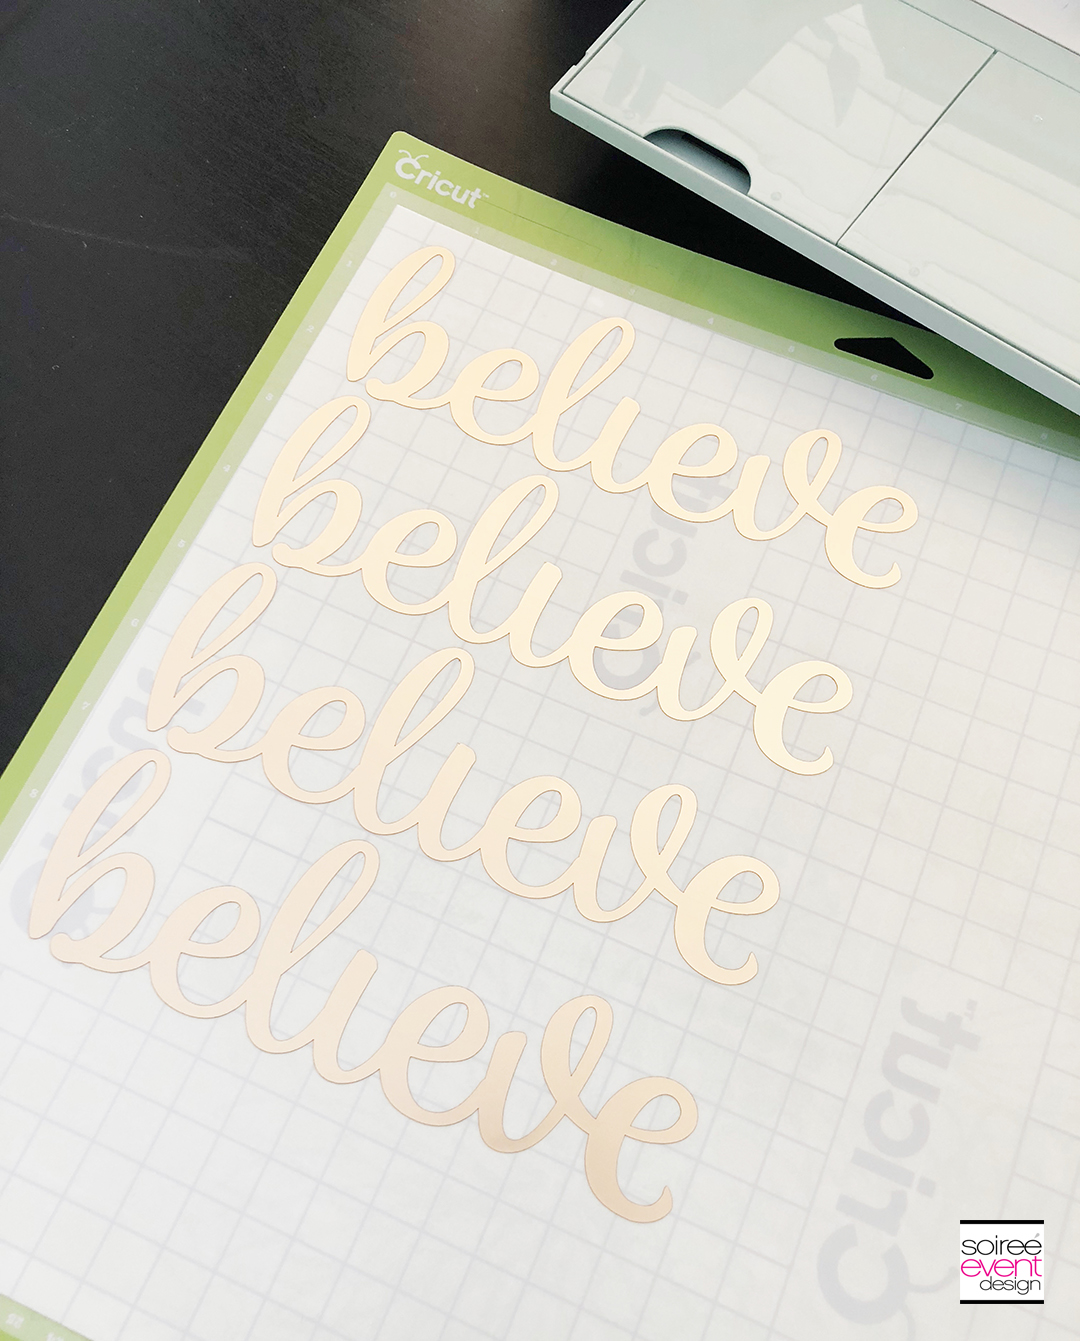
STEP 5 – Cover Your Design with Transfer Paper!
Cut a piece of transfer paper big enough to cover all 4 of your words. Remove the liner and cover your design completely with the transfer paper. Using the scraper tool, rub over the top of the entire design so that the foil completely sticks to the transfer paper. Cut each of the words.
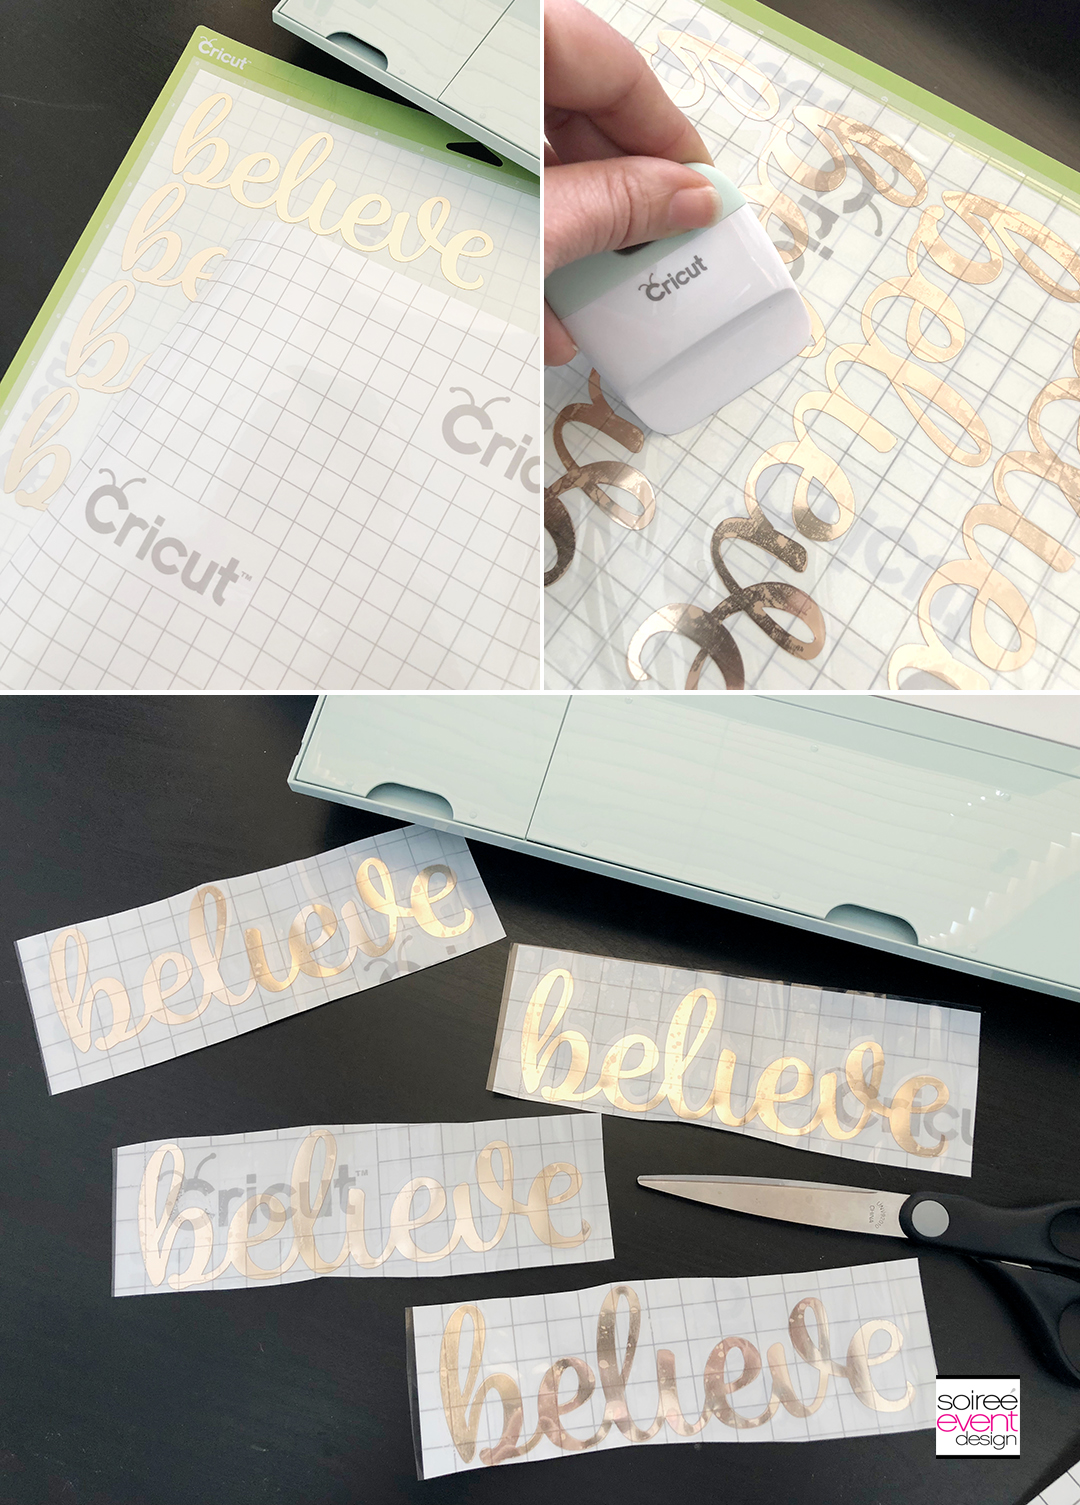
STEP 6 – Transfer Your Design to Your Plates!
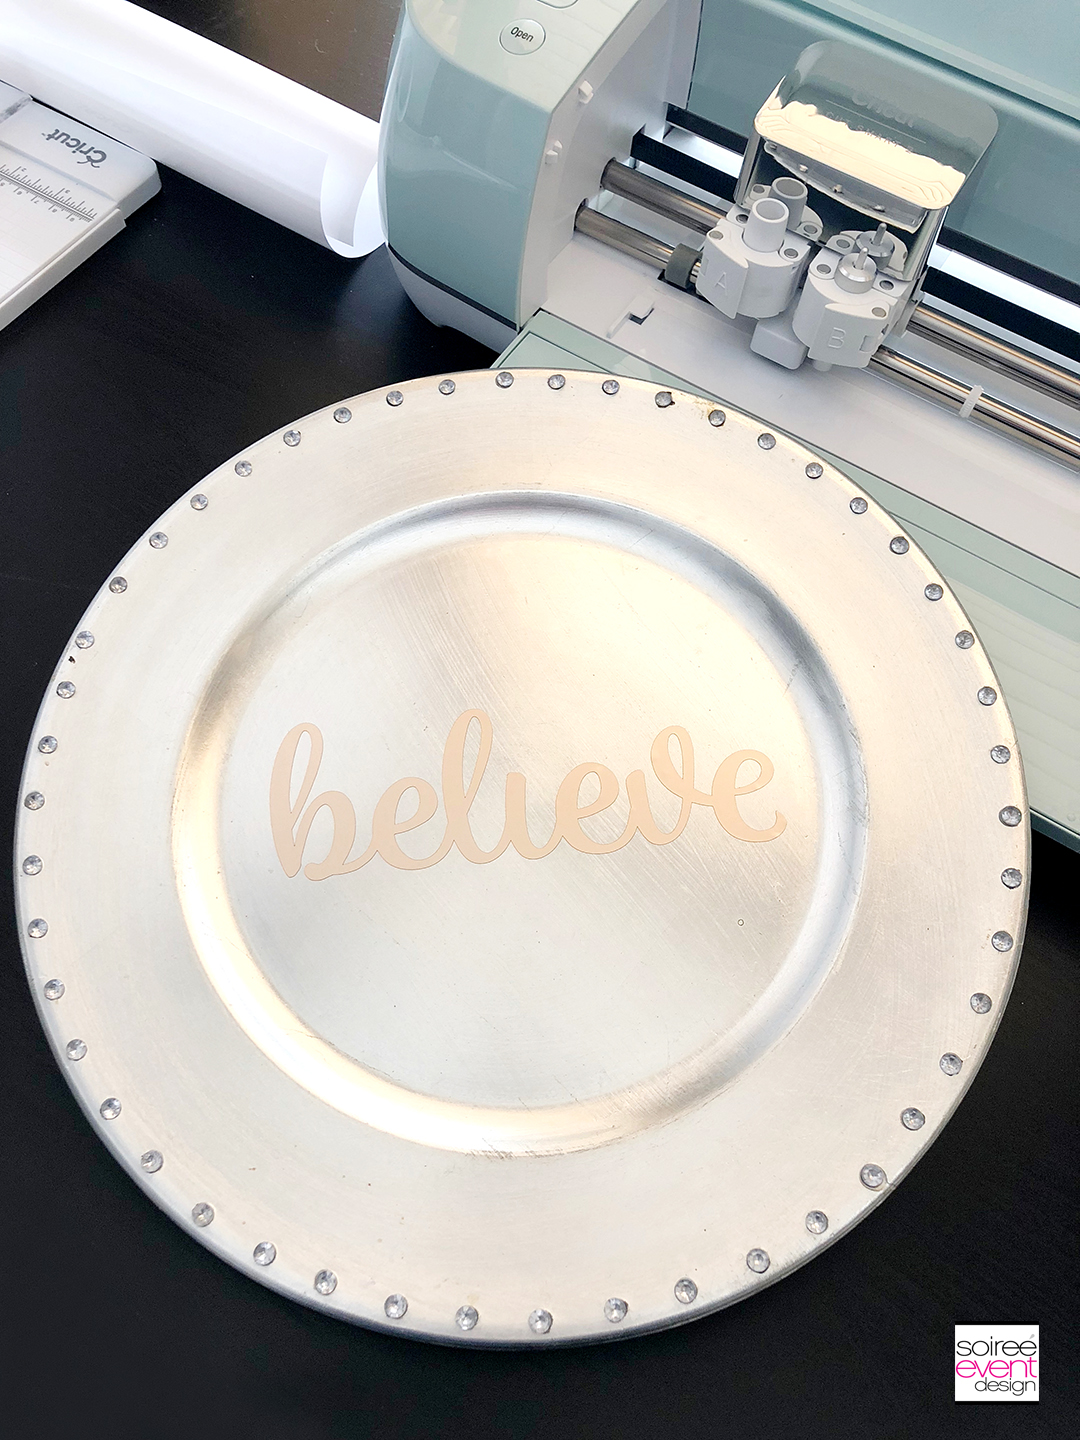
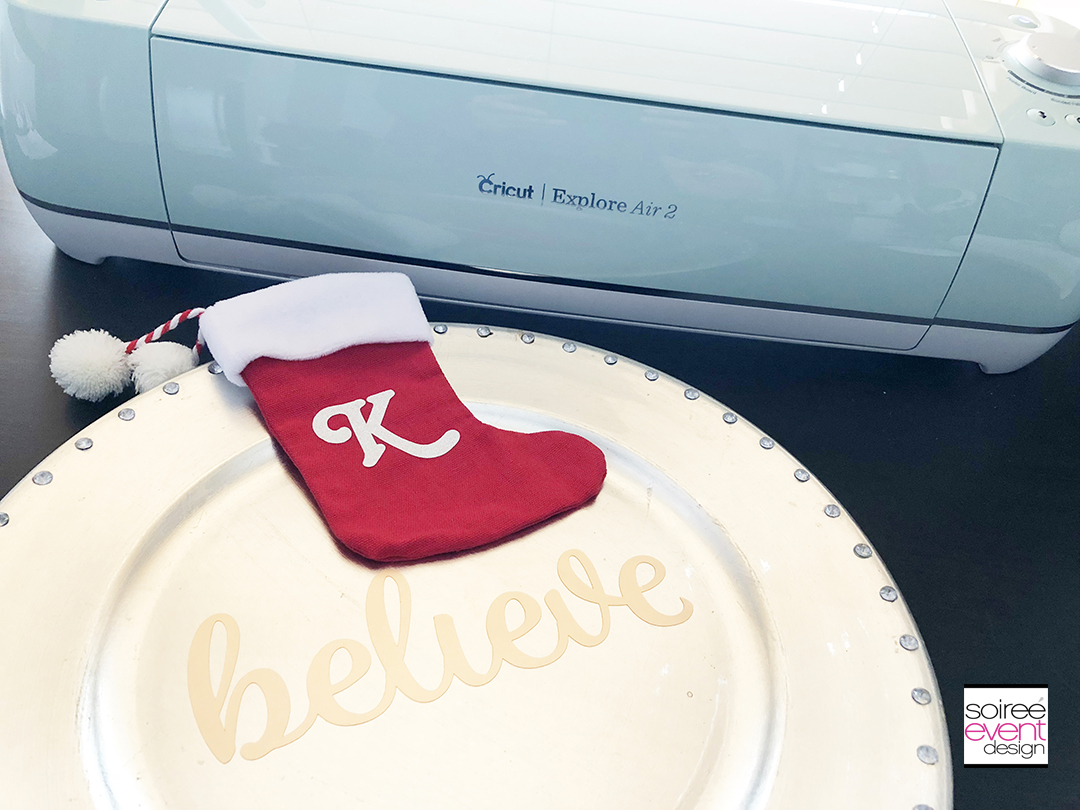
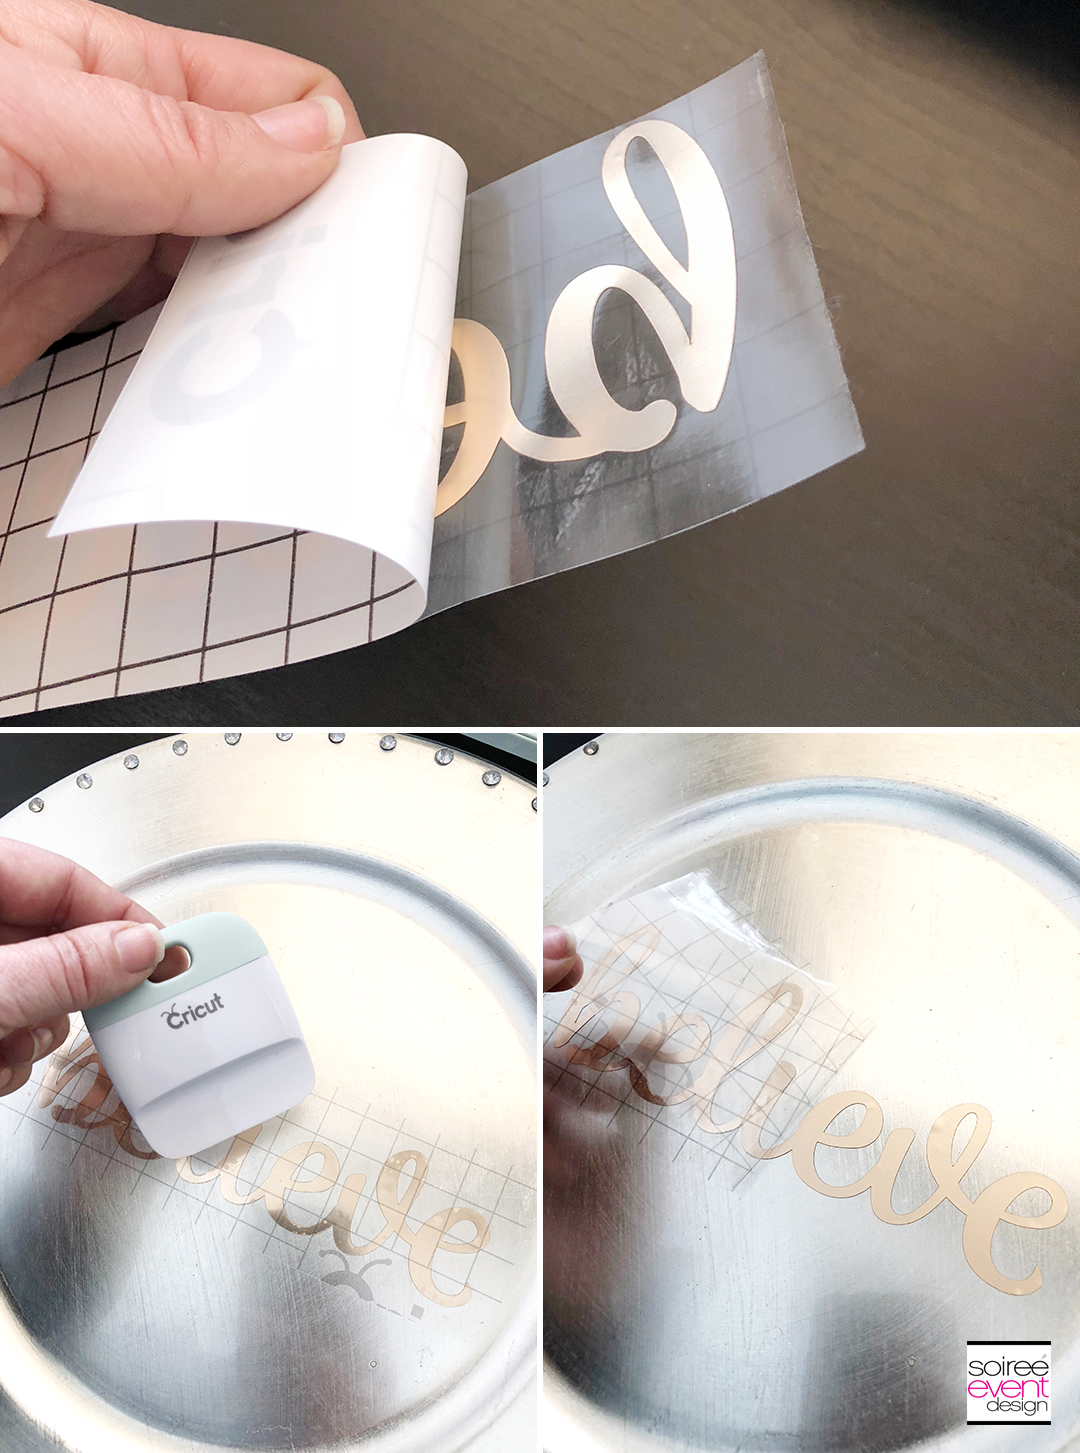
Remove the transfer paper from the liner and place it in the center of a charger plate. Smooth it down firmly with the scraper tool. Then slowly peel the liner off the plate leaving your design on the plate. You’re done!
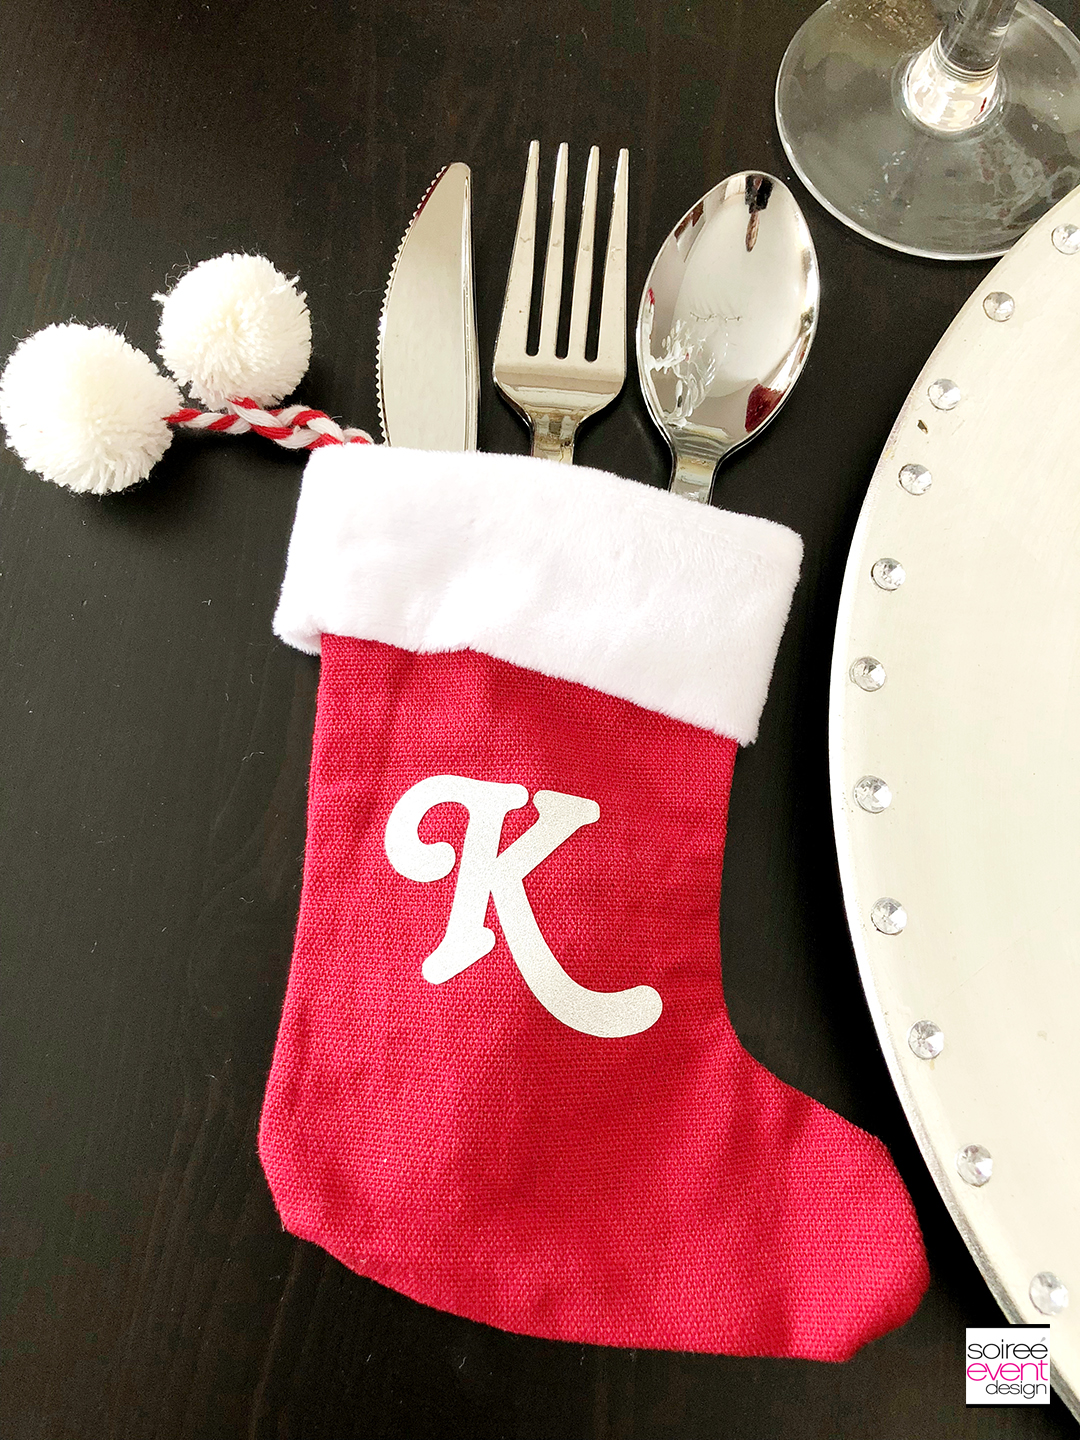
Make these Stocking Utensil Holders by cutting out the first initial of your family from Cricut Glitter Vinyl, remove from the liner and stick the letters on to the front of each mini stocking.
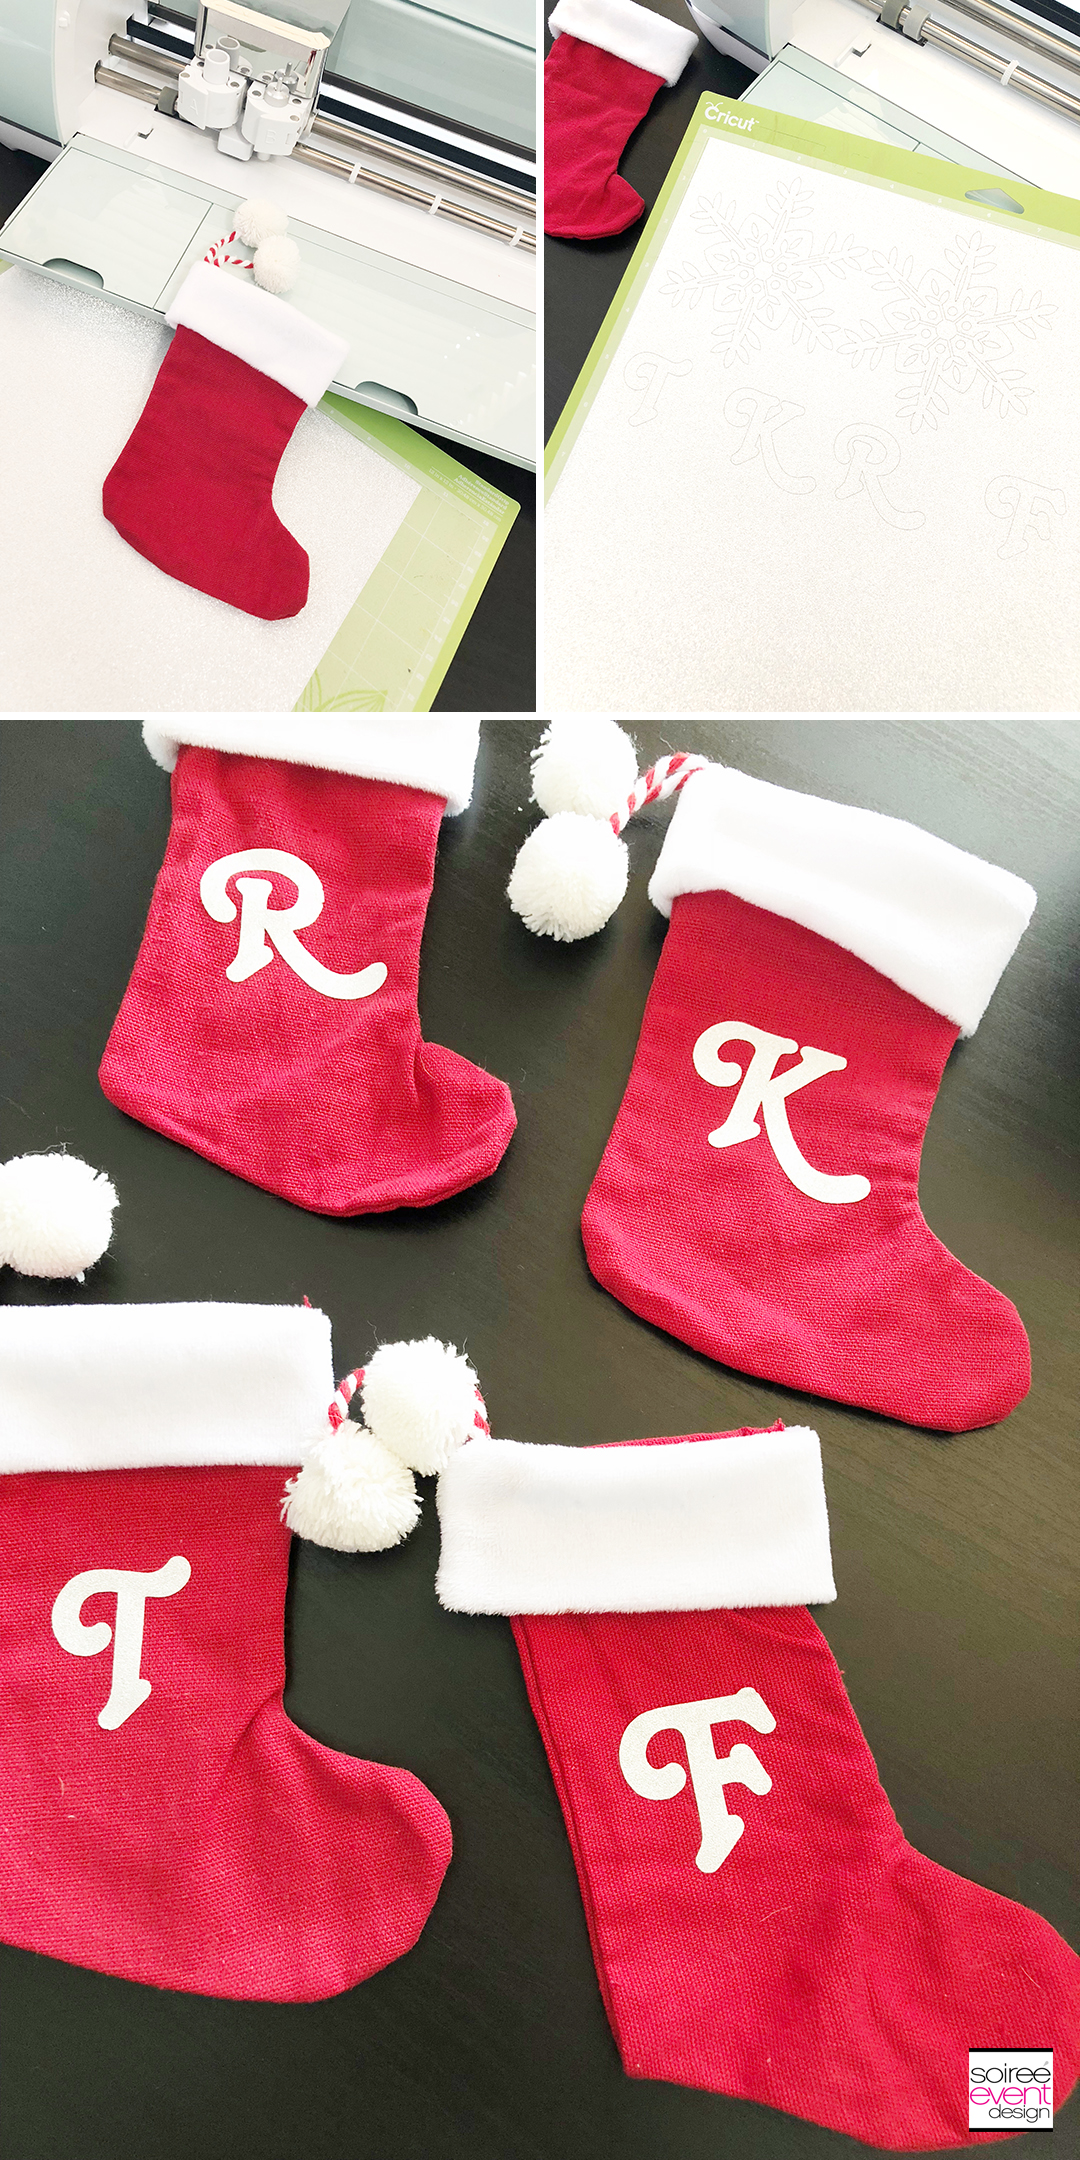
Place a set of silver cutlery inside each of the personalized mini stockings and place one next to each charger plate.
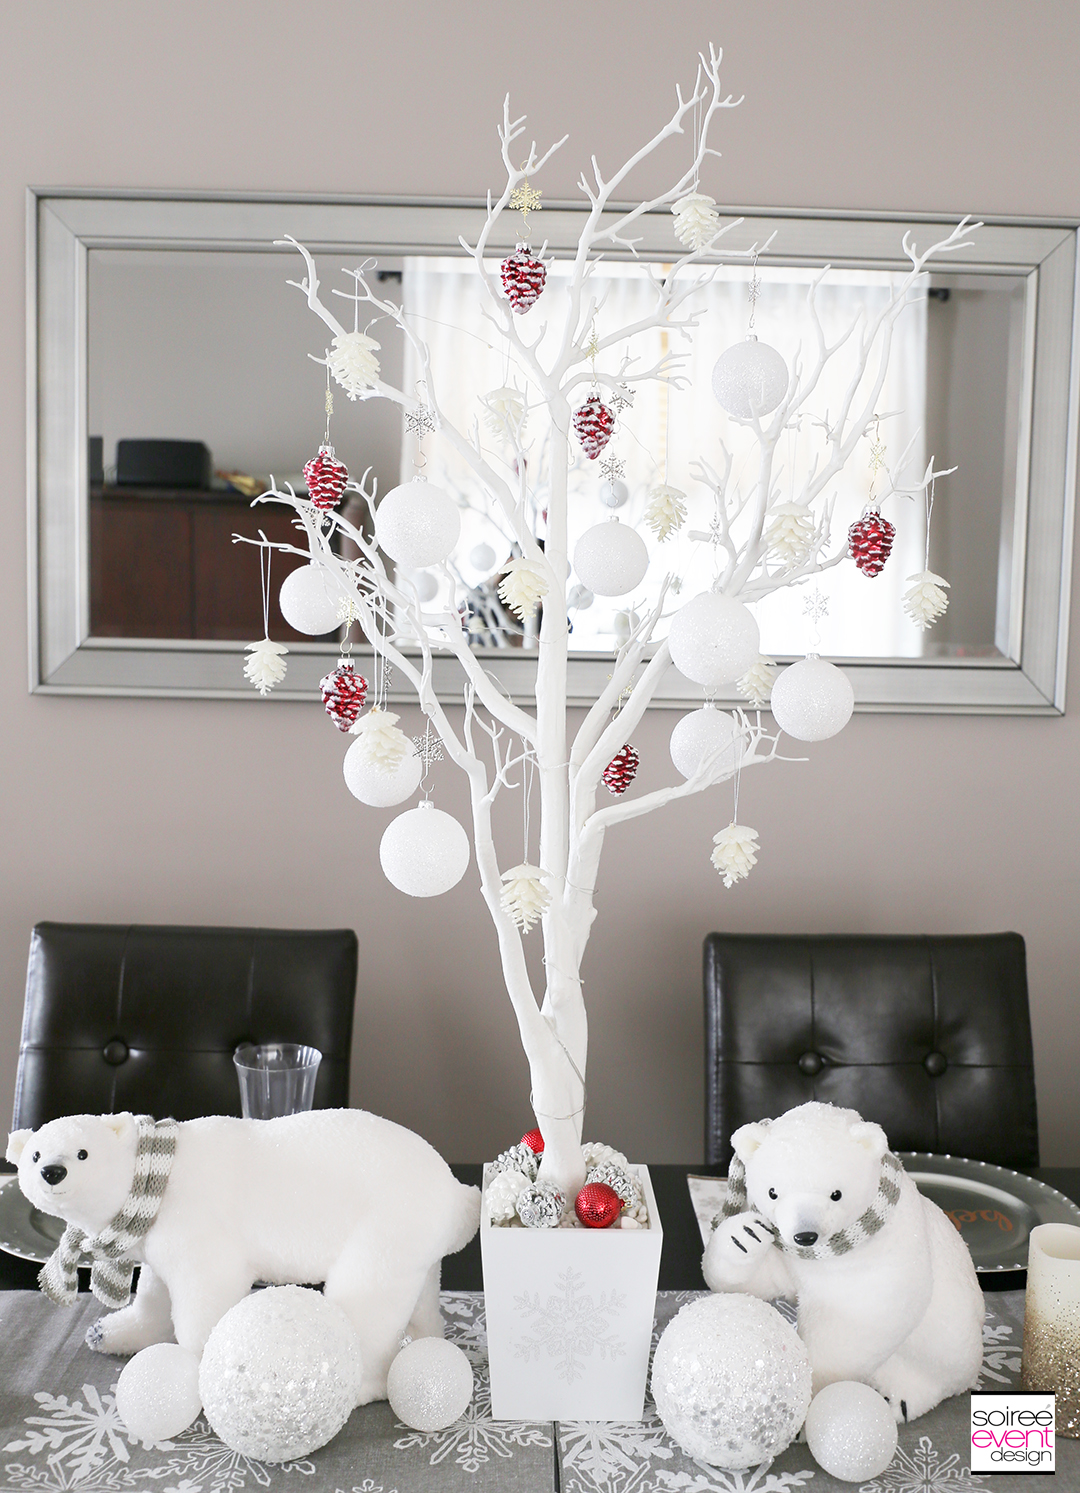
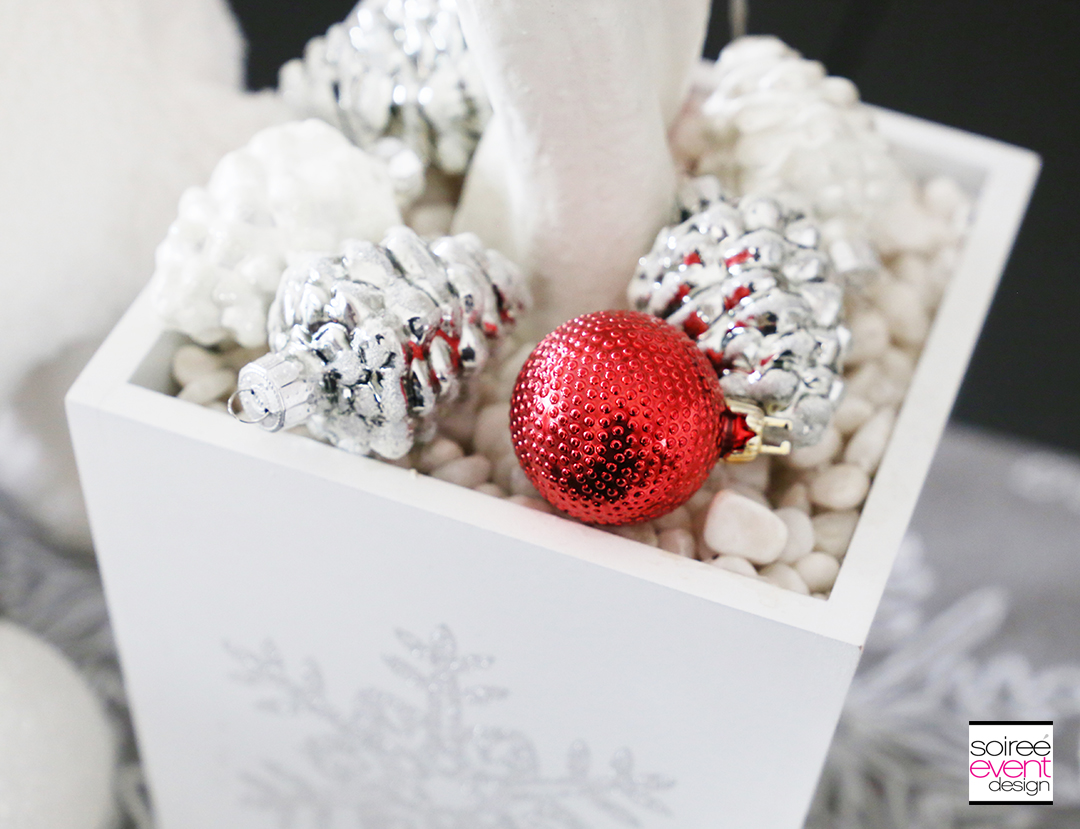
Add additional details with glitter vinyl. Here I added a white glitter vinyl snowflake to the pot of my table’s centerpiece. Awesome, right?
This is a sponsored conversation written by me on behalf of Cricut. The opinions and text are all mine. #CricutMade #CricutHoliday #ad
I have the new Cricut Maker on my wish list this year. If you don’t have one or are even curious about it, check it out for all the details.

PIN FOR LATER!
ENTER TO WIN A NEW CRICUT MAKER!
WANT TO SEE MORE OF MY CRICUT PROJECTS & POSTS?
Click on any of the projects & posts below:
– Merry & Bright Christmas Party with Cricut!
– Make Paper Christmas Tree Decorations with Cricut!
– Make Farmhouse Holiday Decorations with Cricut!
– Check out the NEW Cricut Explore Air™ 2 and up your DIY game!
– My First Project with the new Cricut Explore Air™ 2
– Make Custom Party Plates with the new Cricut Explore Air™ 2
– Make DIY Sweet 16 Party Invitations with Cricut™
– How to Make #16ROCKS! Sweet 16 T-Shirts with Cricut!
– 4th of July Superhero Flag Shield Backpack and Water Bottle with Cricut
WHAT DO YOU THINK?
Do you already have a CRICUT EXPLORE AIR™ 2? What was your favorite project to make with it? If you don’t already have one…share with me your thoughts.
LOOKING FOR MORE IDEAS? FOLLOW ME ON PINTEREST FOR LOTS OF INSPIRATION!
CLICK HERE to check out my PINTEREST BOARD full of recipes, parties, home decor, DIY projects and more!
DON’T MISS A THING!
Be sure to SUBSCRIBE to my blog so you can get all my blog posts delivered right to your email’s inbox so you won’t miss a thing! Subscribing is easy! Just enter your email address in the above right corner of this page and be sure to confirm your email once you get our confirmation to your inbox! That’s it! AND…you’ll get a code for 10% off your next order in our shop. YUP…GOTTA LOVE THAT!
Happy Holidays!
Tonya
This is a sponsored conversation written by me on behalf of Cricut. The opinions and text are all mine.
