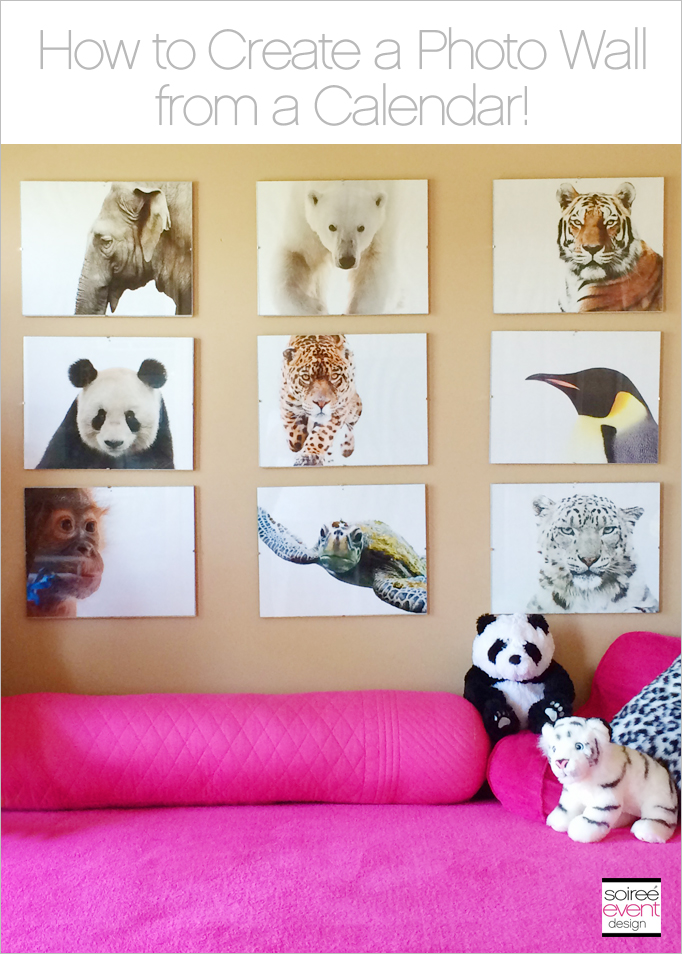
 Hey guys! Today I’m going to show you How to Create a Photo Wall from a Calendar! My 11 year old daughter is a HUGE animal lover and for years now every Christmas she adopts an animal from World Wildlife Fund and in return of her symbolic adoption, WWF sends her a cute plush stuffed animal of the animal she adopted, an adoption certificate, color photo of the animal in their habitat and a gift bag. If you want more info on WWF’s Adoption Kits, click here. She has collected MANY thus far and when it was time to redecorate her room this year, she wanted to display her extensive stuffed animal collection in a grown-up animal themed room. LOVE that she wanted to do this as I’ve been wanting to decorate her room in a Safari theme for a long time.
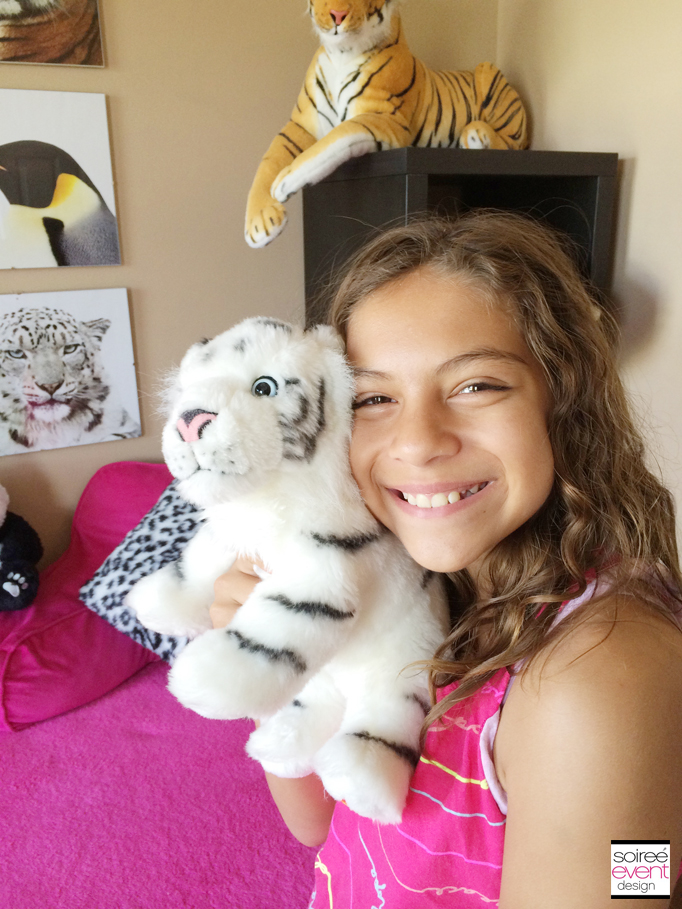
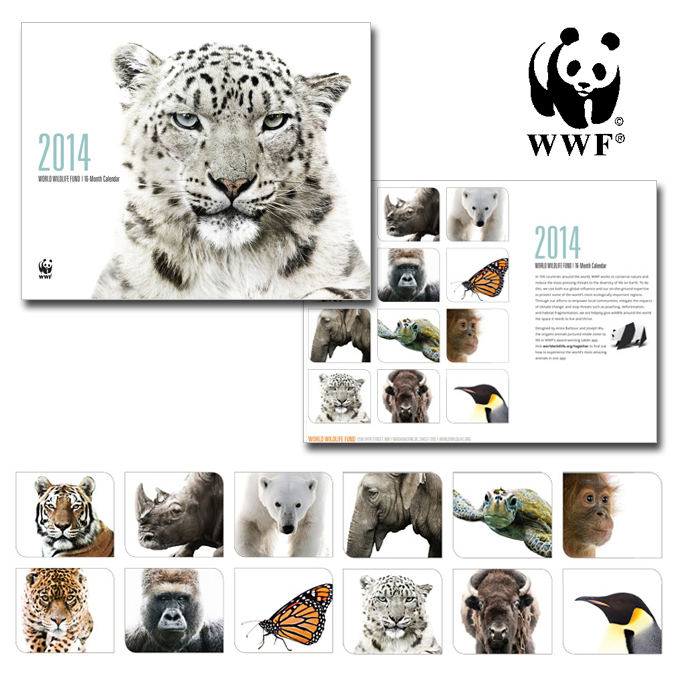
So, last Christmas when placing her order online for a WWF symbolic animal adoption kit, I came across a 2014 WWF Calendar that I though she would like. Win-win for me since a calendar was also on Faith’s Christmas list so why not get one from her favorite charity and donate at the same time. When it arrived, both Faith and I were blown away by the photos inside the calendar! They were just STUNNING! Right then and there, we both agreed that we had to come up with a FABULOUS way to display these. They just couldn’t be displayed one at a time as a calendar. So, I decided to create an awesome PHOTO WALL for her room using the calendar photos and surprise her with a grown-up Safari themed room makeover featuring her favorite animal photos from the calendar!
HOW DID SHE DO THAT?
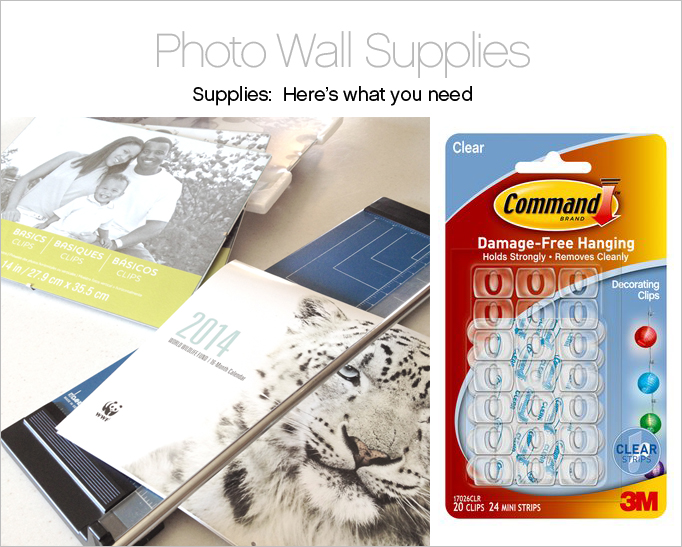
HERE’S WHAT YOU’LL NEED:
• World Wildlife Fund (WWF) 2014 calendar
• 9 BASICS clip frames 11×14
• 1 pack of 3M Command Decorating Clips
• paper cutter or scissors
• level
GIRLFRIEND TIP: You can use any calendar that contains photos you love. The WWF 2014 Calendar that I used is available here for a donation of $25.
HERE’S HOW YOU DO IT!
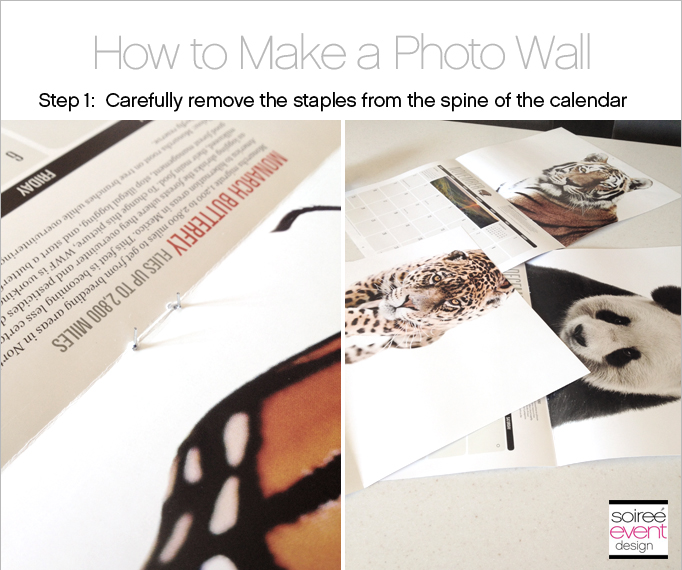
Step 1: REMOVE THE STAPLES
Carefully remove the staples from the spine of the calendar so that all of the pages in the calendar are loose. Do this part carefully to prevent tearing the pages.
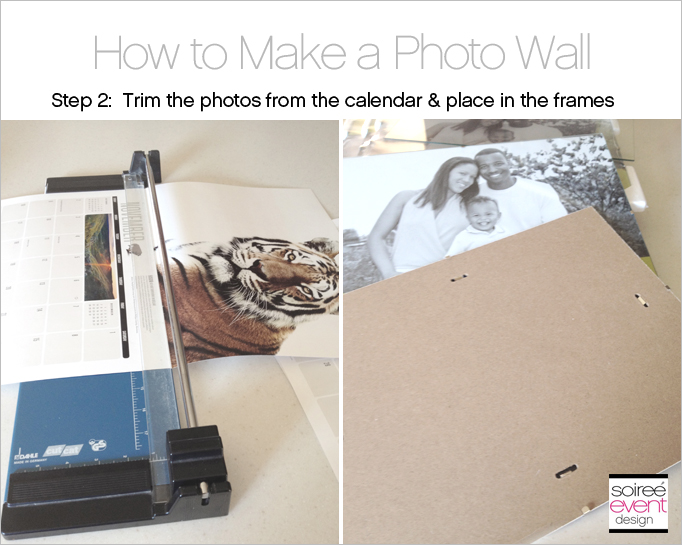
Step 2: TRIM THE PHOTOS FROM THE CALENDAR
Using a paper cutter or scissors, trim the photos from the calendar so that you have only the photos. Once they are all loose and trimmed, place them inside the frames.
GIRLFRIEND TIP: For this look I wanted the photos to float on the wall so I didn’t buy frames with edges. The BASICS Clip Frame, available at Michael’s, was perfect for this as it has no edges and allows the entire photo to be displayed through an acrylic front.
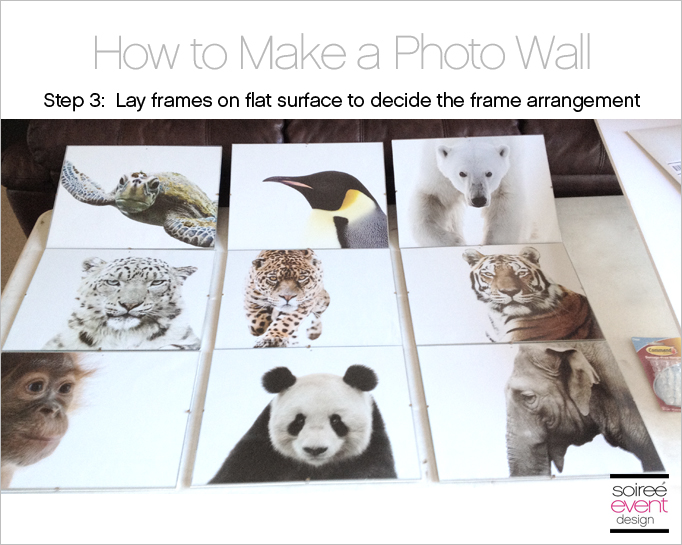
Step 3: DECIDE ON HOW TO ARRANGE THE FRAMES
Place the framed photos on a flat surface and play around with the arrangements before you commit to having them on the wall. Be creative! Play around with different arrangements and stand back and see how you like it.
GIRLFRIEND TIP: Keep in mind the wall space and orientation of the area of the wall you want to create the photo display and be sure to play around with arrangements that will fit in that space. For example, I knew I wanted to hang these centered above Faith’s bed and in-between her two bookcases which is a horizontal orientation so I decided on a horizontal arrangement of 3 rows of 3 photos.
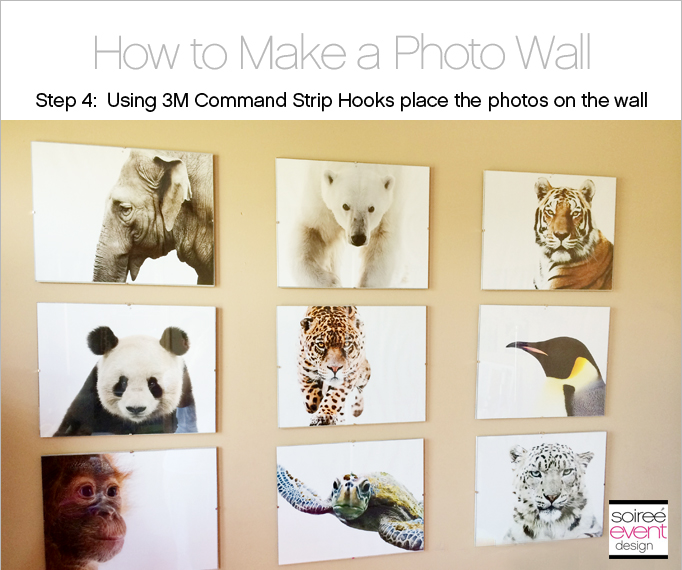
Step 4: HANG THE FRAMES WITH 3M COMMAND DECORATING CLIPS
Once you have decided on the arrangement, now it’s time to hang the frames on the wall. Photo walls require hanging many frames in a small area and when hanging them I prefer to use 3M Command Decorating Clips so that I don’t have to place a bunch of nails in my wall. Use a level to make sure your frames are even when hanging them. These can also be purchased at Michael’s and were conveniently located next to the frames! Gotta love the convenience of that!
GIRLFRIEND TIP: Using the 3M Command Decorating Clips is a MUST for me especially when hanging items in my kid’s rooms as they change their decor frequently and don’t want to have a bunch of nail holes in my walls whenever they change their mind and want something new. The 3M Command products have a damage-free adhesive so they come off the wall without peeling the paint underneath! Trust me, you’ll thank me for this tip! Be sure to check the weight restriction on the packaging of any of the clips to make sure the frame you use isn’t too heavy for the clip. Don’t want them falling off the wall! Use the correct Command clip for the weight of whatever you are hanging.
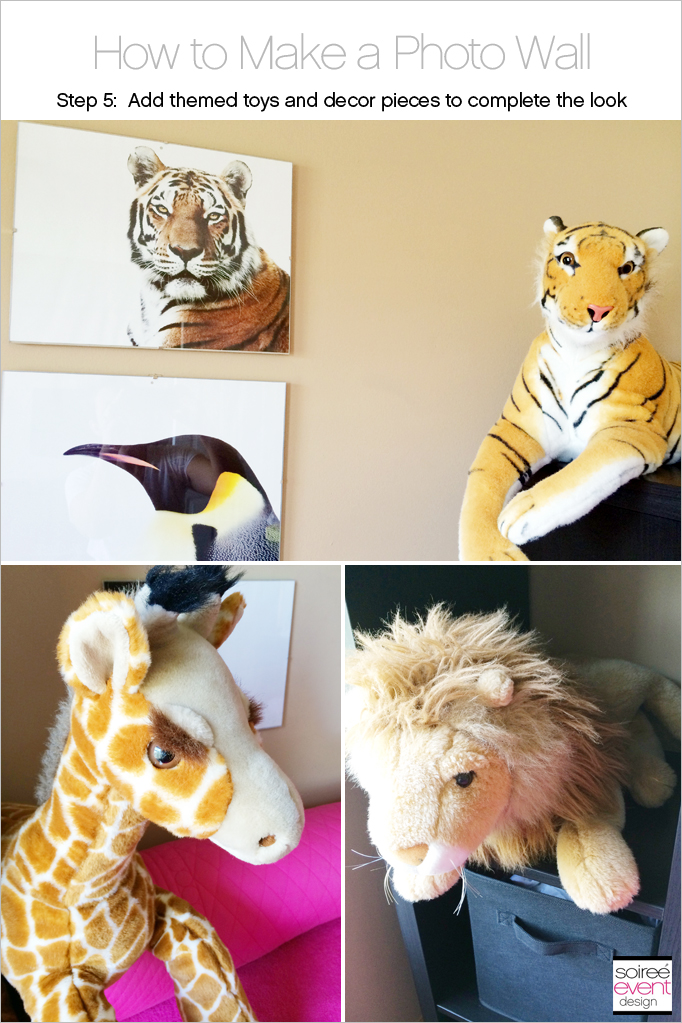
Step 5: ADD THEMED TOYS AND DECOR TO COMPLETE THE LOOK
Now for the fun part! Once the photos are all up on the wall, now it’s time to complete the room transformation. This part was extremely easy (and cost me no money) since Faith has so many stuffed animals to display. I simply arranged them on her bed and bookcases and the final look was AMAZING!
GIRLFRIEND TIP: I did this project while Faith was at school and when she came home and walked into room she was SO EXCITED to see her big girl room reveal! This project is simple and can easily be done in a few hours while your child is at school so you too can surprise them.
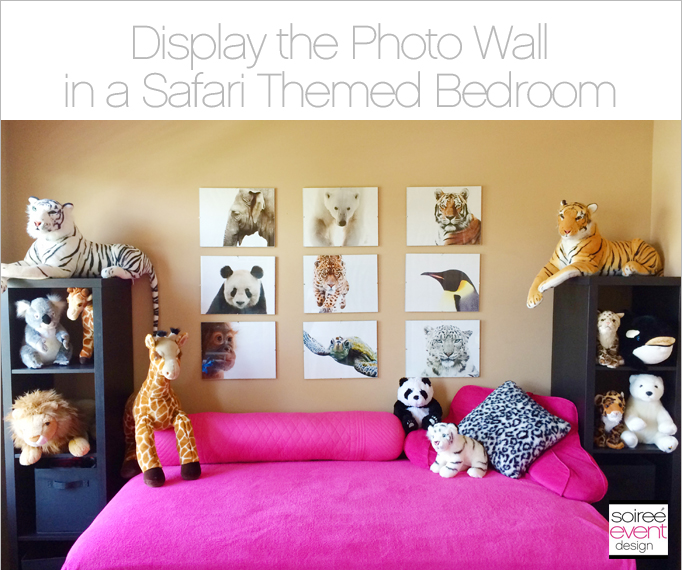
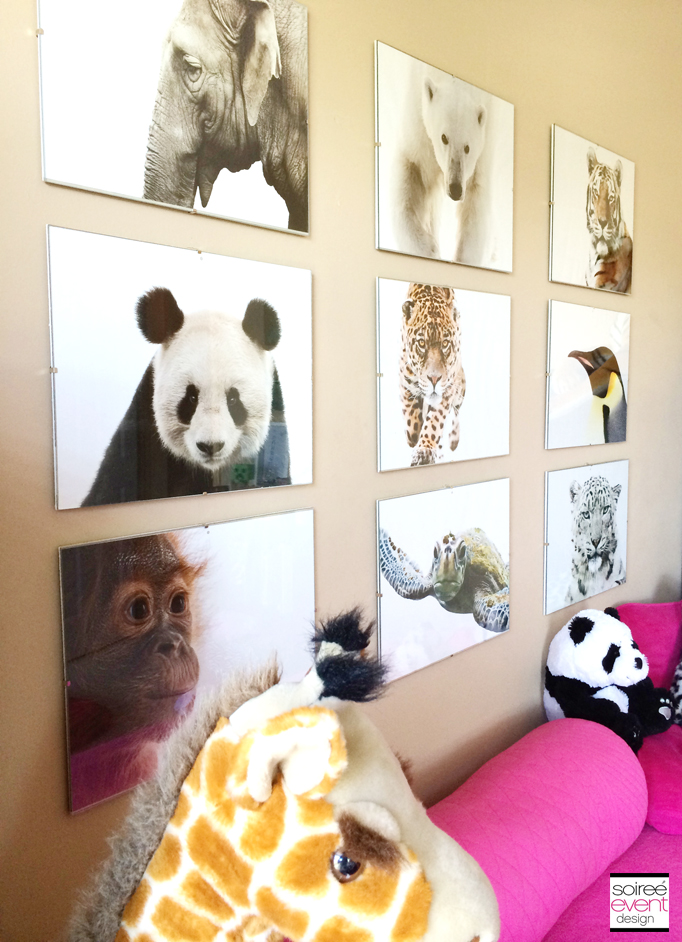
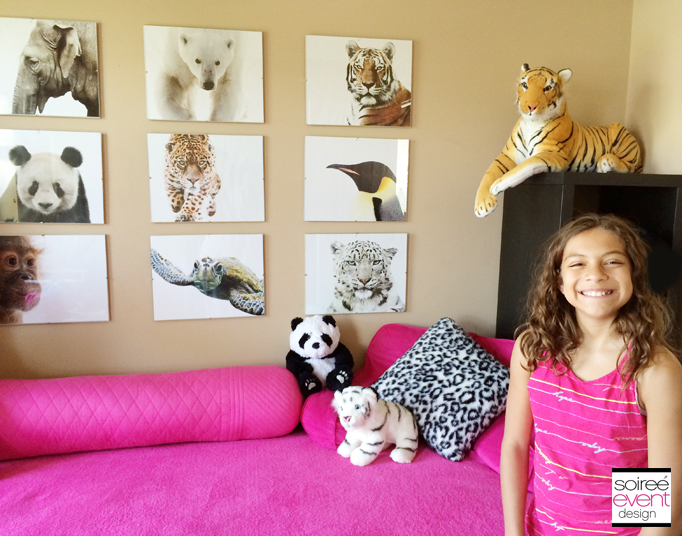
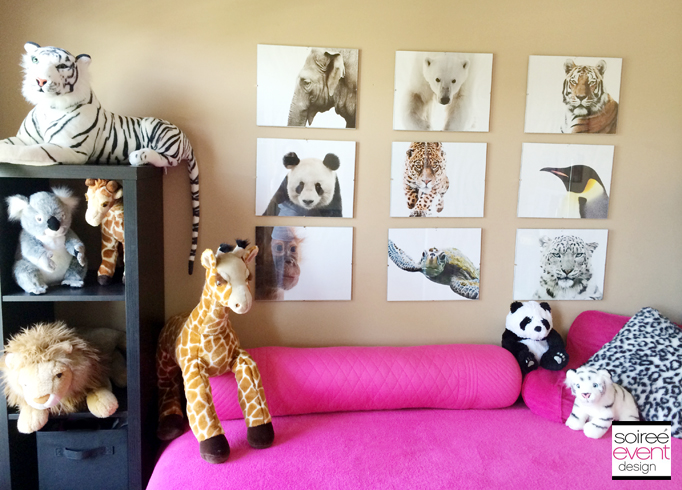
I hope this idea has inspired you to create your own Photo Wall from a calendar. It’s as easy as buying a fabulous calendar full of stunning photos! For us, I was able to create this stunning photo display for Faith AND support her favorite charity, World Wildlife Fund, at the same time! WIN-WIN! Faith wants to have a World Wildlife themed party this year featuring her next animal adoption, the Snow Leopard! Stay tuned for her party and all the details coming soon to the blog.
Want to get more of my tips? Be sure to SUBSCRIBE to my blog so you can get all my blog posts delivered right to your email’s inbox so you won’t miss a thing! Subscribing is easy! Just enter your email address in the above right corner of this page and be sure to confirm your email once you get our confirmation to your inbox! That’s it!
WHERE DID SHE GET THAT?
– Styling & photography: Soiree Event Design
– 3M Command decorating clips and BASICS clip frames: Michaels
– WWF 2014 calendar: World Wildlife Fund
Cheers!
Tonya
All photos and text in this post are copyrighted to Soiree Event Design and may NOT be copied from this site and used in any way without permission from the owner. Pinning images, of course, is allowed and encouraged.
Very cool, Tonya! Love that idea to repurpose the calendar artwork!
Thanks Lynlee! Those photos were just TOO AMAZING not to display!
That is a really neat idea. I would love to make one of those.
Thanks Robin! Go for it!
What a great idea! Also a good way to recycle!
Thanks Paula! I sure wish I had seen your post with the frame templates before I did my wall.
This is such a great idea! I’m going to show this post to my daughter, who is looking for great ways to redecorate her house.
This looks fantastic – and what a great use for an old calendar! And what a happy gal!!
What a brilliant and inexpensive way to decorate. I have a giant empty wall I need to fill and this would be perfect! Now I just have to find the perfect calendar!
what a cute room and a great decorating idea.
That is a briliant Idea I have heard of using calenders as art but not in this way. Love the room
What a fabulous idea and also great recycling. The pictures are gorgeous I have seen those calendars just beautiful. I love that your Daughter is so giving apple does NOT fall far from the tree. Beautiful Girl, Beautiful Heart and Spirit!
What an incredible idea – I love how it turned out!
This is such a great idea!! I think it looks so nice too!
That wall is fantastic! What a special wall for your little lady! Beautiful!
Oh wow that turned out great! Looks professional, looks like your daughter is enjoying them!
This is such a unique idea. I would have never thought of this.
This is such a clever idea! I love the damage-free clips. I have ripped paint off the walls with tape before so these damage-free clips would be great for party supplies.
Wow, this is smart. Especially during that time in january when all the beautiful calendars are half price!
The photo wall looks lovely.
I couldn’t love how that came out more! It looks fantastic and it’s so affordable.
This is such a great idea!
This is a beautiful idea! I have never thought of this before but my daughter will love it!
What a great idea – calendar pics are often so pretty. Isa would love this in her room.
Such a great idea. I used to do that as a kid (minus the actual frames) but calendars have some of the BEST photos/art in them.
I absolutely love this idea. It is so cute. I will be doing this for my girls without a doubt.
My friend did this in her kitchen with flowers and it looked amazing! Great tutorial!
Oh my goodness, thank you! I have about four calendars that I’ve saved over the years, with incredibly gorgeous photos, and not sure what I would do with them. I’ve found the answer! The room as you’ve done it looks stunning.
Wow! I am so amazed at you creative moms and how you make simple things into something beautiful! I would have just bought these in frames and never even thought of doing anything like this! Amazing!
Awesome pictures. Great that you gave all the steps.
I used a few images from a calendar for my daughter’s fairy themed bedroom! It’s a great way to get some really lovely, inexpensive art.
Such a fun idea!
It looks so fancy, great job!
What a great idea! I love it. We are HUGE animal lovers and I know my son would love to have this in his room.
Those are gorgeous.
These look awesome. I’m a little confused though.
1. Your item list says 6 frames, but you have 9 pictures. Was that a typo, or did you make some adjustments that you didn’t describe?
2. The frames are 11 x 14, but the pictures are 12 x 12. How did you add 2 inches to the pictures? Or did you cut the frames?
3. I’m assuming that you used 4 Command hooks per picture, yes?
Just want to understand how to do this properly. Thank you in advance.
Hi Carmen, you will need 9 frames and the calendar is 11×14, not 12×12 so they fit great. The back of the frames I used have one hook so you will need one hook per frame.