I received products from Oriental Trading for this post. All opinions are my own.
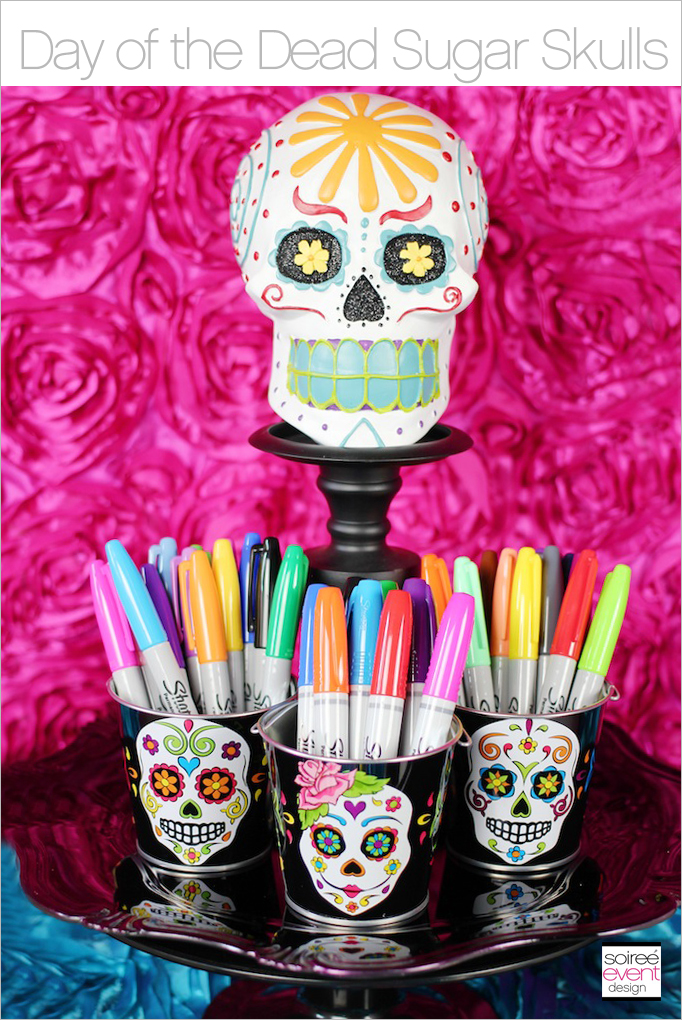
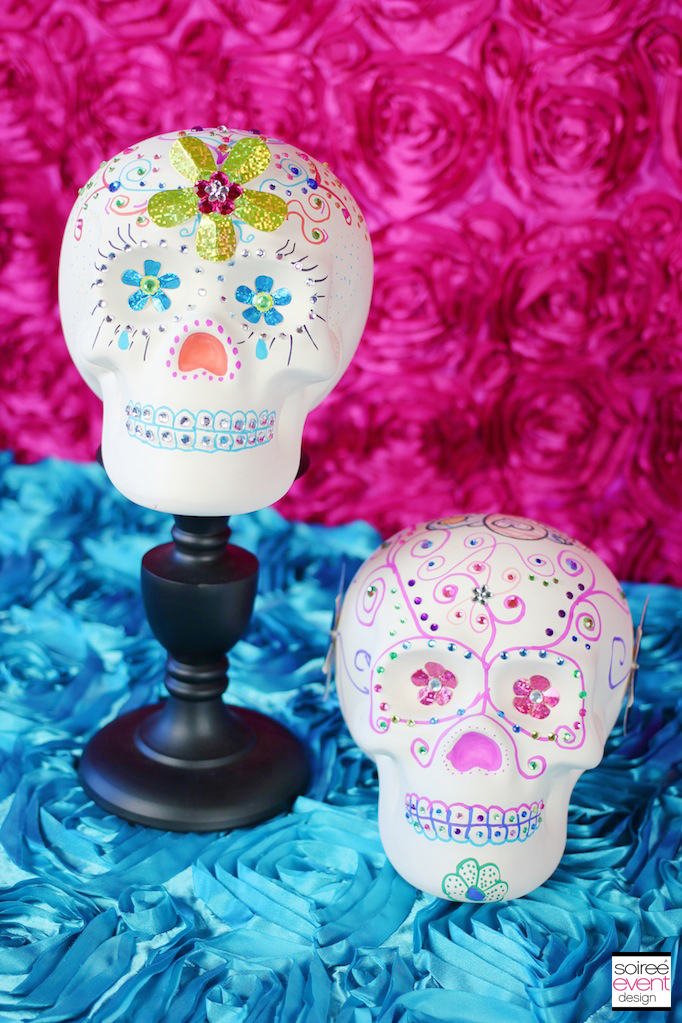
Halloween is fast approaching and I’m celebrating all month with lots of Halloween inspiration! Kicking it off is Day of the Dead party week! Today I’m going to show you How to make Day of the Dead Sugar Skulls Party Decorations like the ones I use in my Day of the Dead Party Dining Table. Check back all week to see the Day of the Dead Party Dining Table, Candy Bar and Photo Booth! I was inspired to do this when I saw these fabulous plain white ceramic skulls from Oriental Trading that was such a blank canvas, I knew I could have fun with my daughter creating decor for our upcoming Monster High Skelita Calaveras Day of the Dead Party!
Check out more of my Day of the Dead party designs:
– Day of the Dead Dining Table
– Day of the Dead Candy Bar
– Day of the Dead Sugar Skulls DIY
– Day of the Dead Photo Booth
HOW DID SHE DO THAT?
Creating these sugar skull decorations was super easy! Especially since all the supplies I needed were all from Oriental Trading which made it convenient to order all I needed in one online order–saving me time from driving all around town picking up supplies!

HERE’S WHAT YOU’LL NEED:
• Ceramic skulls
• Sharpie® Markers (brush tip and medium tip)
• Rhinestone & flower stickers
GIRLFRIEND TIP: This was a great activity to do with my tween daughter, Faith before the party! We had a great time custom designing our sugar skulls! The perfect Mommy/daughter activity. And she was so proud to see her custom skull in the party’s decor on party day!
HERE’S HOW YOU DO IT!
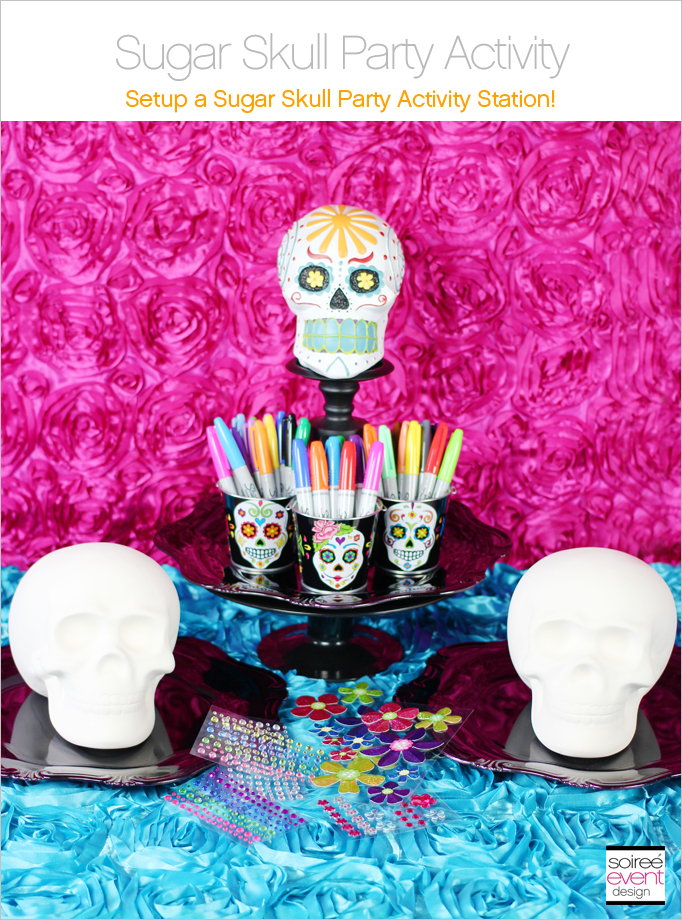
You can setup a Sugar Skull Decorating Activity Station at your next Day of the Dead Party as a fabulous party activity! I created a few in advance with my daughter to use in our Day of the Dead party decor!
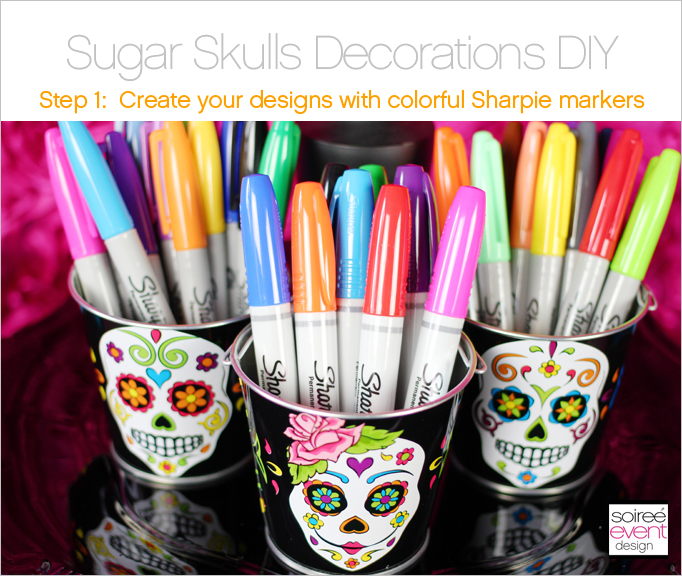
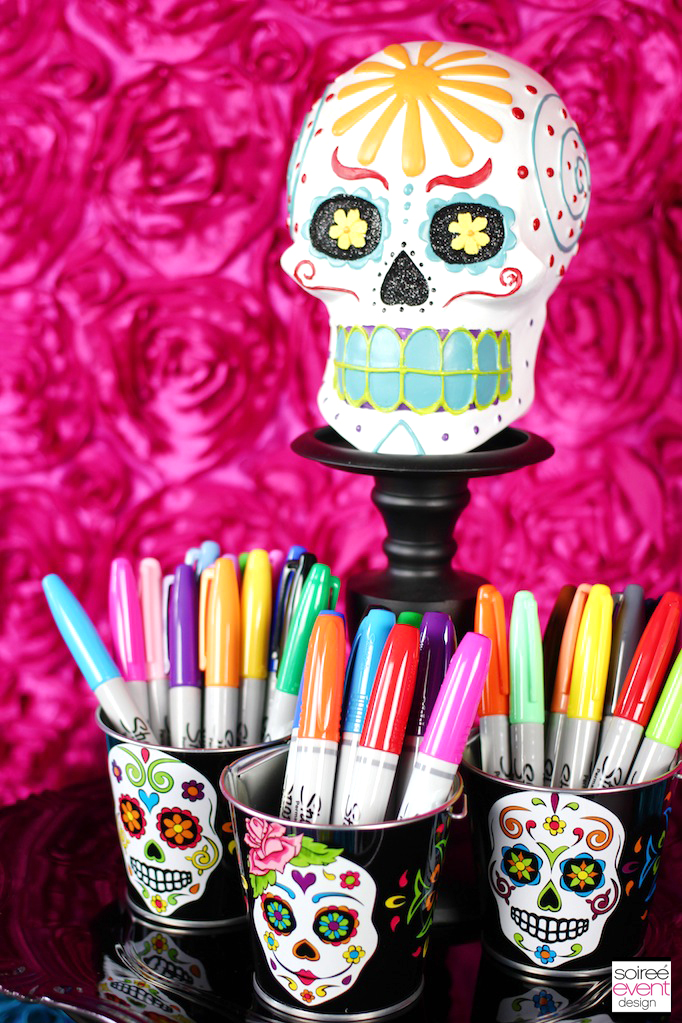
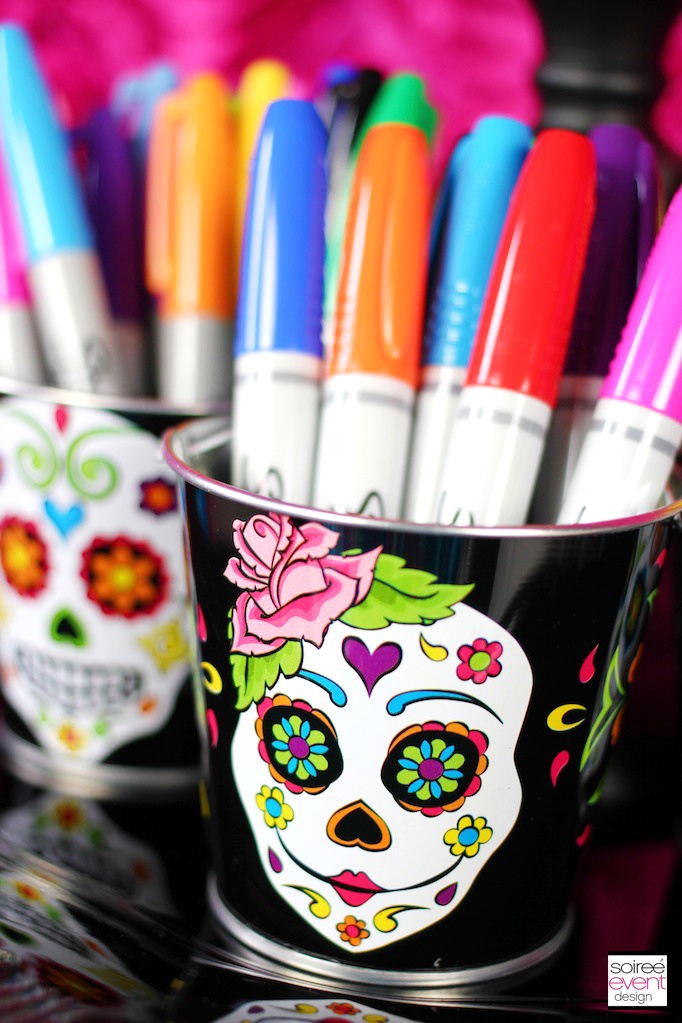
Step 1: Create designs with colorful Sharpie™ markers!
Go crazy and create cool designs all over the skull in bright vibrant Sharpie® markers. The 80’s collection of medium tip Sharpie® markers has a wide variety of bright vibrant colors!
GIRLFRIEND TIP: Be sure to order both the brush tip and the medium tip Sharpies®. The brush tip ones are PERFECT for coloring in larger areas and the medium tips give you the precision you need for more detailed designs. Display them in these colorful Day of the Dead tin pails from Oriental Trading so guests can easily grab them.
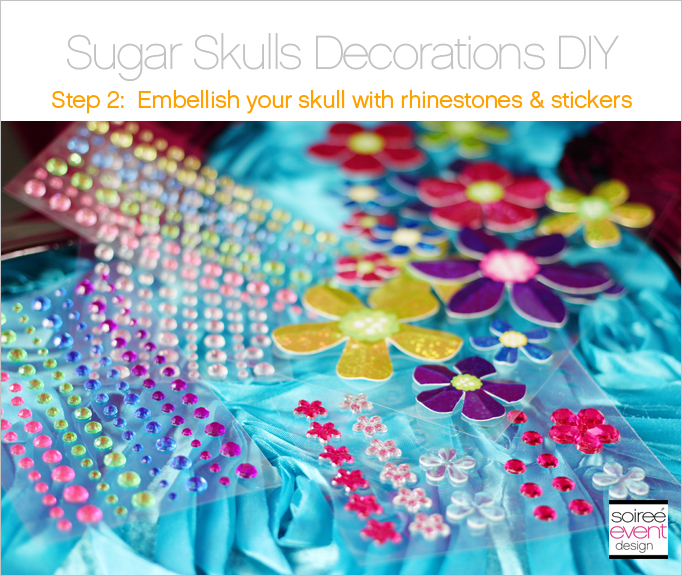
Step 2: Add rhinestone and flower embellishments!
Embellish your skull with colorful rhinestone and flower stickers. Remember sugar skulls are very colorful so the more colors, the better!
GIRLFRIEND TIP: I ALWAYS purchase rhinestone stickers so that I don’t have to bother with the fuss and mess of a hot glue gun! I know, I know…crafters are probably rolling their eyes!
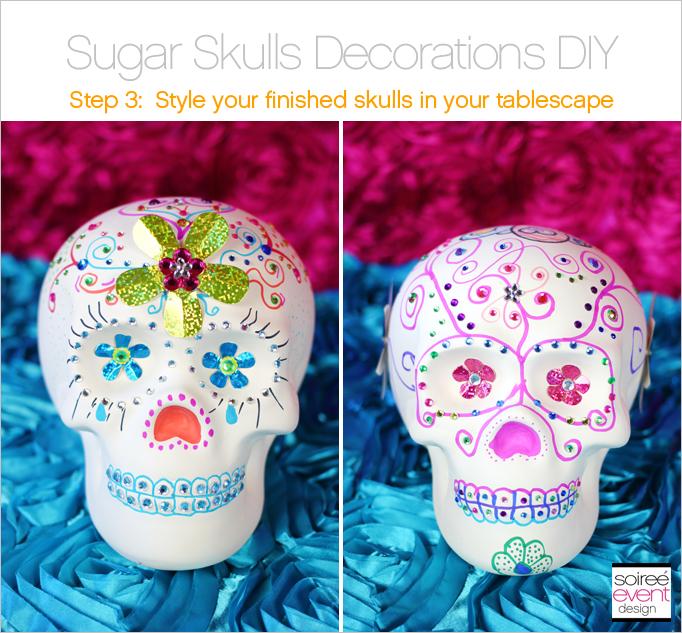
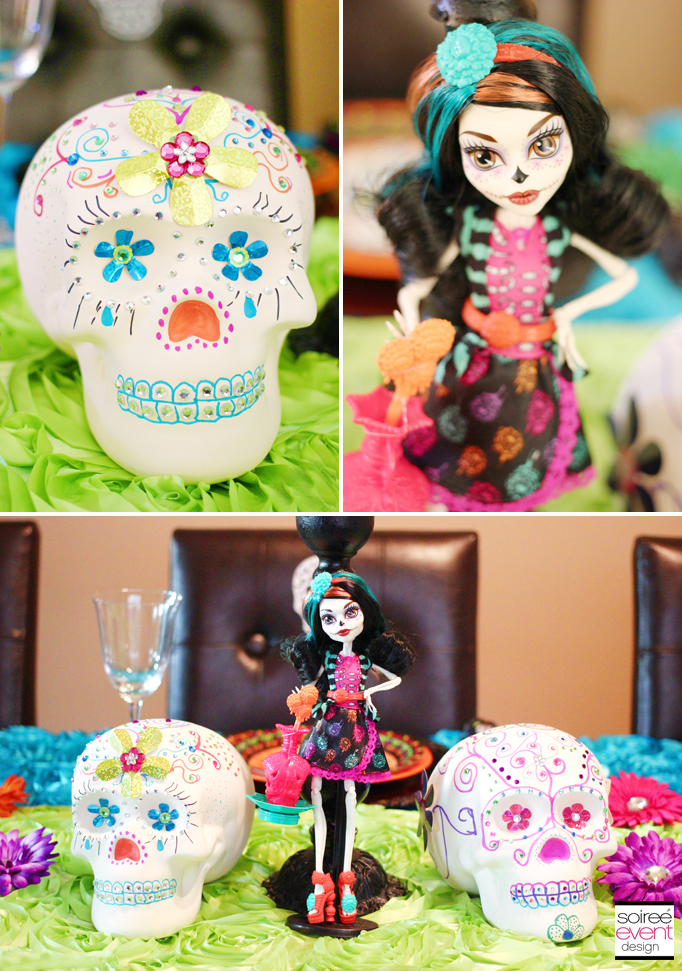
Step 3: Style the sugar skulls in your party decor!
The 2 sugar skulls Faith and I made were perfect in the Monster High Skelita Calaveras dining table centerpiece. Here’s a sneak peek. CLICK HERE TO SEE THE FULL DAY OF THE DEAD DINING TABLE.
I hope this idea has inspired you to create you own Day of the Dead Sugar Skull Party Decorations!
WANT MORE HALLOWEEN PARTY IDEAS?
Click the links below to see lots more of my Halloween Party Ideas
– DIY Day of the Dead Glasses and Tray Set
– How to Make Ghost Pops!
– Boo Bunch Kid Friendly Halloween Party
– DIY Frankenstein Pedestals
– DIY Pumpkin Pedestals 3 Ways!
– Vintage Spider Halloween Party Dining Table
– Black Widow Spider Halloween Party Dining Table
– Bling Spider Halloween Party
– “WitchCRAFT” Halloween Kids Party
– Kid-Friendly Boo Bunch Monster Halloween Party
– “Twilight Fairy’s Hollow” Halloween Kids Party
– “Trick-or-Treat Street” Halloween Kids Party Candy Table
– “Haunted Farmhouse” Adult Halloween Party Dessert Table
– “Spooky Lab” Science Halloween Kids Party
– Day of the Dead Halloween Party
– DIY Day of the Dead Halloween Wreath
– DIY Day of the Dead Headband
– Day of the Dead Halloween Party Candy Table
– Day of the Dead Halloween Party Photo Booth
– DIY Day of the Dead Sugar Skull Party Decorations
– DIY Sparkly Spider Wreath
– Vampire Chocolate Cherry Cupcakes Recipe
– PEANUTS® Great Pumpkin Charlie Brown Halloween Kids Party
– Ghost Pop Recipe
– “Bitten” Snow White Witch’s Lair
– Gold & Plaid Halloween Glam Dinner Party
– Monster High Party “Ghouls RULE” Party
– Monster High Halloween Party “Ghoul Glam”
FOLLOW ME ON PINTEREST FOR LOTS OF INSPIRATION!
CLICK HERE to check out my PINTEREST BOARD full of recipes, parties, home decor, DIY projects and more!
Want to get more of my tips? Be sure to SUBSCRIBE to my blog so you can get all my blog posts delivered right to your email’s inbox so you won’t miss a thing! Subscribing is easy! Just enter your email address in the above right corner of this page and be sure to confirm your email once you get our confirmation to your inbox! That’s it!
WHERE DID SHE GET THAT?
– Styling & photography: Soiree Event Design
– Plain white ceramic skulls, Sharpie® markers, rhinestone stickers & Day Of The Dead tin pails: Oriental Trading
All photos and text in this post are copyrighted to Soiree Event Design and may NOT be copied from this site and used in any way without permission from the owner. Pinning images, of course, is allowed and encouraged.
That is just amazing love it! What a fun project indeed.
Great tutorial — I love Shapries!
Love it!! Working on a Dia De Los Muertos Party on a budget myself and wish I saw these at OTC!
Very cool!!!!! What a fun idea!
Great tutorial! Such a fun and original decoration!
These are awesome and I’m sure I could get all three bonus daughters to participate! Thanks for the idea.
it’s so creepy and cute at the same time. Love that you used sharpies. off to pin! 🙂
Great tutorial! Thanks for sharing!
I need those Brush Sharpies! This is such a good idea!
Wonderful idea about the sharpies! These look really pretty!
well how much FUN is this! Such a cool activity to have set up. Now I wanna decorate one too! 😉
Those skulls are so cool. Perfect for Halloween.
Oh, that is so cool! I can’t believe how great they came out using Sharpies as a base. Awesome.
Sharpies are a must, I use ours all the time. Love all the bright colors of your decorations.
These are really neat! It’s definitely something different than the usual pumpkin ideas.
Absolutely adorable! Love the sugar skull designs and a festive away to celebrate Halloween or Dia de los muertos.
Thanks for sharing. This is something my daughter and I could enjoy creating together.
What a fun hallloween party project for the adults. These are really pretty.
Those are awesome! You come up with the most creative and original ideas!
I am super-impressed… what a great idea. I literally want to go out and get these to make with my kids… FUN!
That Sharpie rainbow is a crafter’s dream! Oriental Trading is too. They really have the best stuff at the best prices. I’ve donated their products to my son’s daycare before.
That skull is amazing!
I do not celebrate Halloween, but these ideas with the Sharpies could be translated to other themes also.
Those are awesome! You totally blinged out sugar skulls like I’ve never seen!
The sugar skulls looks amazing and I think it would actually be a fun Halloween themed activity as well as a super cool party decoration!
I’m loving all of this Day of the Dead stuff. And this craft is really great – my girls would love this.
So awesome and so easy! Love crafts that are like that. I never would have guessed you made those skulls. They totally look like something you could pay big bucks for to decorate your table. – Katy
I love how that turned out. So colorful and fun!
This is AWESOME. My son made a sugar skull when he was in Kindergarten (he loved doing it), but it was sad that he couldn’t “keep” it! This idea combines the best of all worlds (he loves Sharpies; he loves anything arts-and-craftsy; and he loves to get creative with anything related to the month of Halloween. I know he’ll love it!
Sugar skulls are so neat. I need to look into the whole meaning behind them.
You can do anything with a Sharpie! Love those tips!
These are such cute decorations.