This is a sponsored conversation written by me on behalf of Cricut. The opinions and text are all mine. #CricutMade #ad
Hey party peeps! I’m in full on party planning mode for my daughter Riley’s birthday party coming up in a few weeks. I have been dying to try out my new Cricut Explore Air™ 2 machine to make a few things for her party. Well, today I’m excited to show you How to Make Custom Party Plates with the Cricut Explore Air™ 2. They are super easy and look AMAZING!
MAKE CUSTOM PARTY PLATES WITH THE CRICUT EXPLORE AIR™ 2
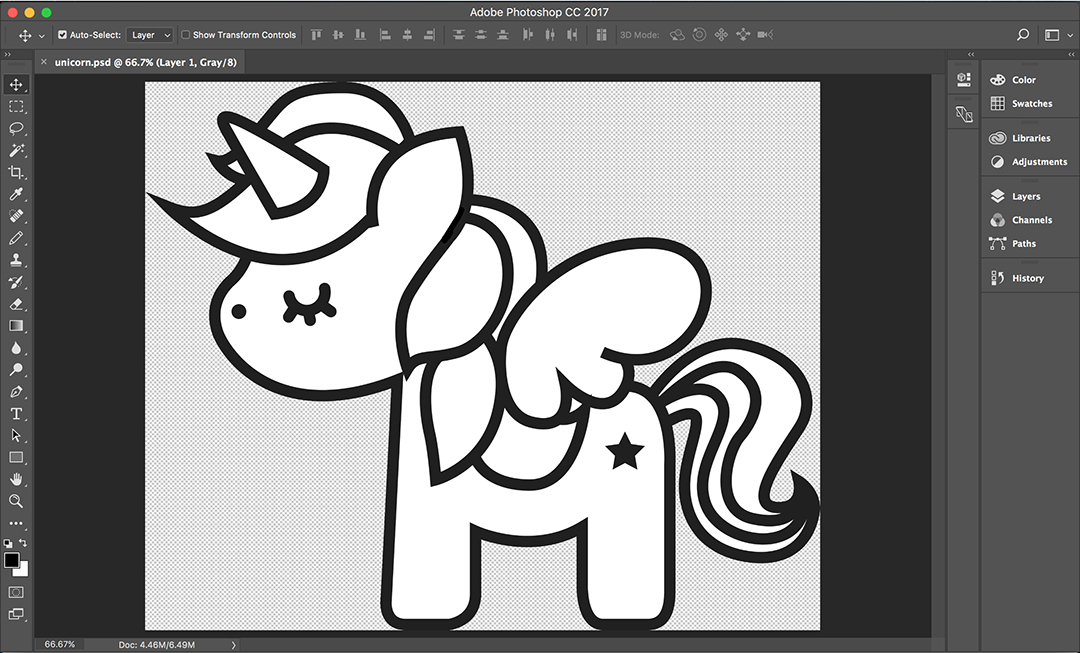
You guys know that I just got the new Cricut Explore Air™ 2 a few weeks ago. As a self-professed Cricut newbie, I can’t wait to see all it can do! When planning Riley’s party, I couldn’t find plates I liked that matched her party theme and colors, so I decided to make my own with plain paper plates and my Cricut Explore Air™ 2 using one of the design elements from her party printables – this super cute UNICORN!
What Do You Need?
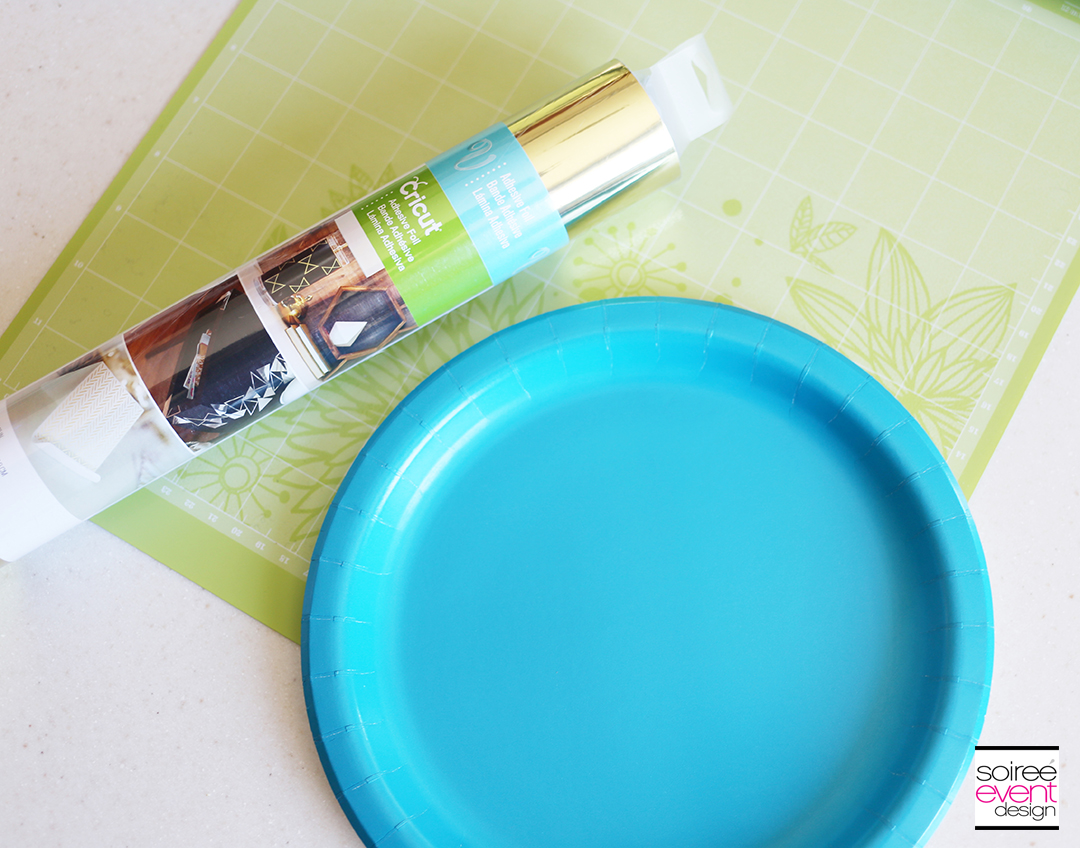
All I needed were solid color plates that matched the party colors, Cricut’s Adhesive Foil in gold and Cricut Transfer Tape. Let me show you how I made the custom plates.
STEP 1 – Upload Your Own Image!
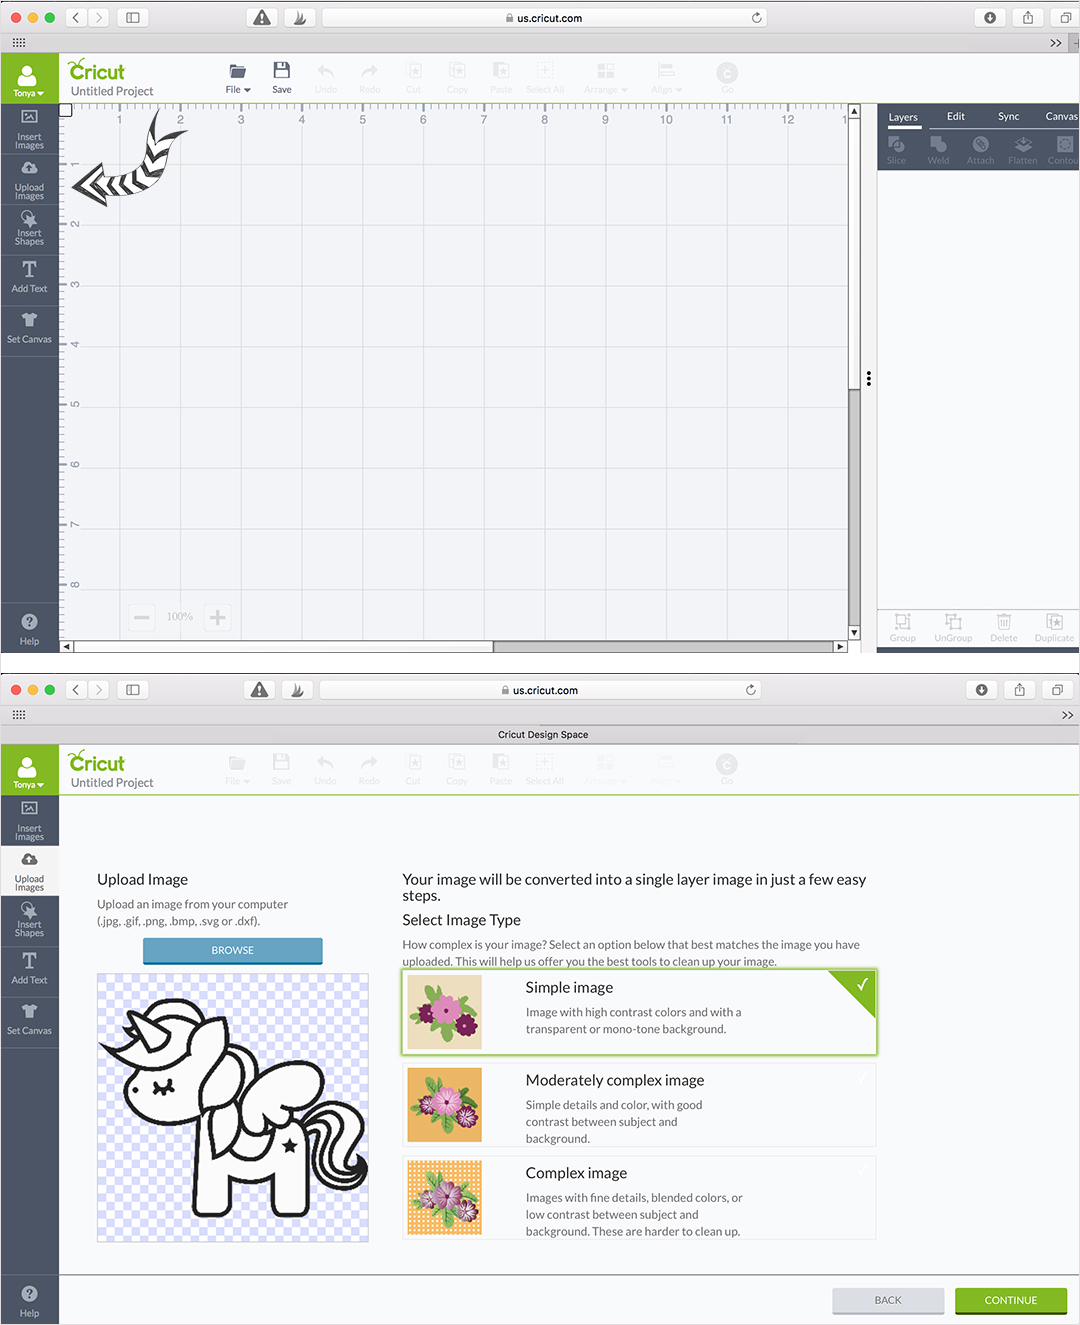
Cricut has an online interface called Cricut Design Space that walks you through every step of your project. Simply turn on your machine, connect to your computer and you’re ready to go! Log on to Cricut.com/design and click on UPLOAD IMAGES. Upload your own image as a .jpg, .gif, .png, .bmp, .svg or .dxf file. After it’s uploaded, it will ask you how complex your design is. My unicorn image is just a black and white line art, so I chose the SIMPLE IMAGE option and pressed continue.
STEP 2 – Prepare Your Image for Cutting!
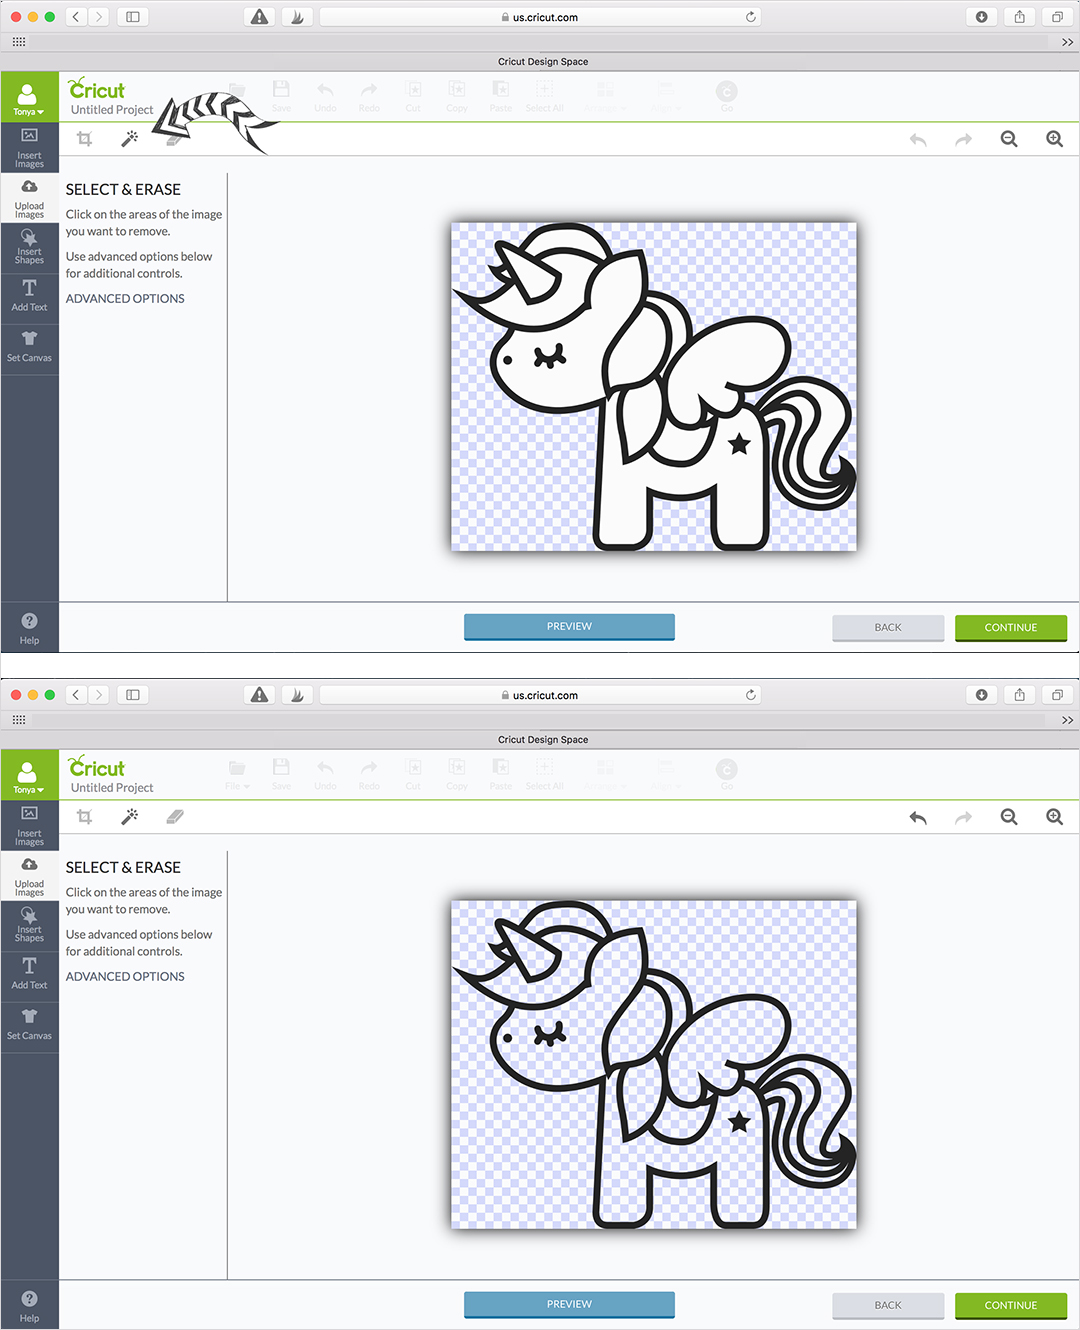
Once I have my image uploaded, I now have a preview of my image in Cricut Design Space. I used the magic wand tool (shown below) and clicked on all the white areas inside my unicorn image to remove it so that only the outline remained. I did this so the Cricut will cut out the outline of the unicorn only. When you’re done, press Continue.
STEP 3 – Save Your Image!
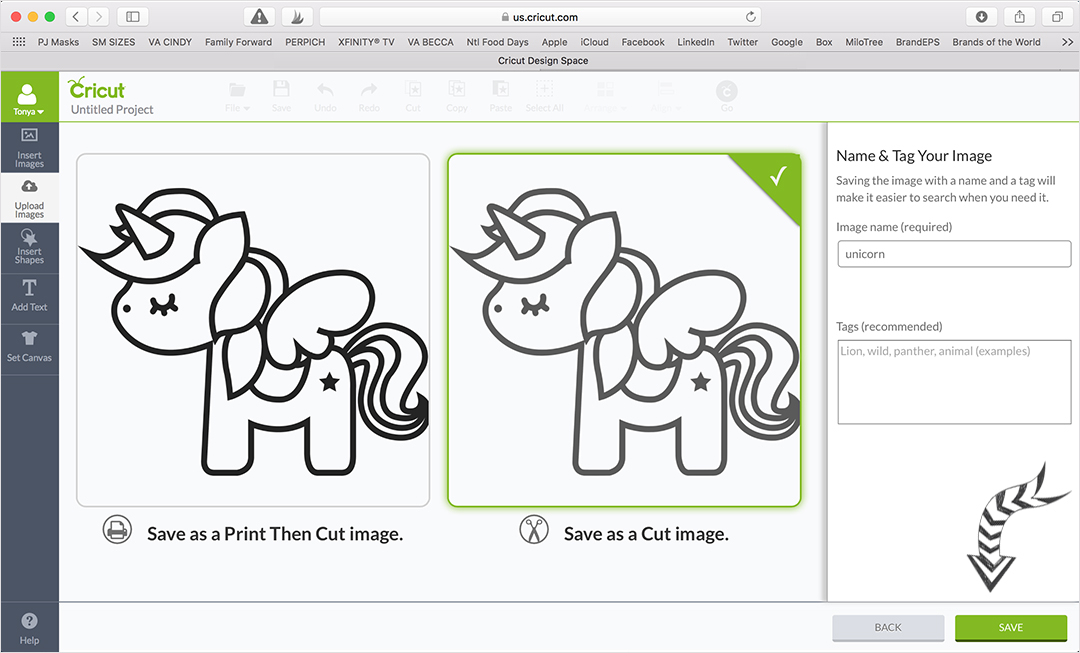
Next, I have the option to save my image as a “Print Then Cut” or “Cut Image”. For the look I want, I only want to cut out the outline of the unicorn from the gold foil, so I chose the “Save as a Cut Image”.
STEP 4 – Place Your Image on the Digital Mat!
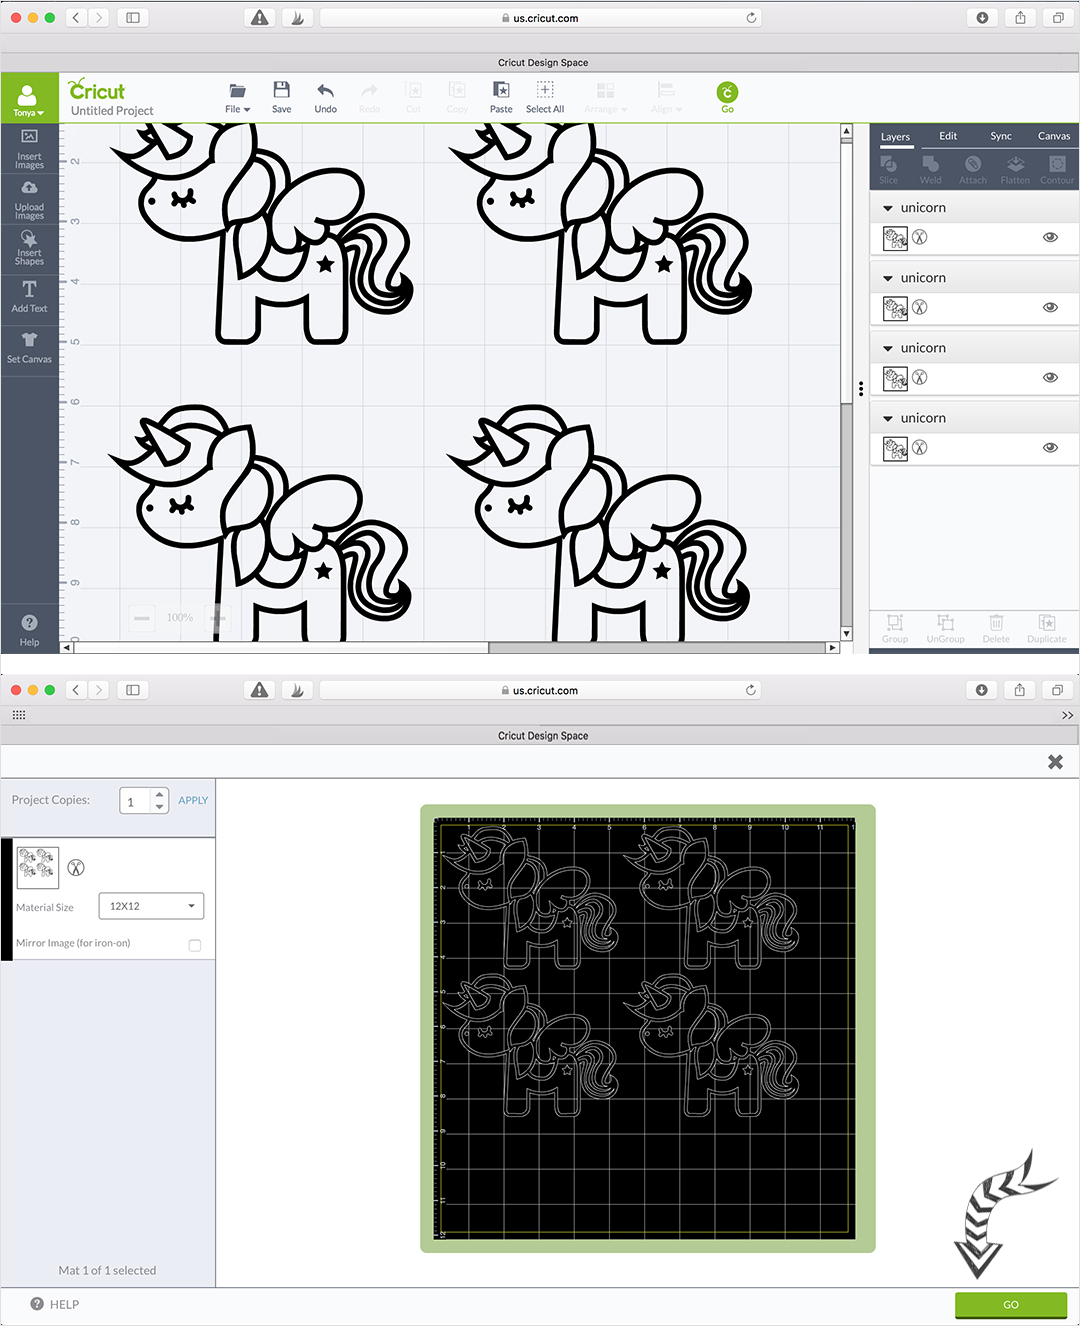
On the next screen it puts your image on a mat with rulers that resembles the Grip Mat that you load your paper into the Cricut. There you can change the size and duplicate the image on the mat. I’m using 8 3/4″ plates, so I made my unicorn image 5″ so it will fit in the middle of the plate. I need four plates for Riley’s party, so I duplicated the unicorn image four times. Since I’m using a 12″x12″ piece of gold foil, I can easily get four unicorns cut out of that one piece all at one time.
GIRLFRIEND TIP: If you want to make more than four plates, you can simply print multiple copies of this. They will print in multiples of four.
STEP 5 -Load The Foil Sheet Into Your Cricut & CUT!
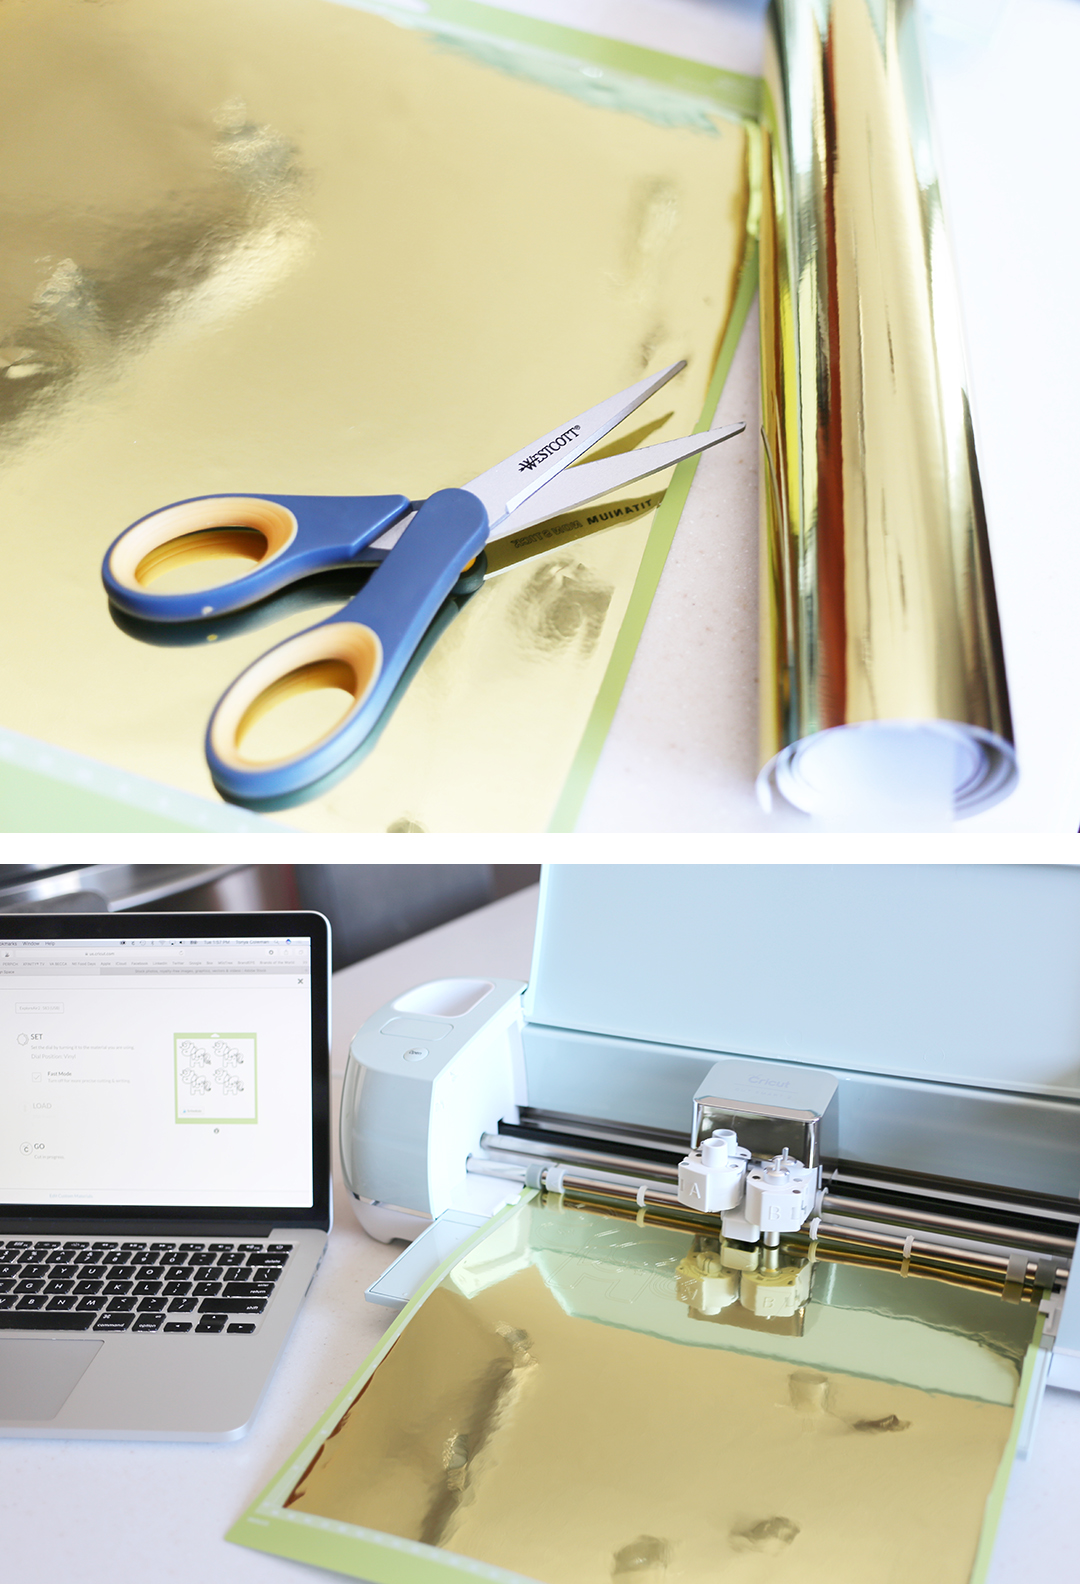
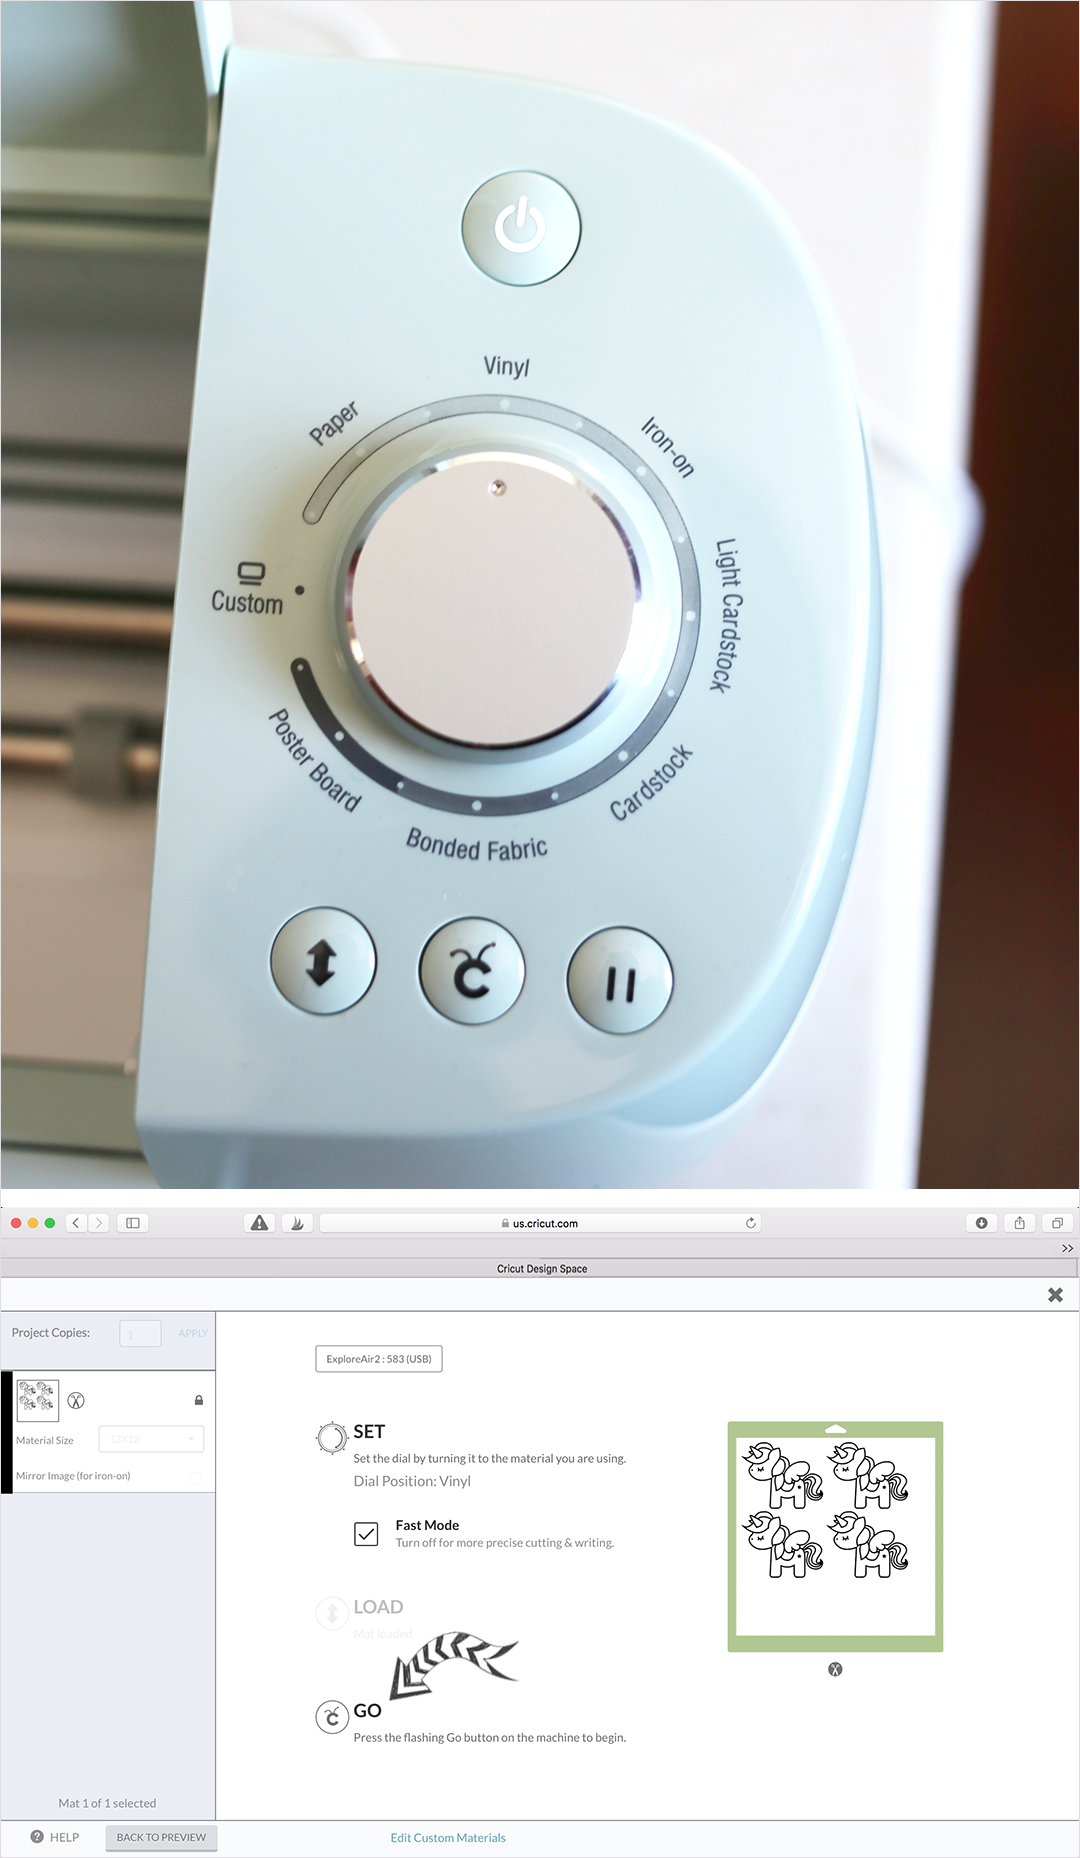
The adhesive foil comes on a roll, so I had to cut off a 12″ piece then place it on the mat. Load the mat into the Cricut, turn the dial to the Vinyl setting and press GO on the computer and then on the Cricut. It only took 3 minutes to cut out these four unicorns! Gotta love that!
STEP 6 – Unload the Mat & Remove Foil!
Hit the unload button and remove the mat from the Cricut. Carefully lift the foil from the paper backing starting from one corner until fully removed. The unicorn image will remain on the mat.
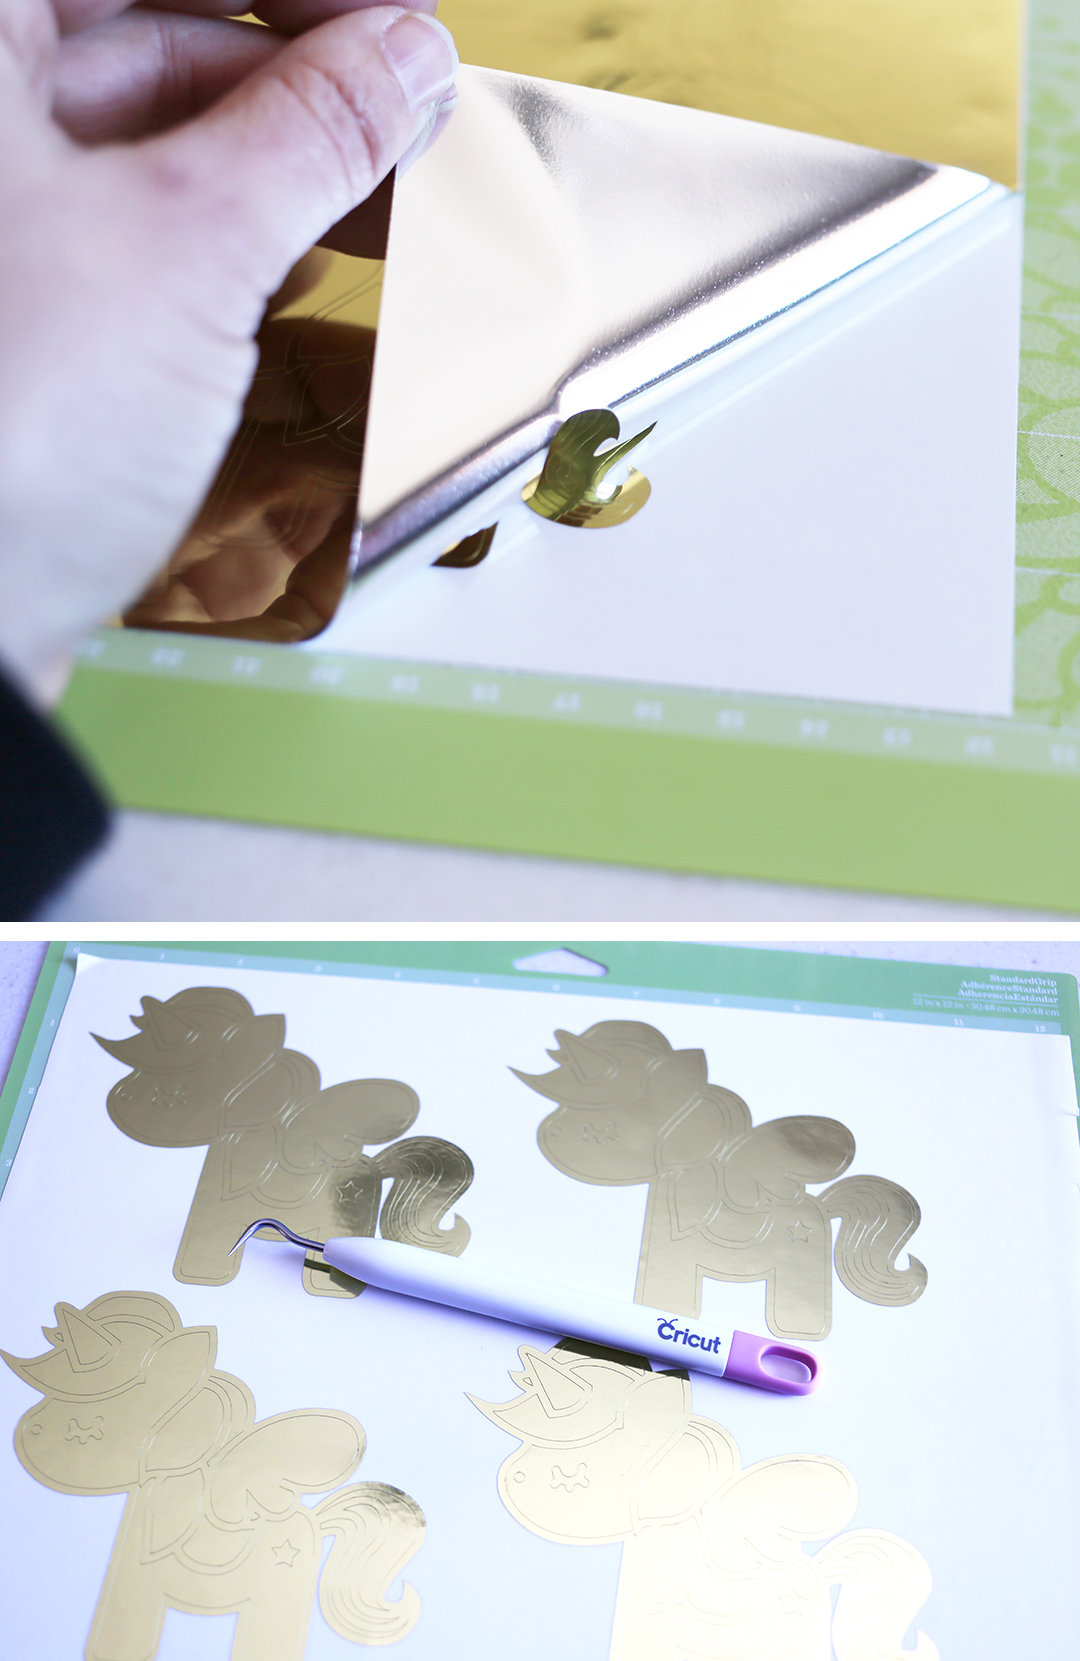
Using the Cricut Weeder Tool, remove the inner parts of foil so that only the outline remains.
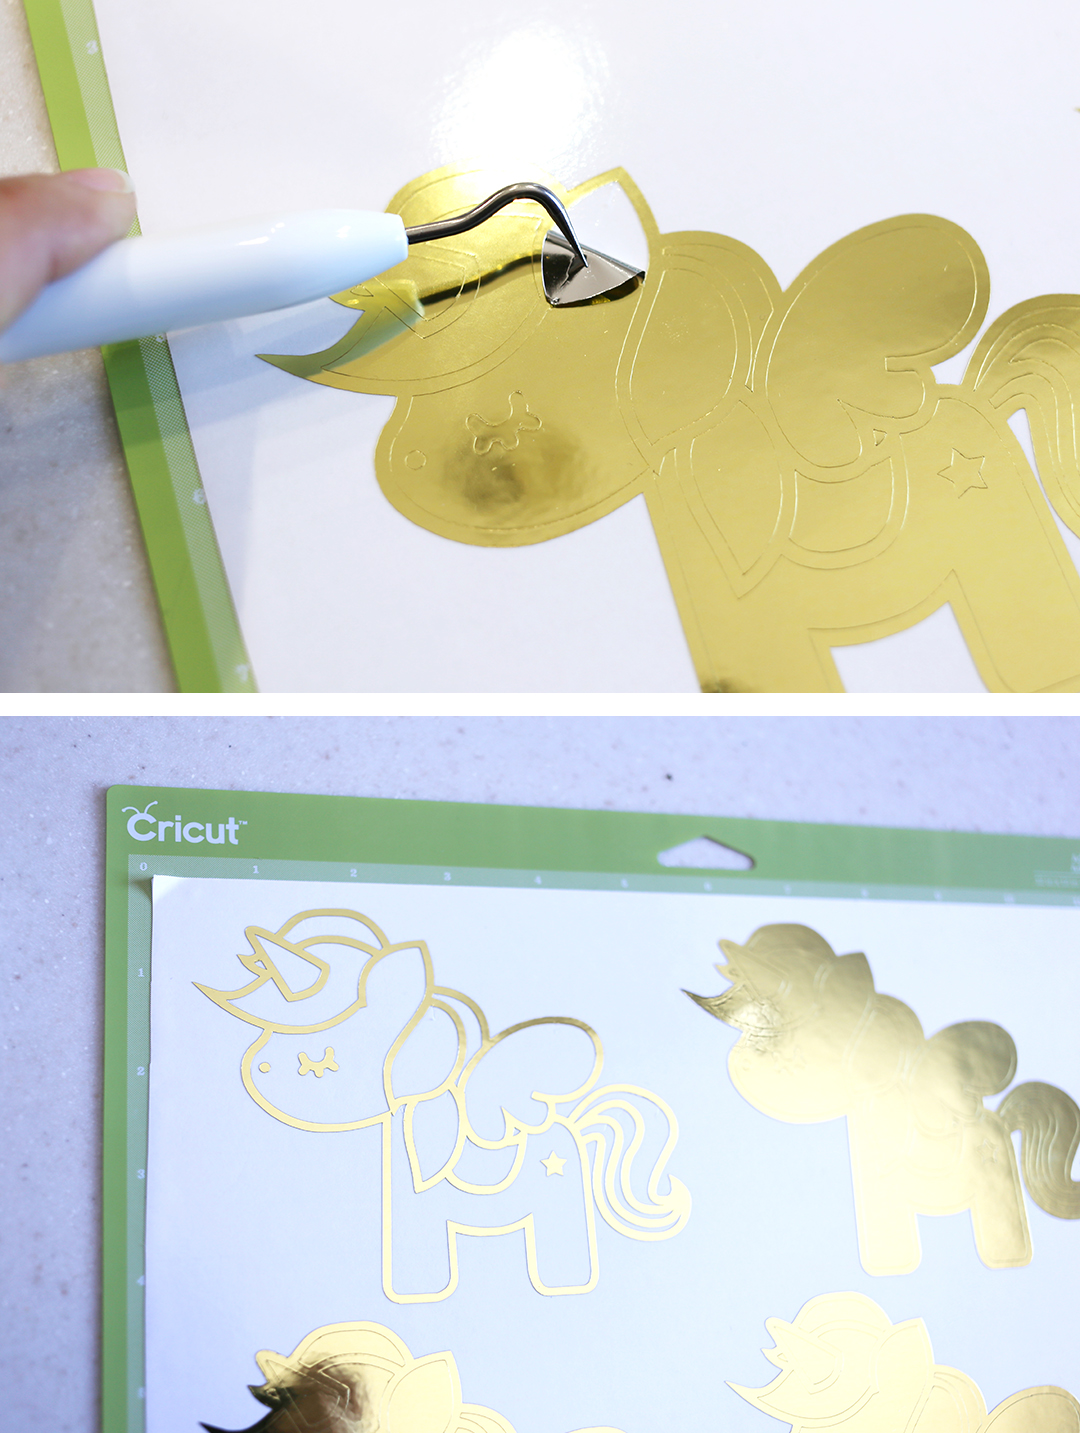
STEP 7 – Place the Foil Image on Your Plate!
Place a piece of transfer tape over the unicorn images and smooth it down with the scraper tool so that the tape adheres to the image completely. Carefully lift the tape with the foil image from the paper backing and place it on your paper plate. Be sure to start at one end and smooth the foil down with the scraper tool as you go on to the plate.
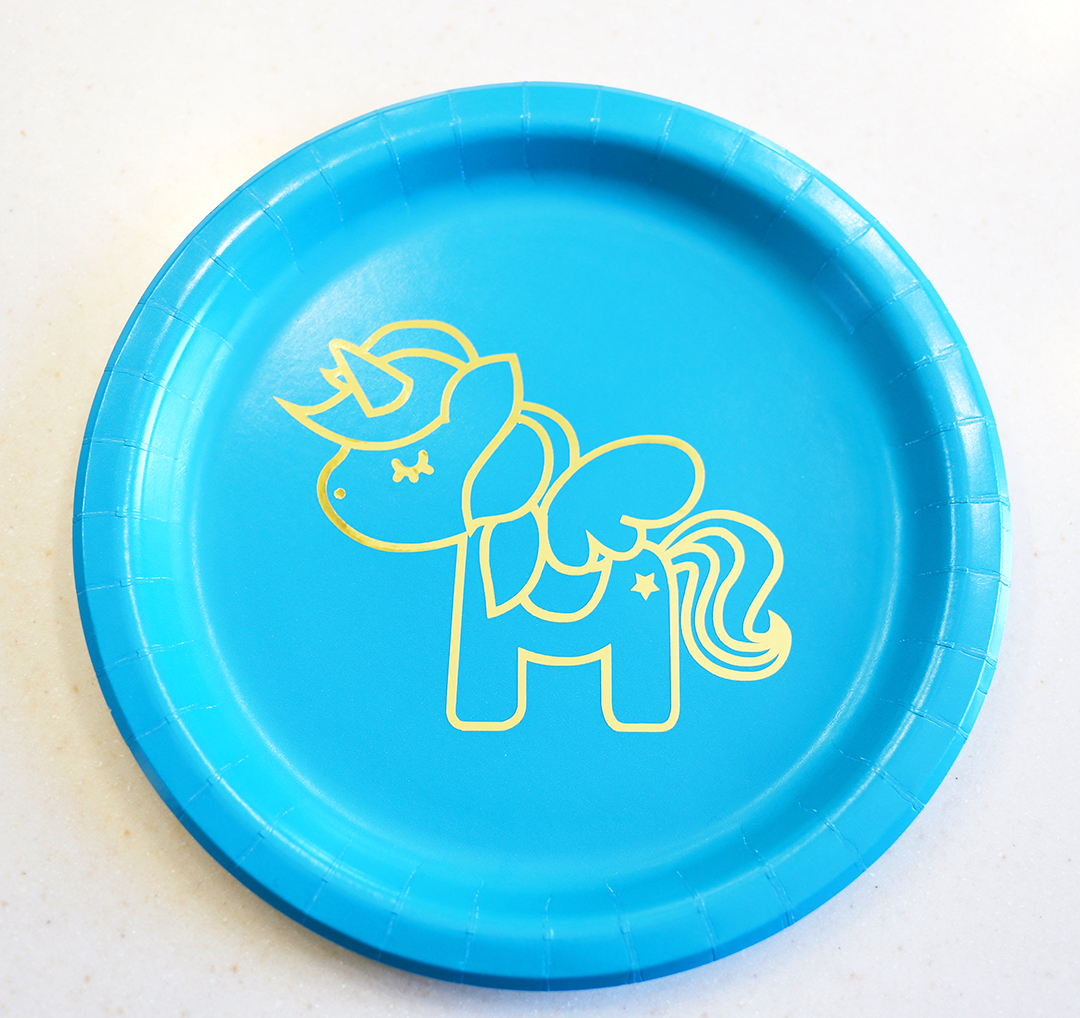
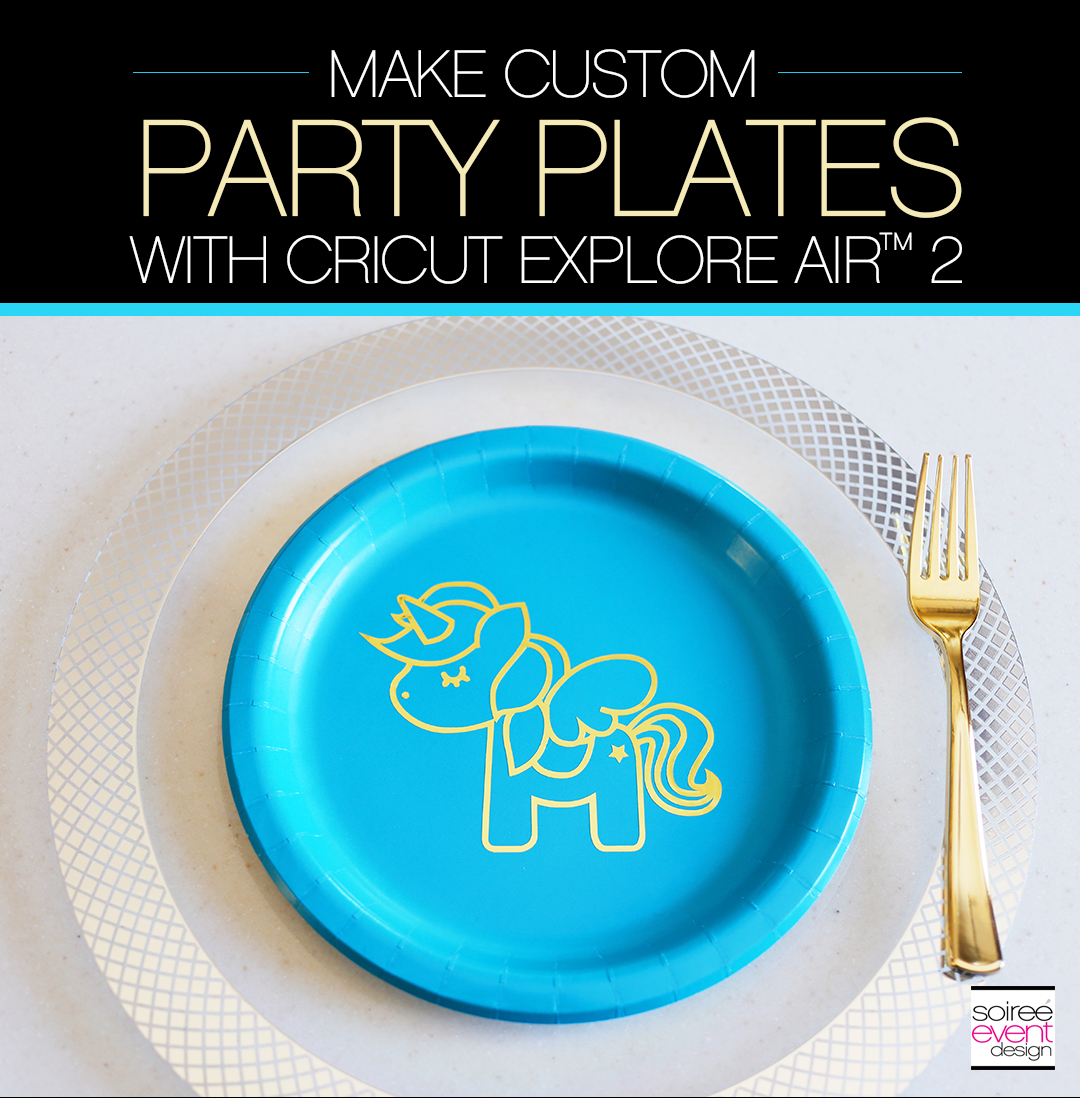
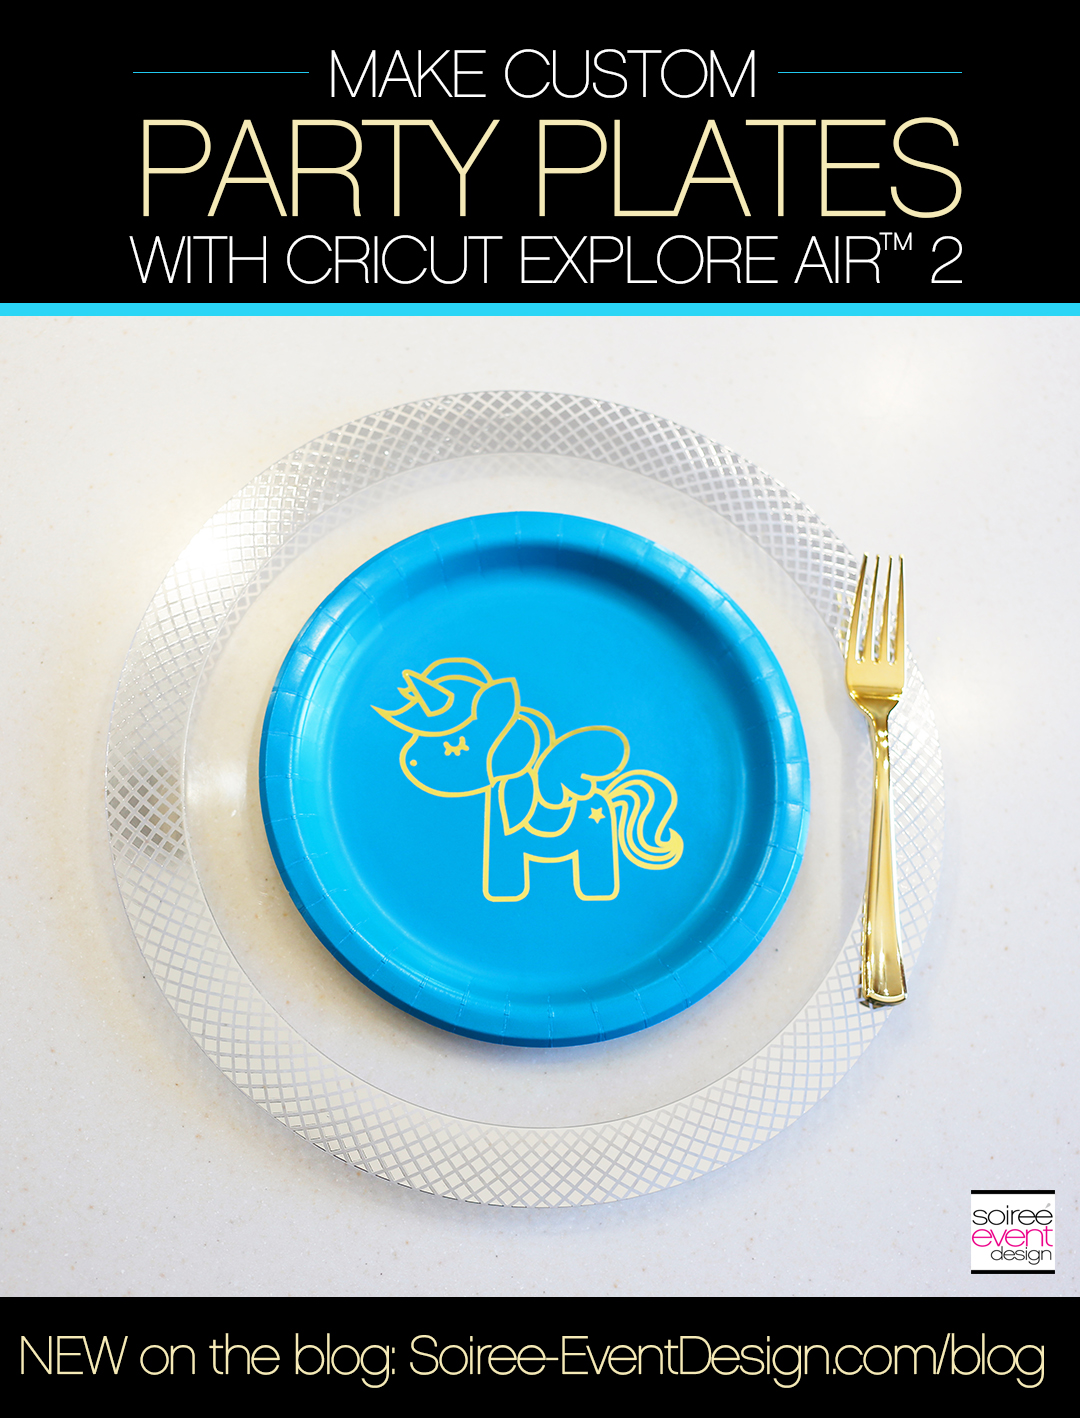
You’re done! How fabulous does this look paired with a silver charger and gold cutlery! I can’t wait for you to see the finished place settings on Riley’s party table! Check back later this month when I reveal her “Sweet Dreams” party full of DIY details and MORE Cricut party projects!
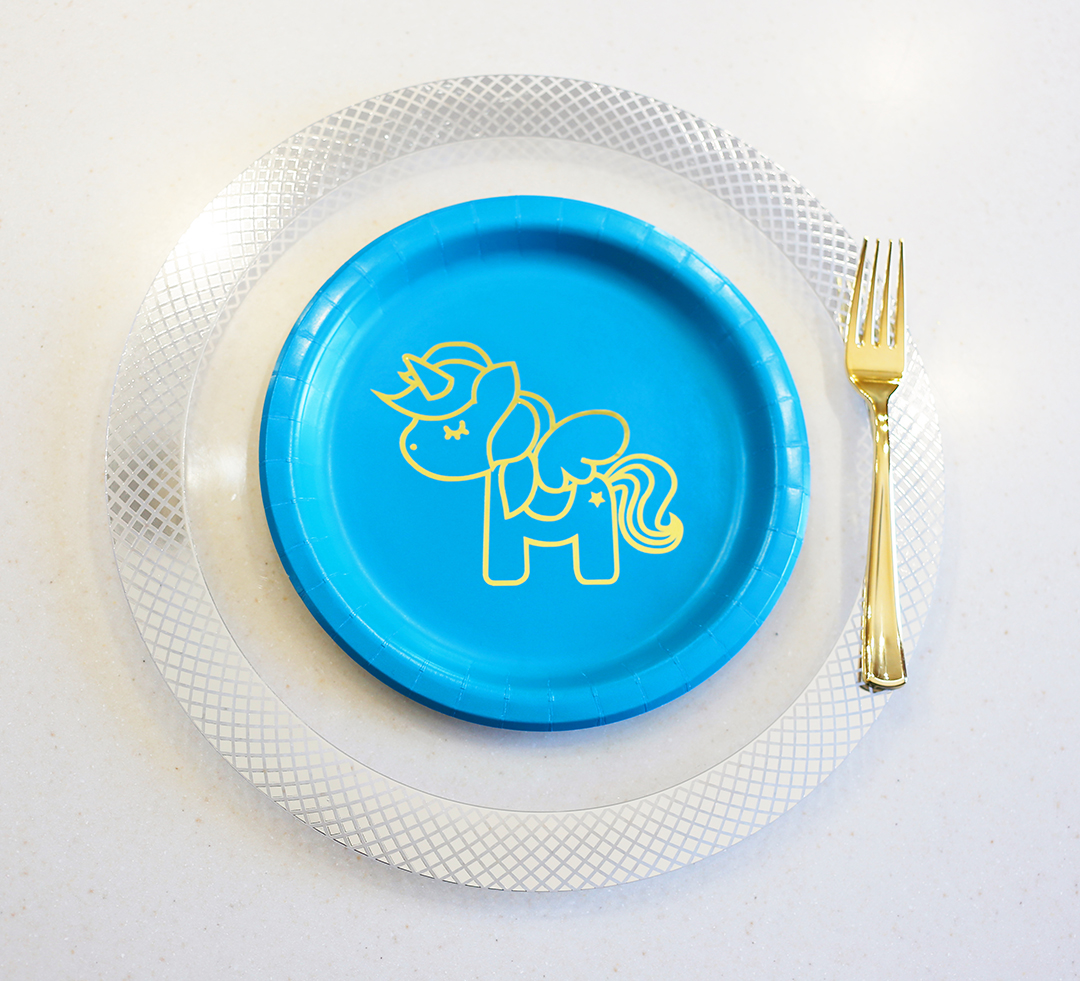
GIRLFRIEND TIP: These plates are for decoration use only. To eat from the plates, be sure to top your custom plate with a clear plastic plate so now they are food safe and you can still see the fabulous unicorn design under it!
WANT MORE DETAILS ON THE CRICUT EXPLORE AIR™ 2?
If you don’t own a Cricket Explore Air™ 2 and are looking for more information or are considering getting one for yourself, check out the Cricut Explore Air™ 2 machine for more details. You can thank me later!
PIN FOR LATER
WHAT DO YOU THINK?
Do you already have a CRICUT EXPLORE AIR™ 2? What was your favorite project to make with it? If you don’t already have one…share with me your thoughts.
Cheers!
Tonya
This is a sponsored conversation written by me on behalf of Cricut. The opinions and text are all mine.
FOLLOW ME ON PINTEREST FOR MORE INSPIRATION!
Check out my PINTEREST BOARDS HERE for lots of party, holiday, food and home decor inspiration!
DON’T MISS A POST! SUBSCRIBE TO MY BLOG!
Want to get more of my “GIRLFRIEND TIPS” and party inspiration? Be sure to SUBSCRIBE to my blog so you can get all my blog posts delivered right to your email’s inbox so you won’t miss a thing! Subscribing is easy! Just enter your email address in the above right corner of this page and be sure to confirm your email once you get our confirmation to your inbox! That’s it! AND…you’ll get a code for 10% off your next order in our shop.
[…] Soiree Event Design has a tutorial to teach you how to create customized plates. You can find the steps here. […]