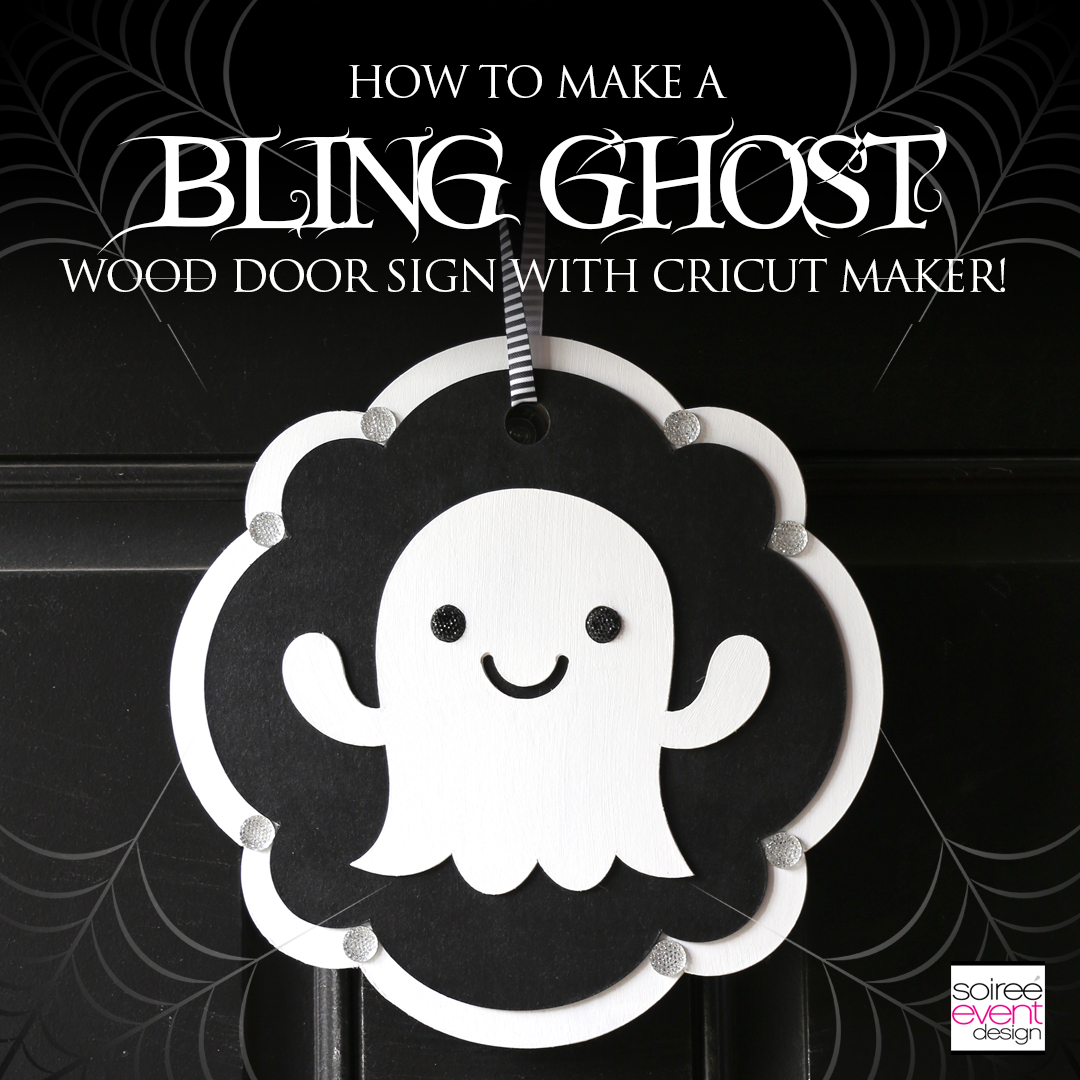
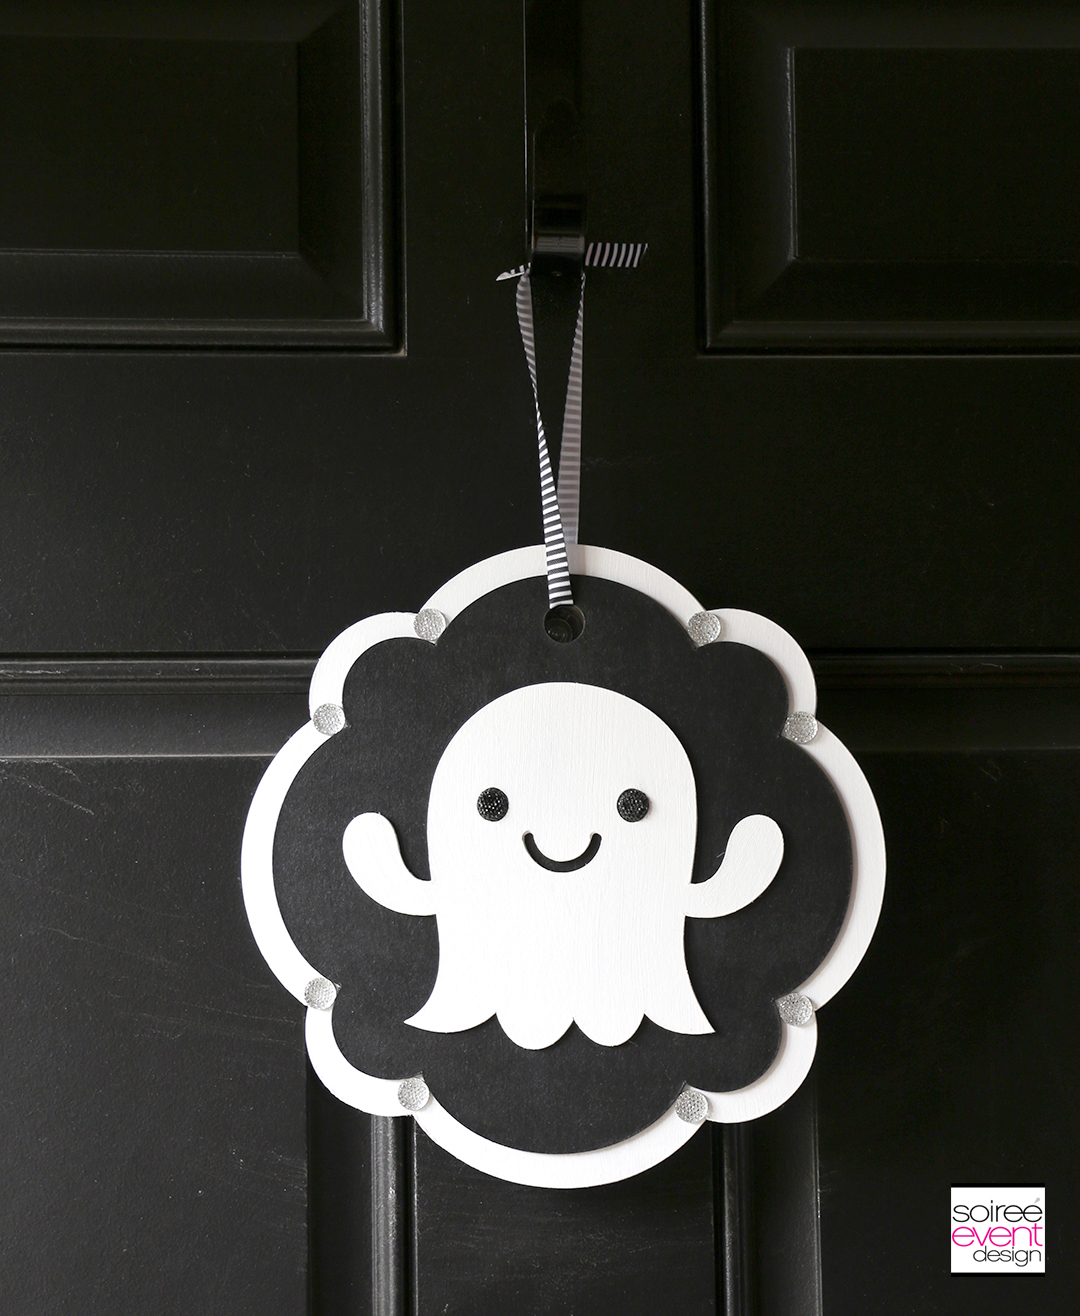
Hey party peeps! Remember how excited I was to get the Cricut Explore Air 2 last year? Well, this year Cricut sent me the brand new CRICUT MAKER and guys….THIS IS A GAME-CHANGER! It came at just the right time too, as I am in full-on Halloween mode over here with styling projects and am excited to add some Cricut Halloween Ideas to my shoots! I’ll be sharing lots of CRICUT HALLOWEEN IDEAS in the next few months leading up to Halloween and today, I’m kicking it off with this wood Halloween DIY Ghost Door Sign! This is a sponsored conversation written by me on behalf of Cricut. The opinions and text are all mine. #CricutMade #Cricut #ad
CRICUT MAKER IS A CREATIVE DREAM!
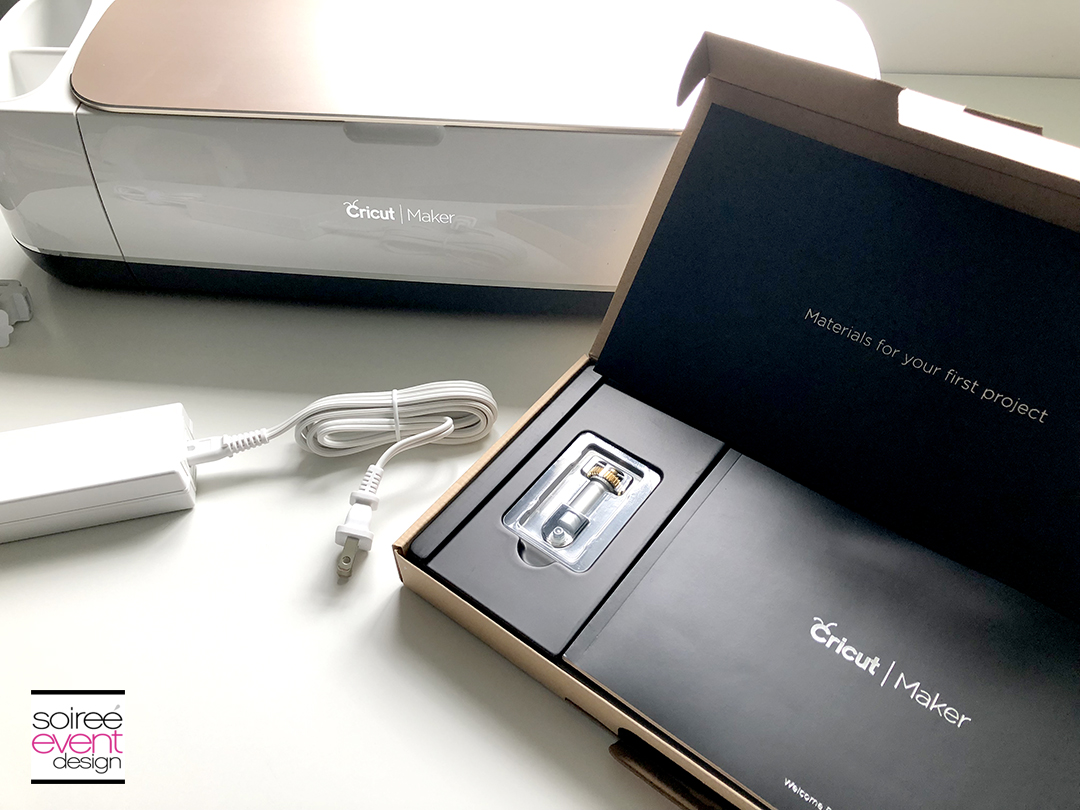
One of the major differences between my Cricut Explore Air 2 and the new Cricut Maker that I was super excited about is the ability to cut thicker materials like chipboard and balsa wood up to 2.4mm! It comes with a rotary blade that allows for precision cutting. To cut thicker materials, you will need the knife blade which is sold separately, so don’t forget to pick one up if you want to make this project.
FA-BOO-LOUS CRICUT HALLOWEEN IDEAS!
Want to see how to make this cute Halloween Ghost Door Sign? LET’S GET STARTED!
HERE’S WHAT YOU NEED:
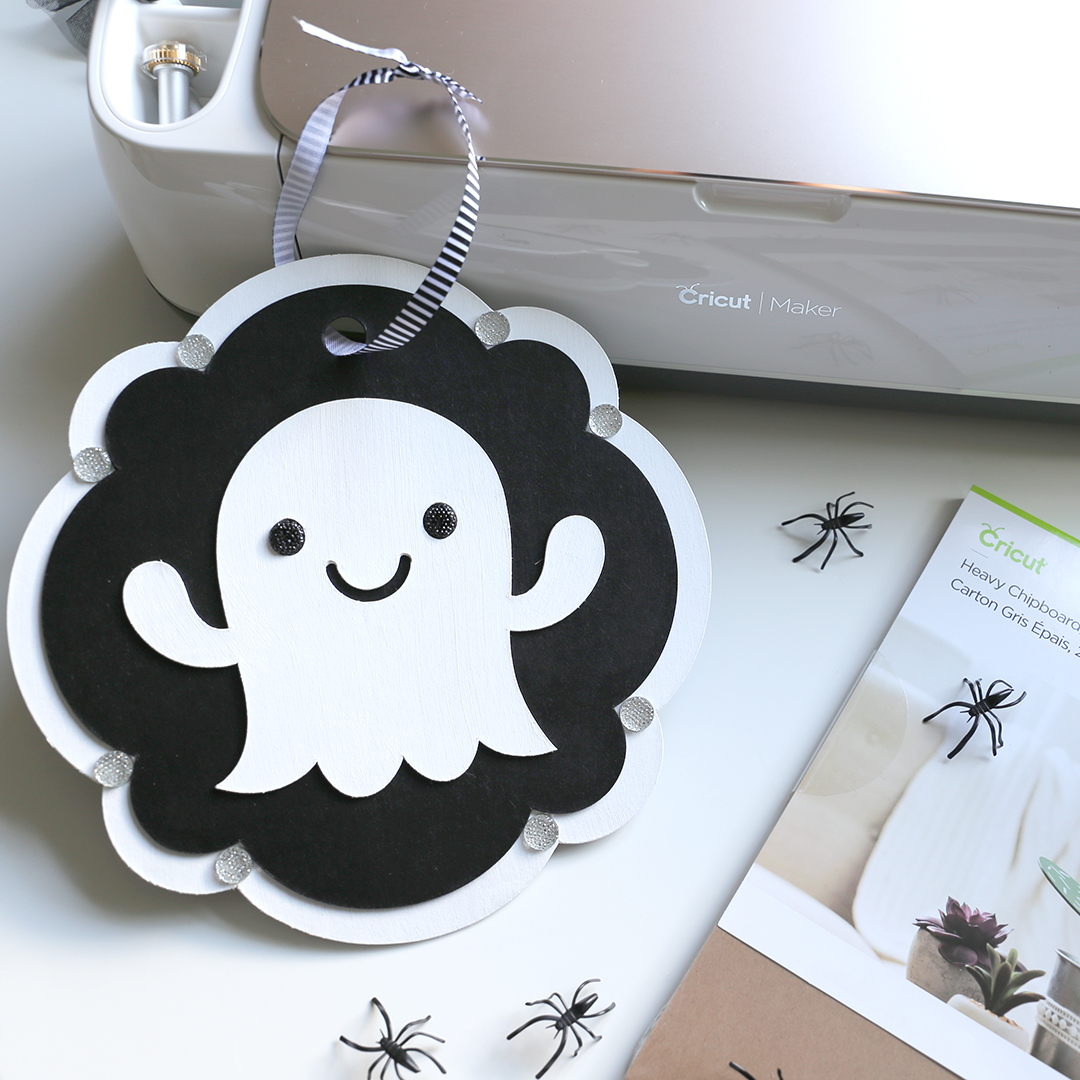
– Cricut Maker machine – DETAILS HERE AT Cricut.com
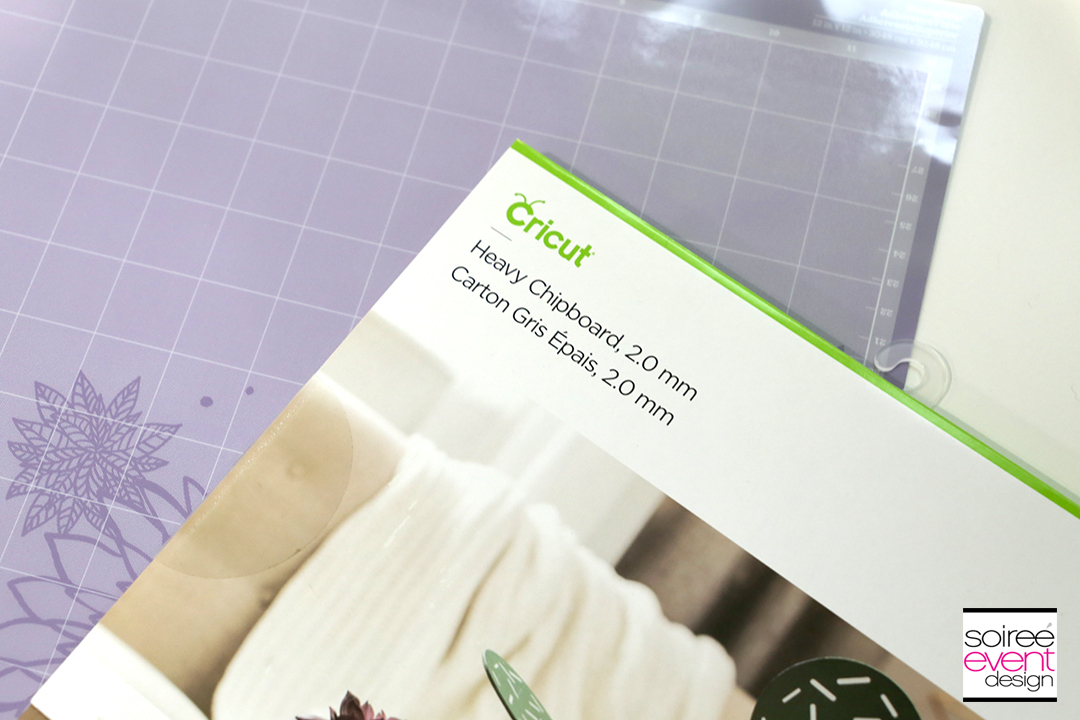
– Cricut Heavy Chipboard pack (2.0mm)
– Cricut Strong Grip Mat (purple one)
– masking tape
– ribbon
– paint (black and white)
– paint brush
– large round rhinestone stickers
STEP 1 – Log In to Design Space + Load This Project!
Cricut has an online interface called Cricut Design Space™ that walks you through every step of your project and has many images and ready-to-make projects that you can make without having to do the design yourself. Log in to Cricut Design Space™ and click here to make this Halloween Ghost Door Sign Project.
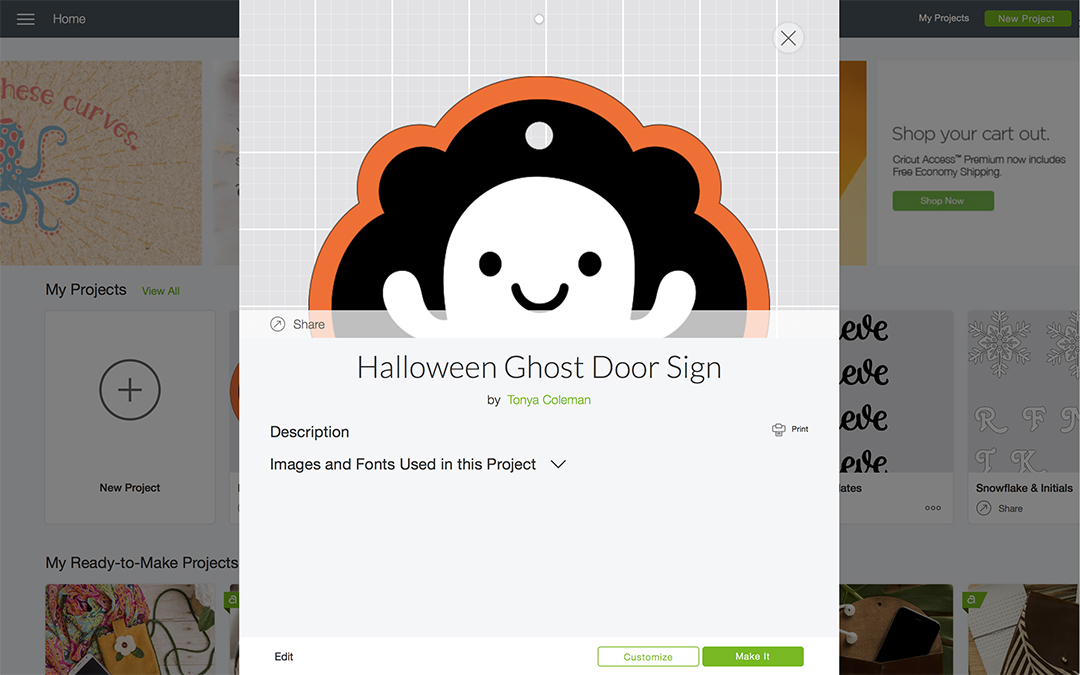
The project will load and you will see the project. Click the green MAKE IT button on the top right.
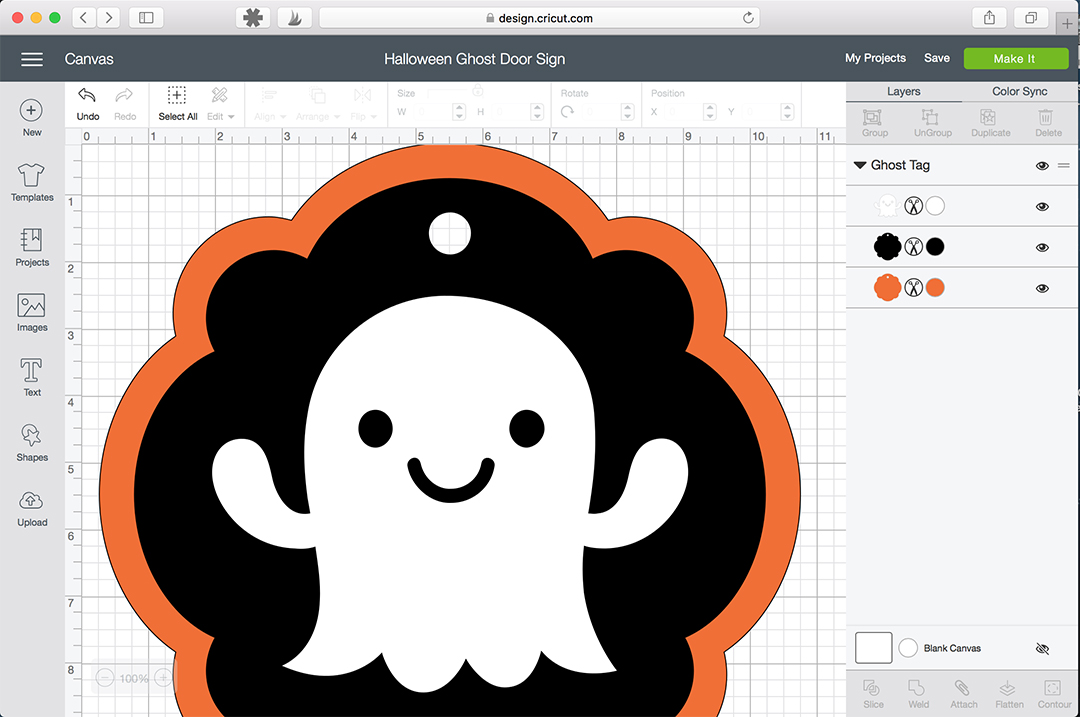
STEP 2 – Prep Your Design To Cut!
Next, you will see the sign separated into 3 different pieces that you will need to cut out. It separates each piece on to a different mat. Don’t worry, you don’t have to actually have three separate Strong Grip mats. Simply reuse the same one each time as you will be making 3 separate cuts. Next, click the CONTINUE button.
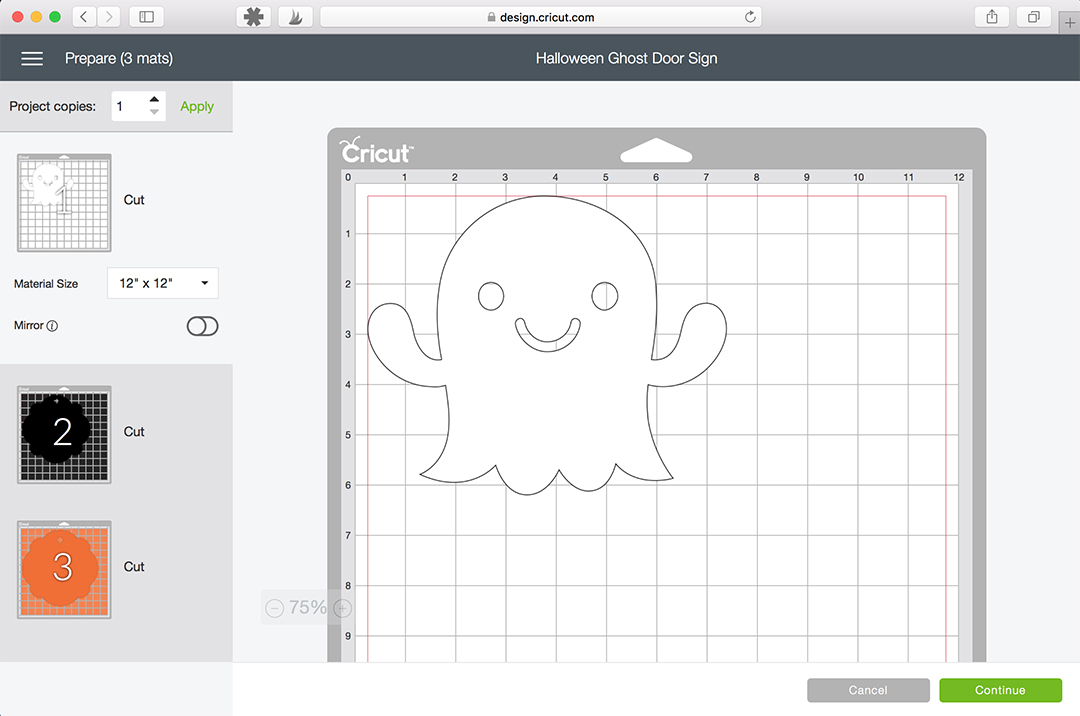
STEP 3 – Choose Your Material to Cut!
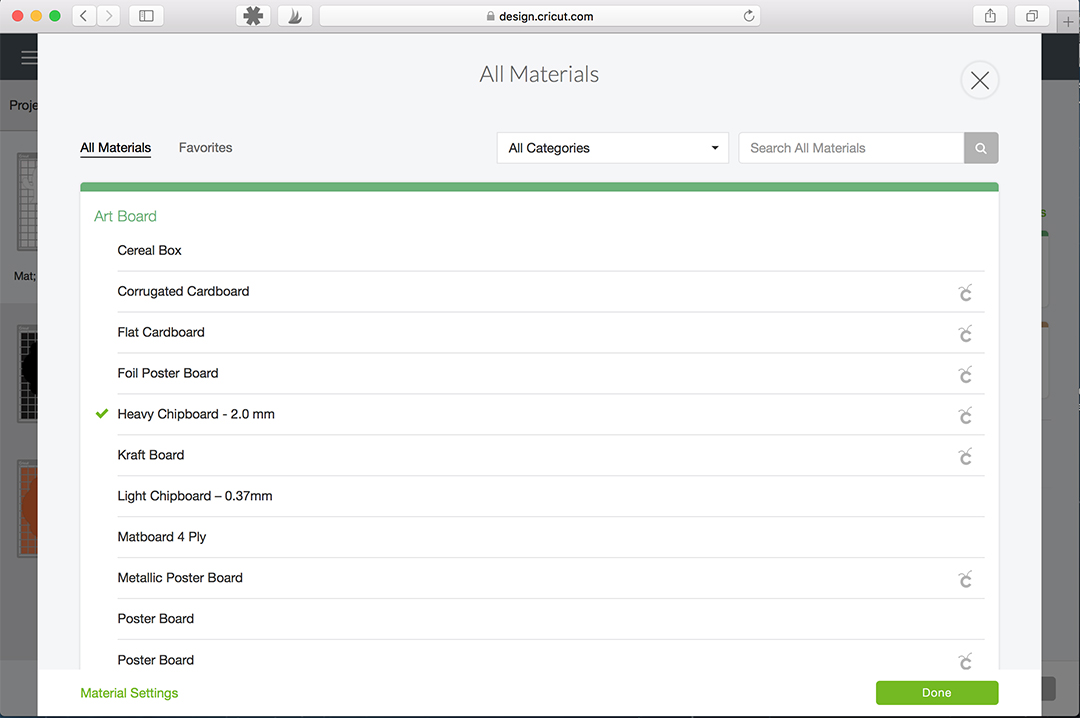
Since we are making a wood Halloween Ghost Sign, go ahead and choose Heavy Chipboard from the materials list. If you don’t see it listed, you can search materials and type in chipboard. Click on the green DONE button.
STEP 4 – Prep Your Cricut Maker to Cut the Chipboard!
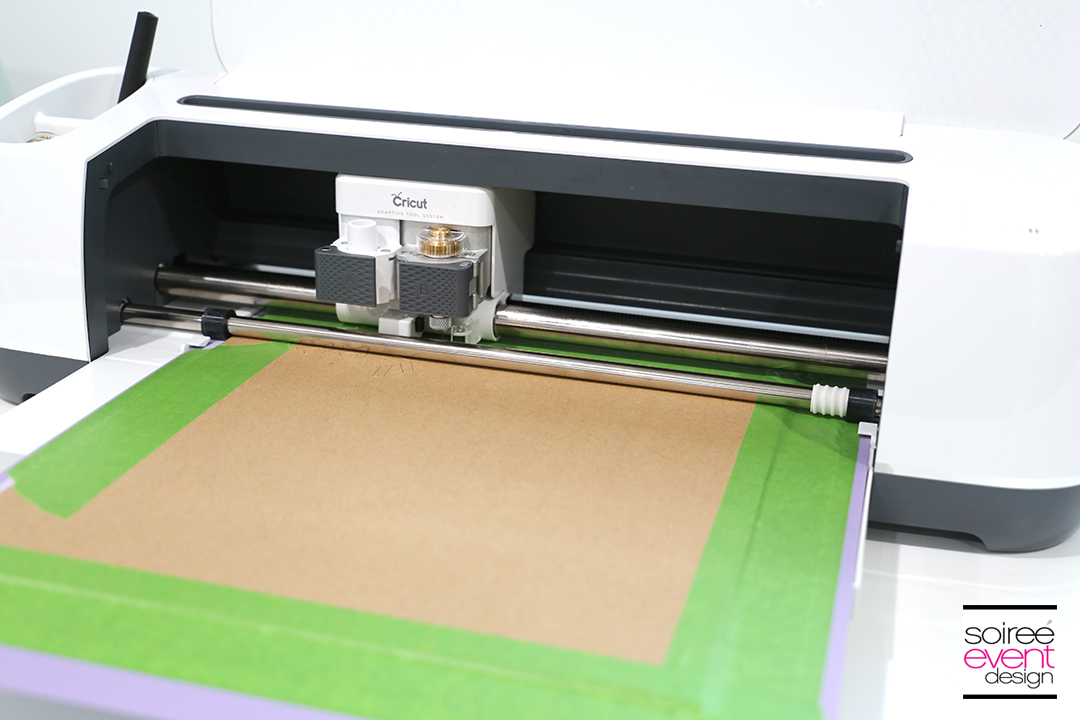
When cutting chipboard, you will need to slide the white rollers on the lower bar inside your Cricut Maker all the way to the right (as shown). Design Space will actually remind you to do this so you won’t forget.
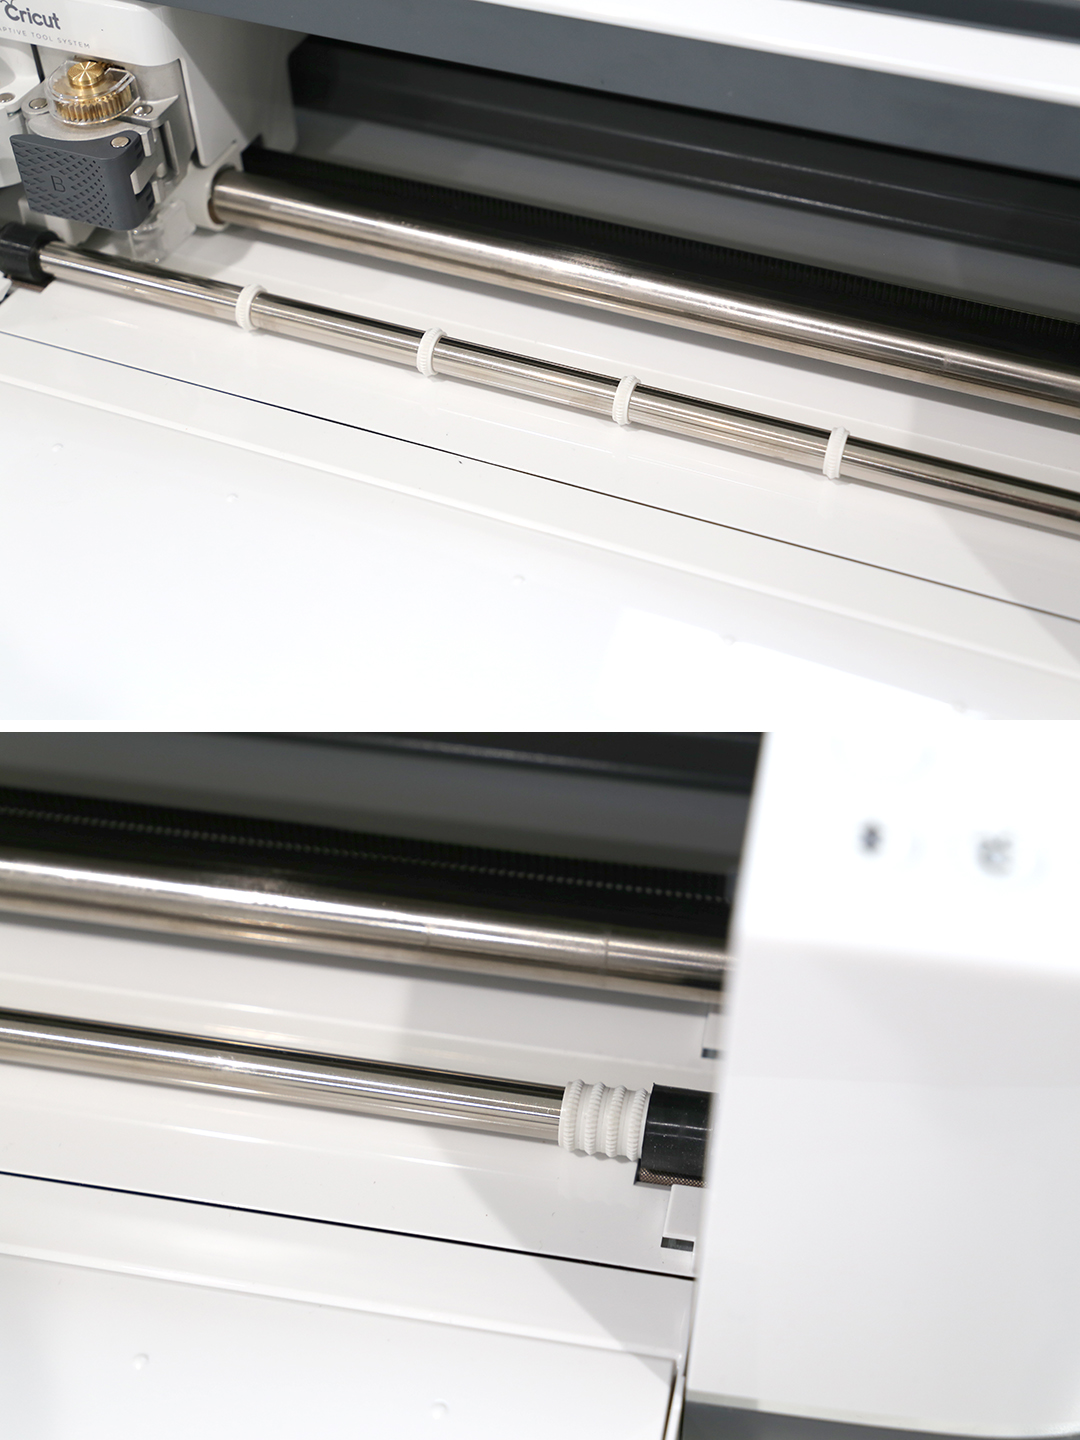
Make sure you have the Knife Blade also inserted into Clamp B. Design Space is so smart that it will also detect if you have the right tool in the clamp. If you don’t, it will tell you to change it to the right one. Gotta love that! MISTAKE-PROOF!
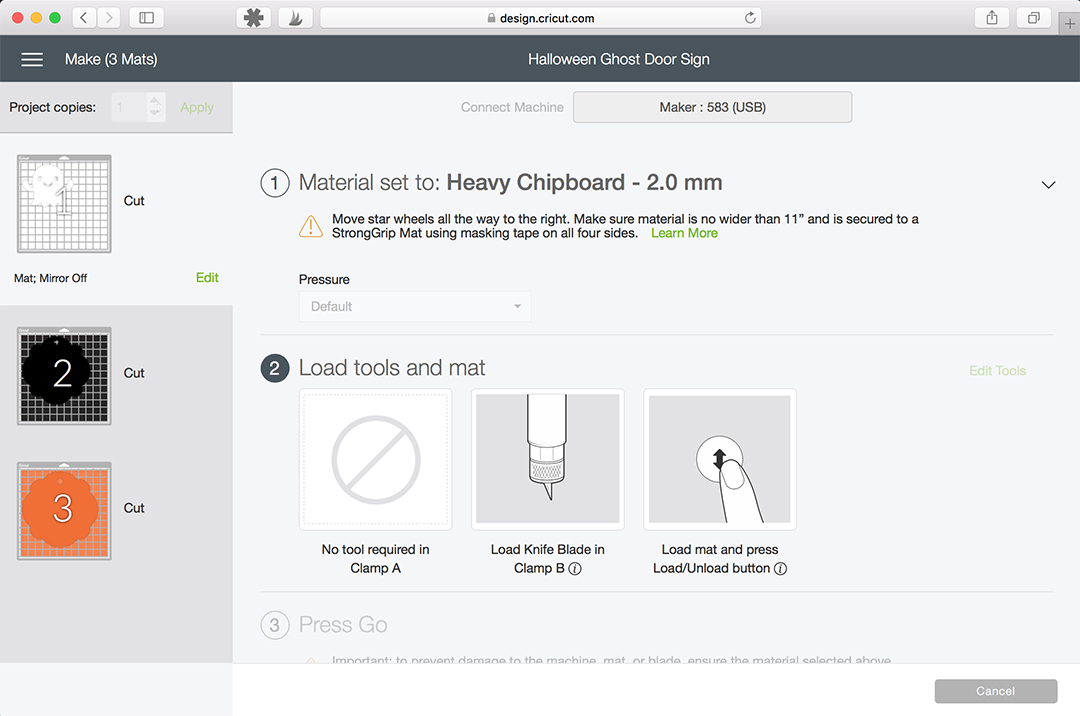
STEP 5 – Prep Your Materials to Cut!
You will need 3 pieces of 2.0mm heavy chipboard for this project. The pack of Cricut Heavy Chipboard comes with 5 pieces in the pack, so you will only need one pack.
Place one piece of chipboard down on the Strong Grip Mat and secure it to the mat with a piece of masking tape on all four sides. It’s okay that the tape will be on the chipboard where the design will cut. The knife blade will cut right through the tape and you will just remove it when it’s all done.

STEP 6 – Load the Mat & CUT!
Place the mat under the clips on the Cricut Maker and push slightly against the mat while you press the LOAD button on the machine. The mat will load into the machine. Then press the GO button. Your first cut will begin. Once the Cricut has completed the first pass, it will show you on screen how long it will take to fully cut out your first piece. I love this as I know right away how long I have before it’s done so I can do something else while I wait. MULTI-TASKING…ANYONE?
STEP 7 – Unload the Mat & Remove Your Design!
Once the cutting is complete, Press the LOAD BUTTON to unload the mat from the Cricut. Remove the chipboard from the mat.
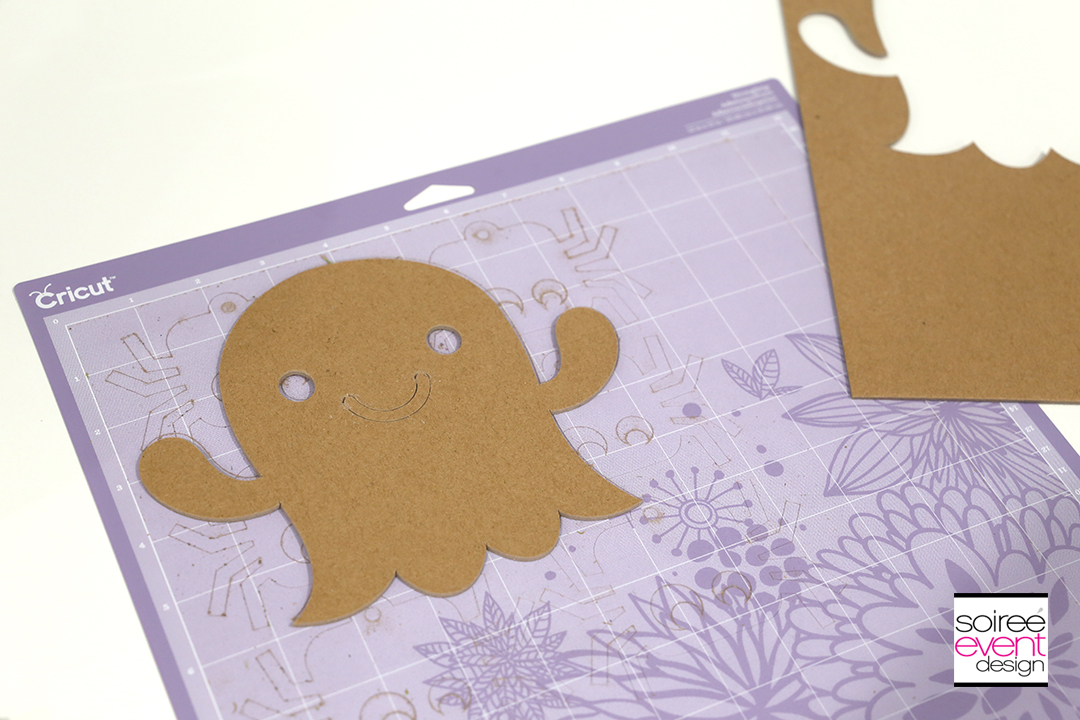
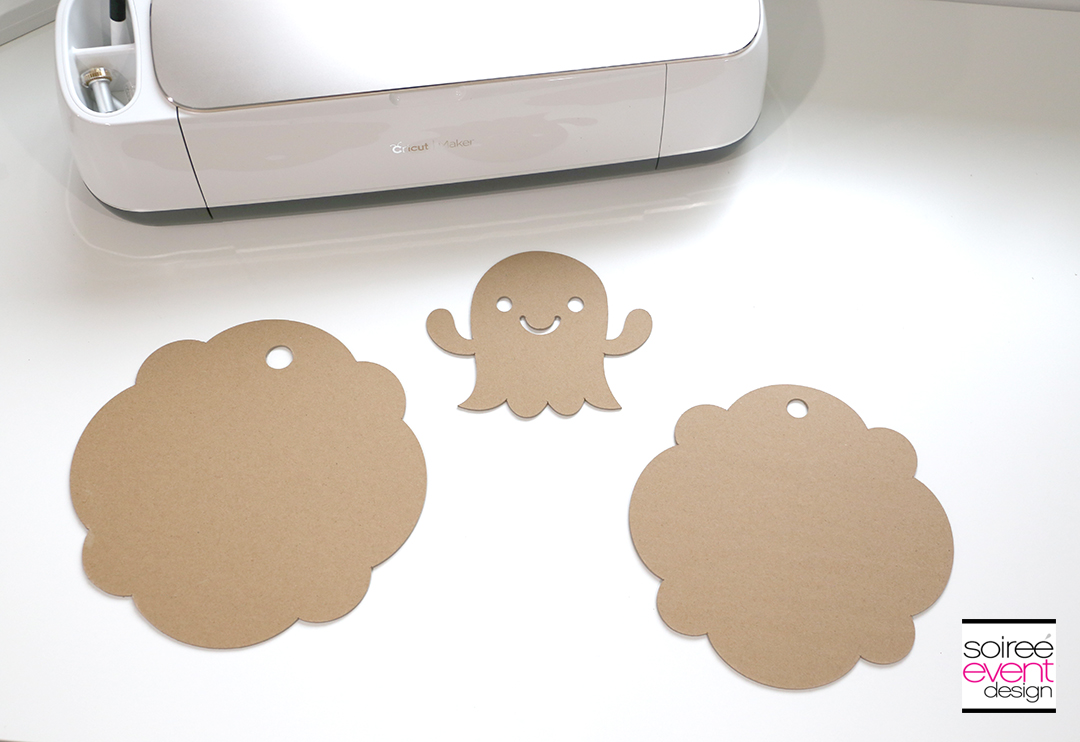
Then repeat Steps 5 and 6 two more times until all three cuts are complete. Don’t worry, Design Space will walk you through the next cuts.
STEP 8 – Paint Your Wood Sign Pieces!
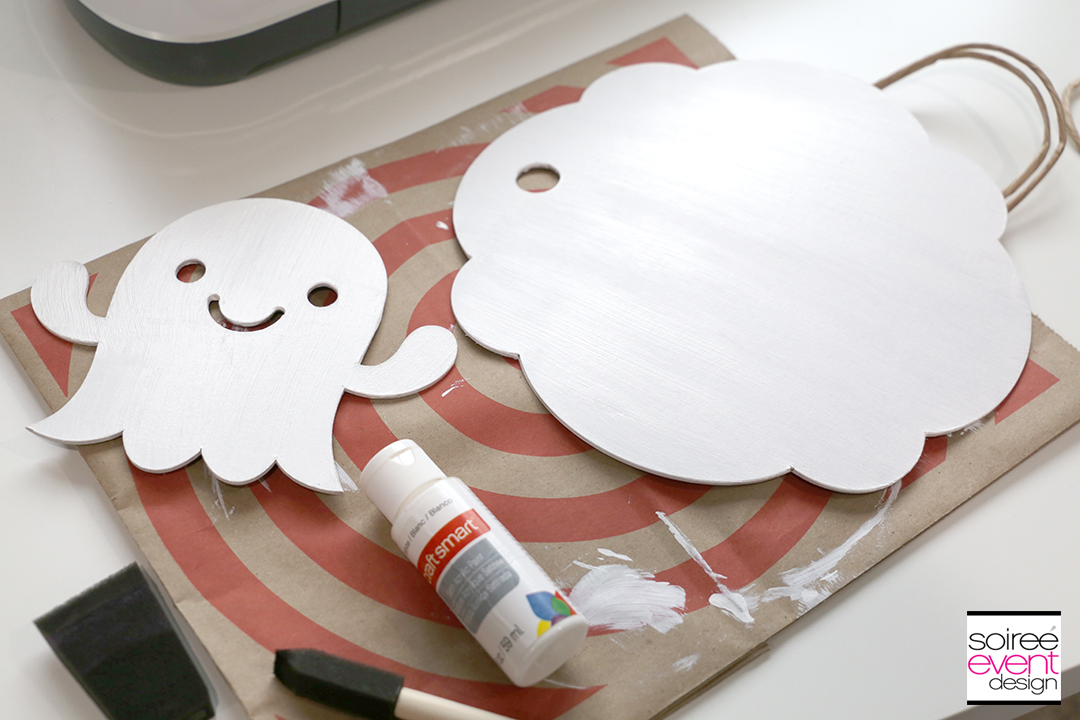
Paint the larger piece and the ghost shape white. Let fully dry.
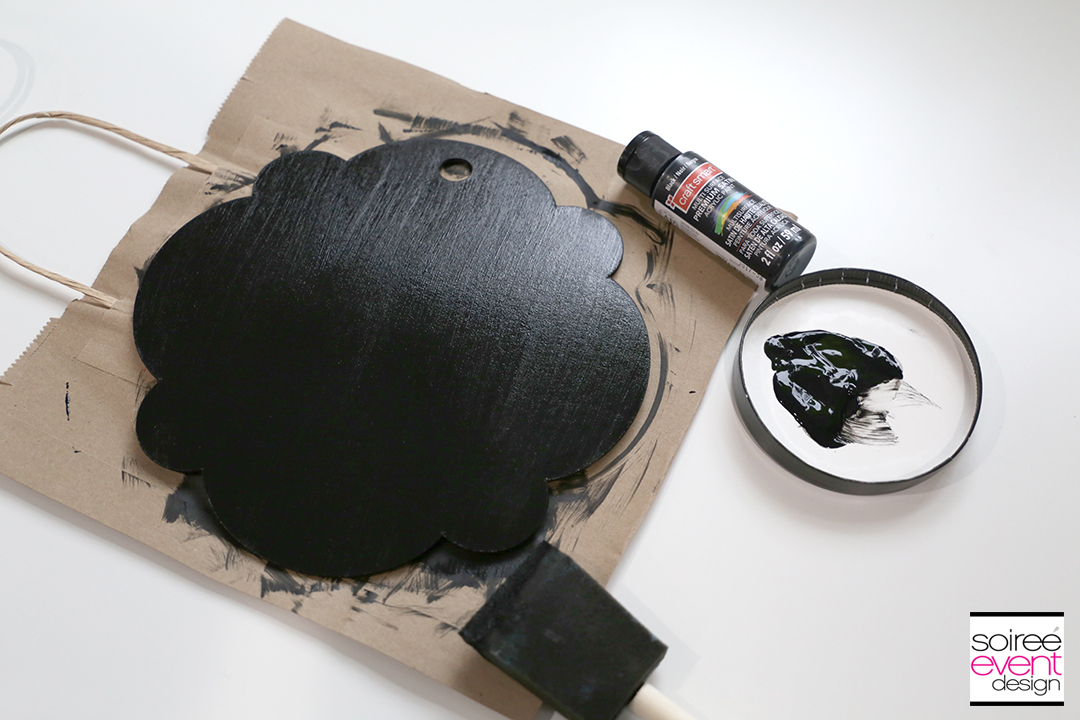
Paint the other sign piece black. Let fully dry.
STEP 9 – Assemble The Wood Sign!
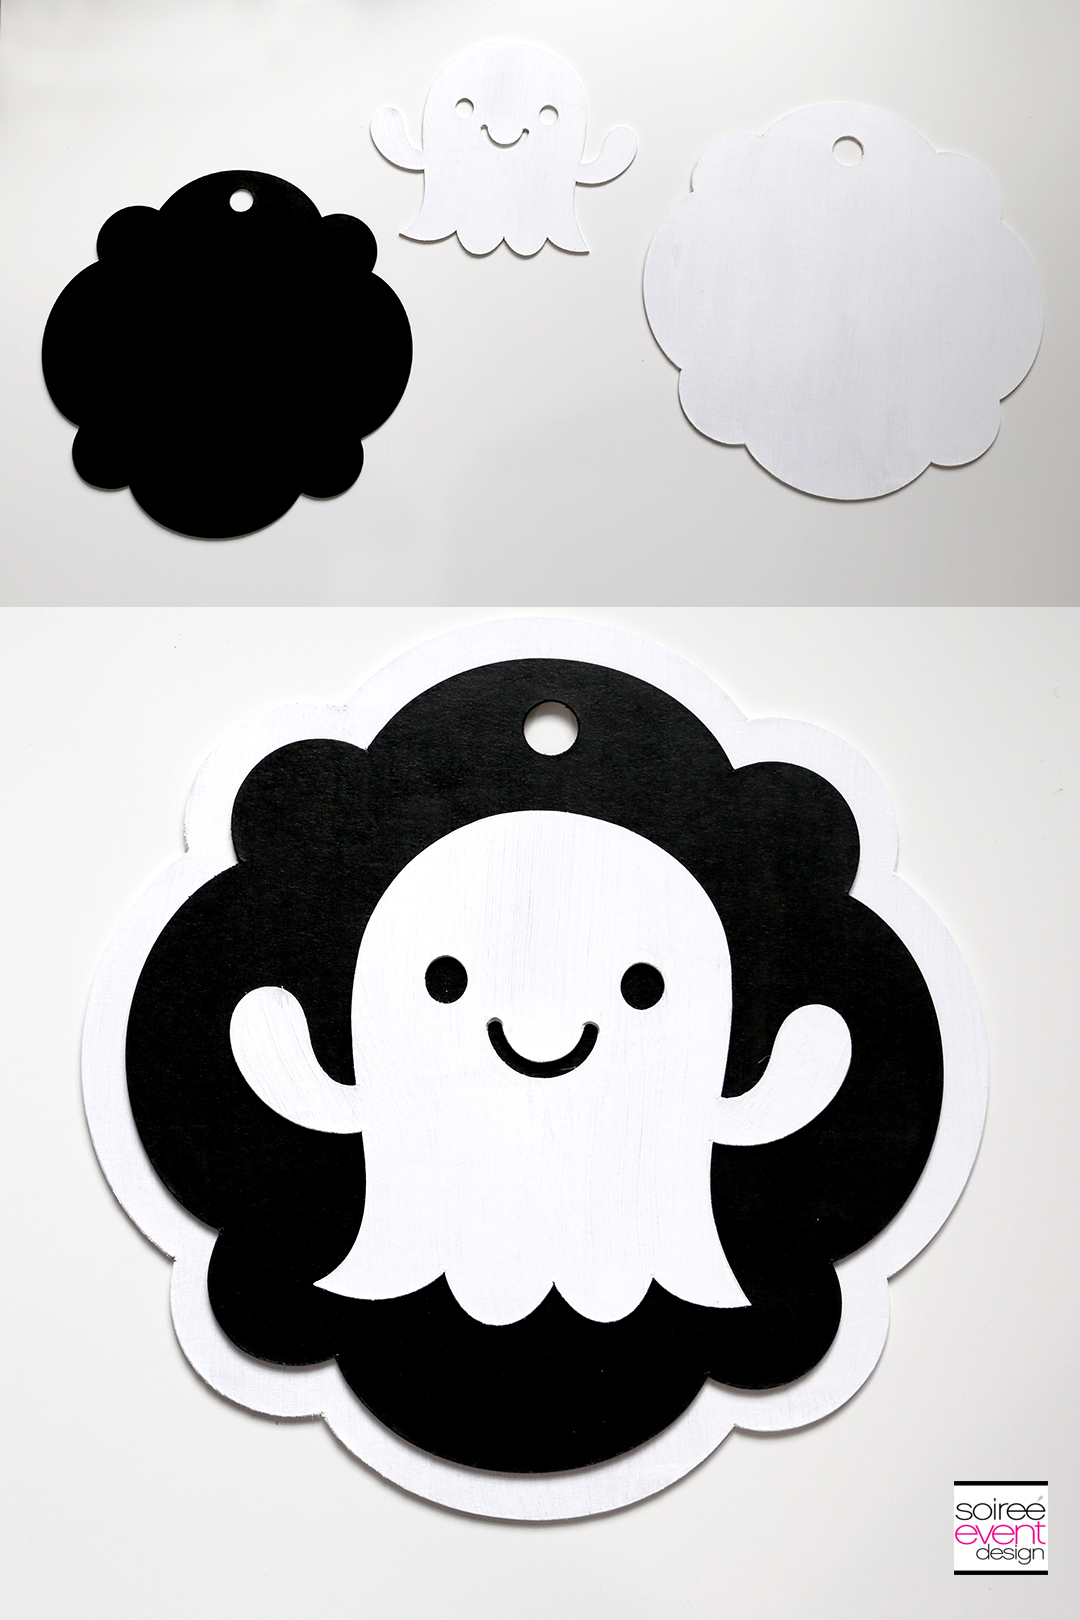
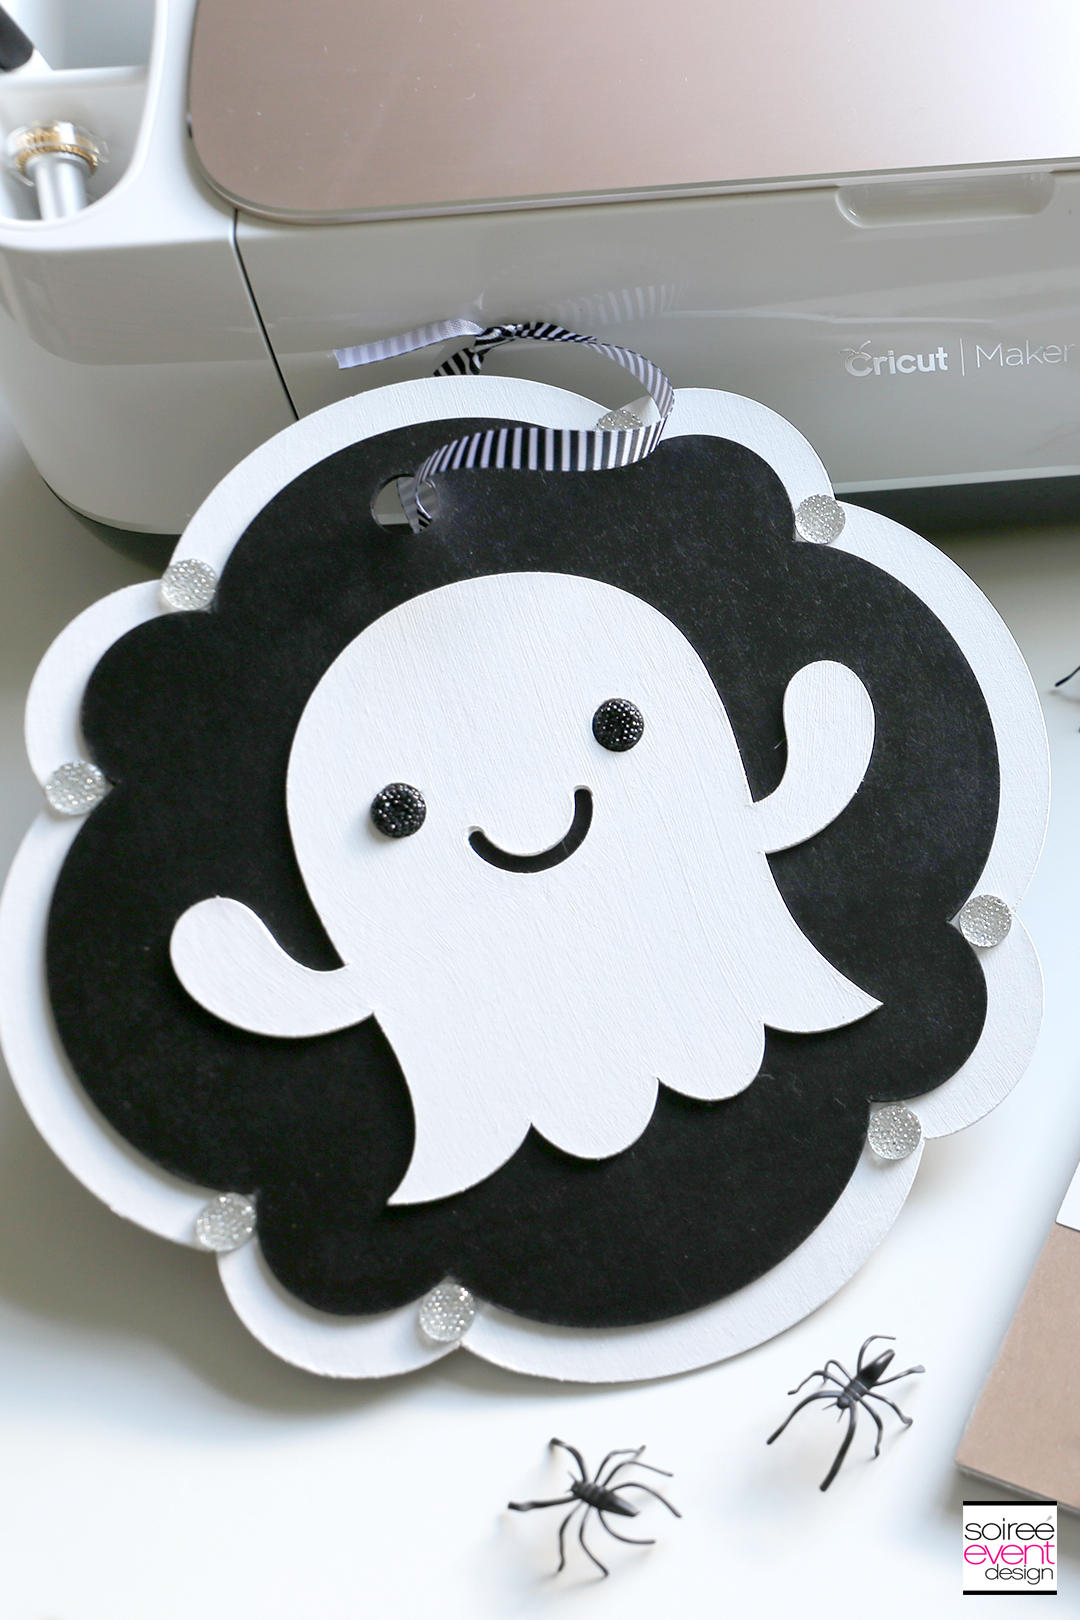
Once all the pieces are dry, attach the white ghost to the center of the black plaque piece with glue. Then attach the black plaque to the white larger plaque with glue. (I used E36000 glue) Press firmly in place.
STEP 10 – Add Some Sparkle & Bling!
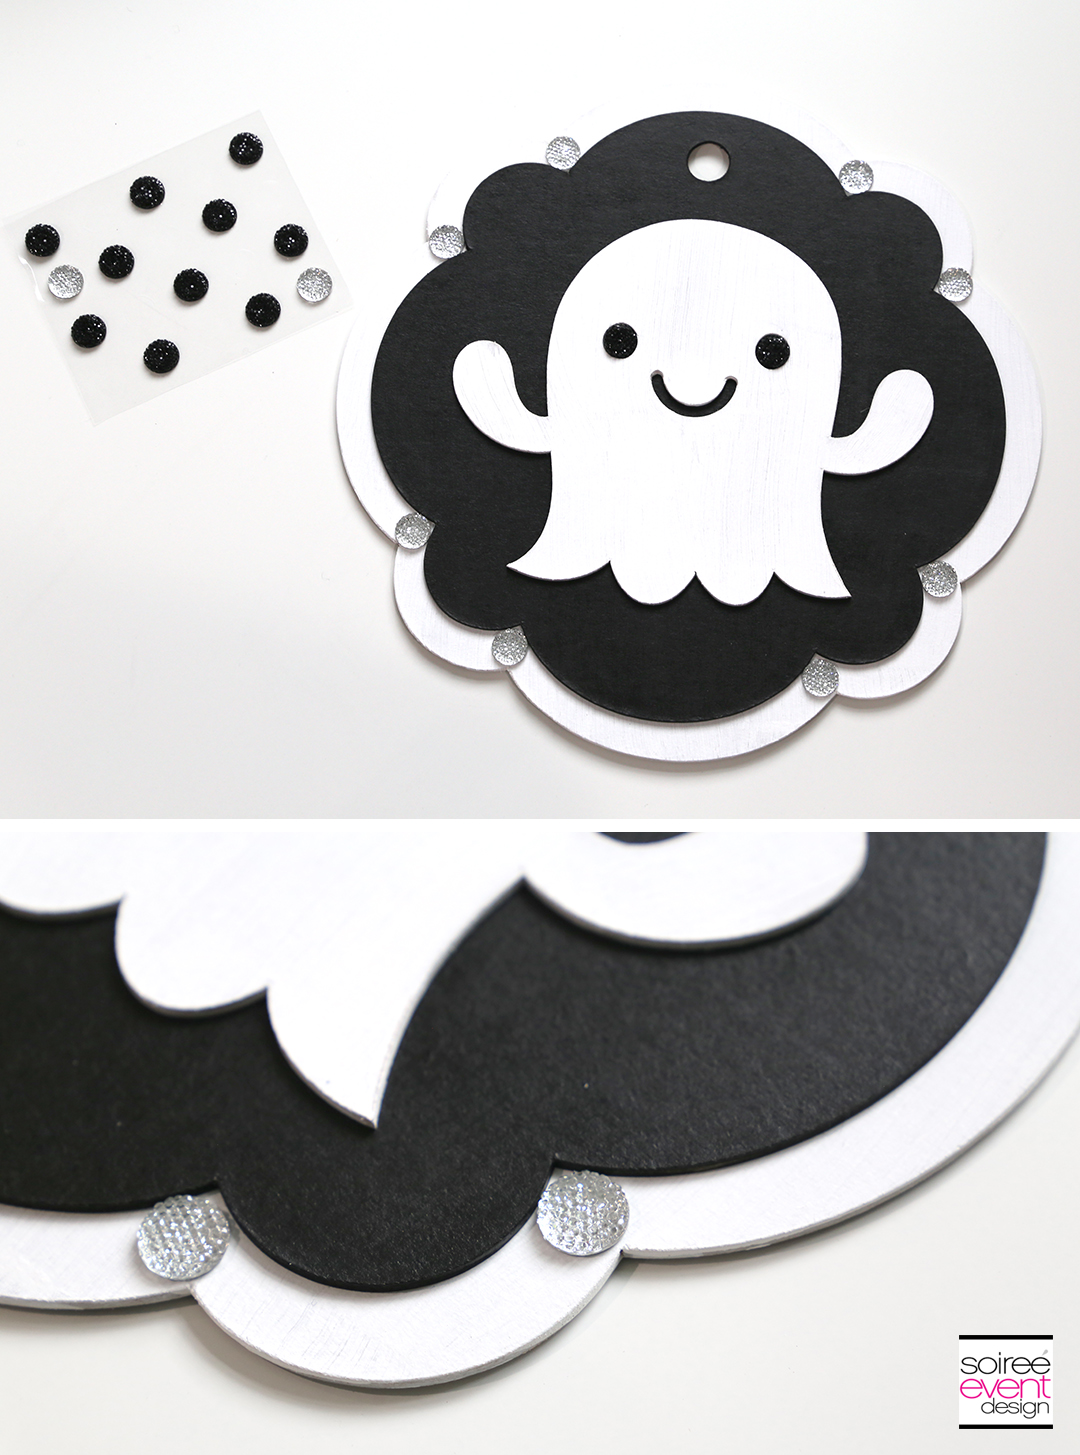
YES!!! I KNOW.. if you can add a little sparkle and bling to a project, I do it! Place a few large round rhinestone stickers to each point on the sign (as shown). You can add more if you like to give it more sparkle!
STEP 11 – Create a Ribbon Hanger!
Cut a piece of black and white ribbon the length you need. Place the ribbon through the hole at the top of the sign and tie the two ends of ribbon together.
STEP 12 – Hang It On Your Door!
You’re now ready to hang your Halloween Ghost Door sign on your door. Simply place the ribbon hanger around a wreath door holder and you’re ready with for a kid-friendly Halloween door decoration to welcome trick-or-treaters on Halloween night! This would also be great hanging on a classroom door or an inside door of our house too! I would recommend only hanging this on your outside door if you have a glass storm door to protect it from rain. Otherwise, if you don’t, just put it on the door on Halloween night.
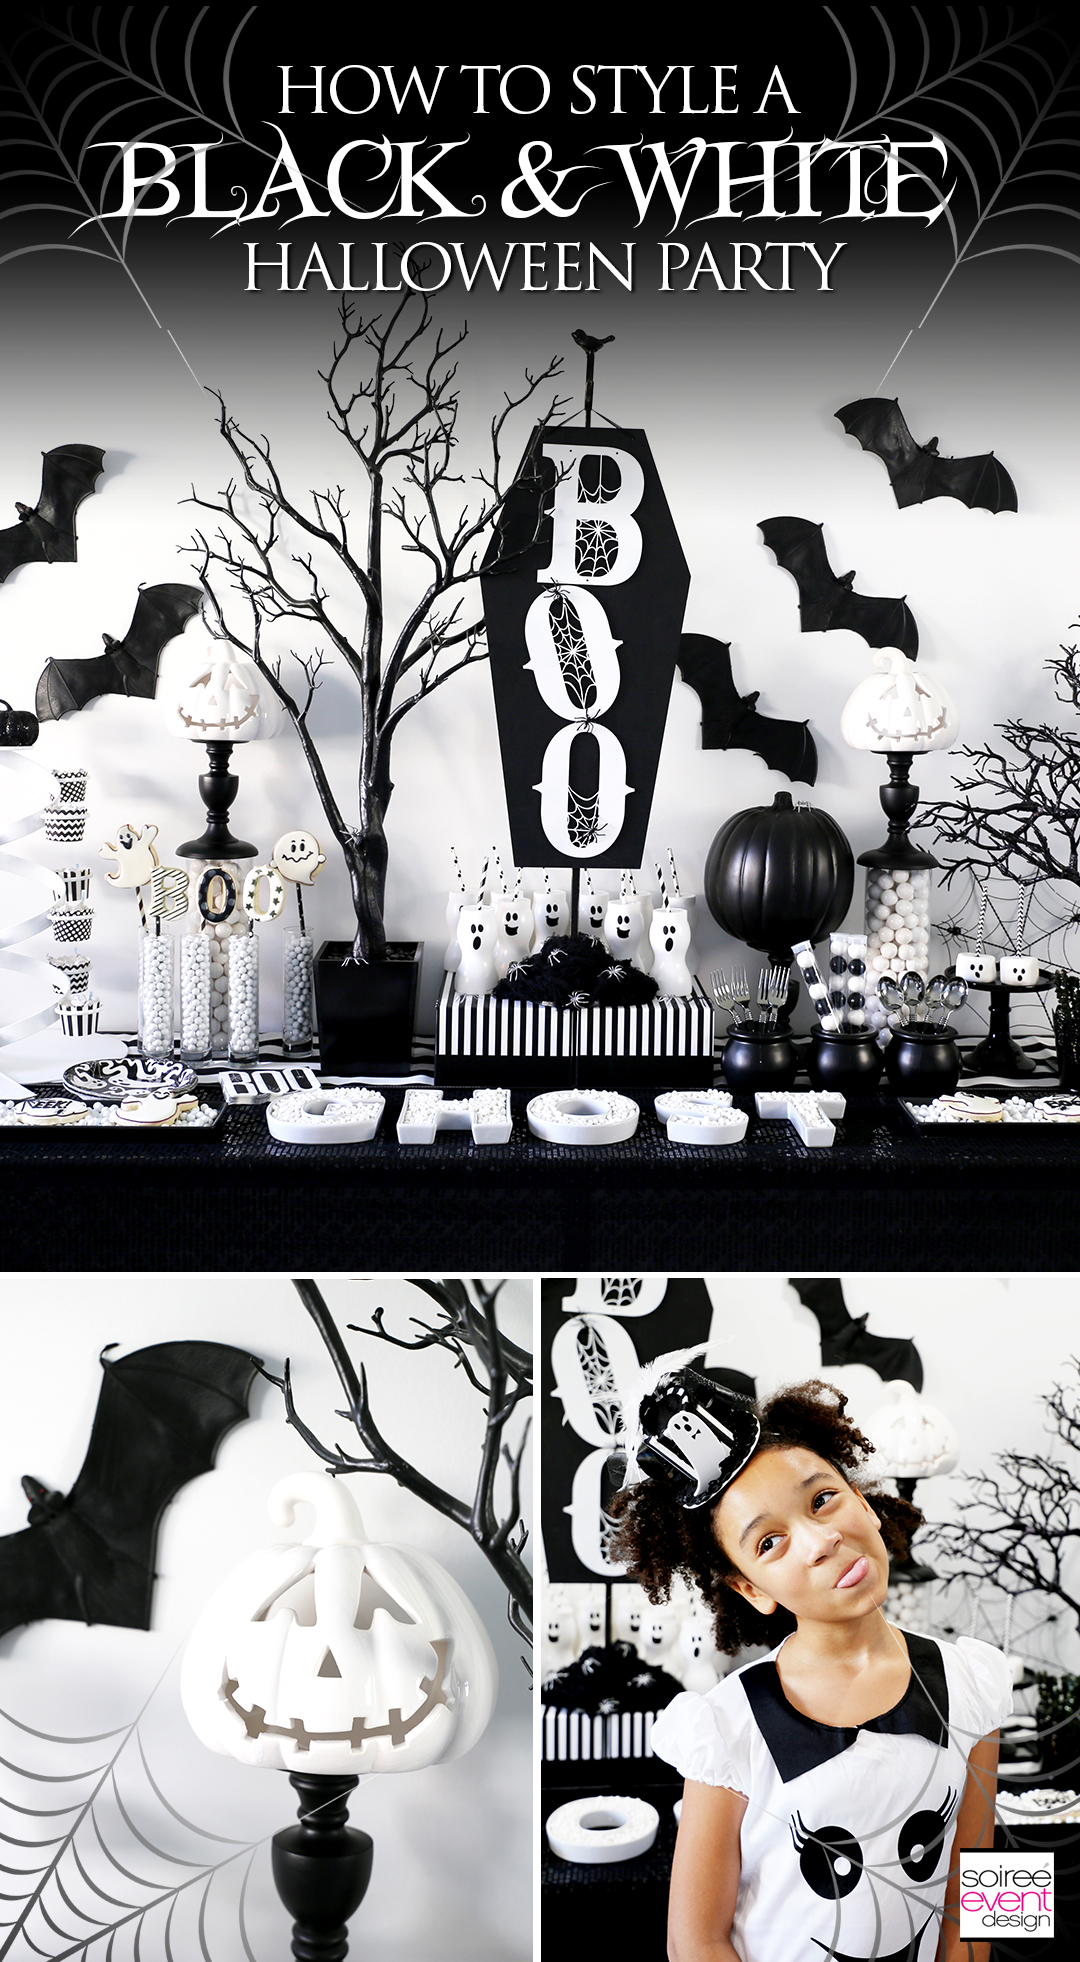
This would also be a great Halloween decoration for a Halloween Ghost themed party like this BOO Black and White Halloween Party
This is a sponsored conversation written by me on behalf of Cricut. The opinions and text are all mine.
I had the new Cricut Maker on my holiday wish list this year, but I couldn’t wait! If you don’t have one or are even curious about it, check it out at Cricut.com
PIN FOR LATER!
WANT TO SEE MORE OF MY CRICUT PROJECTS & POSTS?
Click on any of the projects & posts below:
– Merry & Bright Christmas Party with Cricut!
– Make Paper Christmas Tree Decorations with Cricut!
– Make Farmhouse Holiday Decorations with Cricut!
– Check out the NEW Cricut Explore Air™ 2 and up your DIY game!
– My First Project with the new Cricut Explore Air™ 2
– Make Custom Party Plates with the new Cricut Explore Air™ 2
– Make DIY Sweet 16 Party Invitations with Cricut™
– How to Make #16ROCKS! Sweet 16 T-Shirts with Cricut!
– 4th of July Superhero Flag Shield Backpack and Water Bottle with Cricut
FOLLOW ME ON PINTEREST FOR LOTS OF INSPIRATION!
CLICK HERE to check out my PINTEREST BOARD full of recipes, parties, home decor, DIY projects and more!
WANT MORE HALLOWEEN IDEAS?
Click the links below to see lots more of my Halloween Party Ideas
– Gold Skeleton Bones Halloween Trick-or-Treat Porch
– Day of the Dead Party Ideas
– Day of the Dead Entryway
– Emoji Halloween Party Ideas
– BOO Black and White Halloween Party
– DIY Ghost Balloon Floaters
– DIY Black and White BOO Wall Sign
– Ghost Halloween Party Games
– Kid-Friendly Spookadelic Halloween Party
– Midnight Fairies Halloween Party
– DIY Day of the Dead Glasses and Tray Set
– How to Make Ghost Pops!
– Boo Bunch Kid Friendly Halloween Party
– DIY Frankenstein Pedestals
– DIY Pumpkin Pedestals 3 Ways!
– Vintage Spider Halloween Party Dining Table
– Black Widow Spider Halloween Party Dining Table
– Bling Spider Halloween Party
– “WitchCRAFT” Halloween Kids Party
– Kid-Friendly Boo Bunch Monster Halloween Party
– “Twilight Fairy’s Hollow” Halloween Kids Party
– “Trick-or-Treat Street” Halloween Kids Party Candy Table
– “Haunted Farmhouse” Adult Halloween Party Dessert Table
– “Spooky Lab” Science Halloween Kids Party
– Day of the Dead Halloween Party
– DIY Day of the Dead Halloween Wreath
– DIY Day of the Dead Headband
– Day of the Dead Halloween Party Candy Table
– Day of the Dead Halloween Party Photo Booth
– DIY Day of the Dead Sugar Skull Party Decorations
– DIY Sparkly Spider Wreath
– Vampire Chocolate Cherry Cupcakes Recipe
– PEANUTS® Great Pumpkin Charlie Brown Halloween Kids Party
– Ghost Pop Recipe
– “Bitten” Snow White Witch’s Lair
– Gold & Plaid Halloween Glam Dinner Party
– Monster High Party “Ghouls RULE” Party
– Monster High Halloween Party “Ghoul Glam”
DON’T MISS A THING!
Be sure to SUBSCRIBE to my blog so you can get all my blog posts delivered right to your email’s inbox so you won’t miss a thing! Subscribing is easy! Just enter your email address in the above right corner of this page and be sure to confirm your email once you get our confirmation to your inbox! That’s it! AND…you’ll get a code for 10% off your next order in our shop. YUP…GOTTA LOVE THAT!
*****
All photos and text in this post are copyrighted to Soiree Event Design and may NOT be copied from this site and used in any way without permission from the owner. Pinning images, of course, is allowed and encouraged.


That is so cute! I really think I need to buy this machine because there’s so many different options you can do with it. This would be fun to do.
What a cute sign! I like that the cricut machine is versatile enough to create all kinds of diy creations.
Ok, I’m all about getting a Cricut now…. you made my mind start going a mile a minute with ideas for every holiday!
These are so cute!! You would not believe it but my Cricut has never seen the light of day. Poor thing…I dont know how to really use it!
What??!! Girl, I’m going to need you to pull out that Cricut and at least do one project. It is so much easier than you think it is and once you do one project trust me you’ll be hooked!
I have been wanting to get a Cricut. You can make so much cool stuff.
That is the cutest ghost door sign ever! I love it. My dad’s wife uses her Cricut a lot. I will pass this on to her.
We love Halloween and what a fun way to decorate!
I wish I had a cricut. I would make so many things, including this!
I’ve always been intimidated by a Cricut, but that ghost is seriously adorable! I think I may need to add this to my wishlist and attempt these fun holiday decorations!
Hi Emily, are used to be intimidated to it took me a while before I actually got my first cricket. But once I did I was so glad that I did! It is way easier than I thought it would be.
I love this! Really cute for Halloween!!
Oh this is the cutest sign ever! I have always wanted a cricut!
That is a really cool piece of machine. I wish we have one so we can do a lot of projects like this one.
Your sign is absolutely adorable and creative. I love the seemingly easy to use cricut software technology.
It really is super easy. Their online interface literally walks you through each step!
That is such a cute door sign! I would love to try this for Halloween 🙂
This is absolutely adorable and perfect for Halloween! What an easy project! I’ll have to see what I’m going to do to decorate.
This is so cute! I really have been wanting a cricut for so long but I’m afraid I don’t have time to make anything.
Hey Heather, it really is way easier than you think. You should totally give this one a try.
This is awesome. Never had circuit before, but definitely would love to have it
Pretty cool project and one that the kids can help with. Thanks for sharing
Wow you are incredibly crafty! What a cute idea! I wish I was more into DIY stuff – I’d rather pay someone to make cute decorations like this for me =).
That is too funny! Are used to be like that too but I’m such a control freak that it’s easier for me to just make it myself.
Great idea and super creative and cool!! Great post!
My kids would love this
I have never heard of the Circuit machine. I will definitely use it for future design projects of mine. The door sign looks amazing!
Oh my gosh, that is adorable. I need a cricut and have been trying to talk myself into buying one.
This is so cute. I’m pinning it for later. Love it!
Oh wow this is so cute! My favorite holiday is Halloween! I always appreciate how festive and fun it is.
How cute is this? I need to add a recorder so the ghost says boo! I wish I had more time to be more crafty! Thanks for sharing! (I pinned this too!)
We love Halloween! This is such an a-doll-able DIY
So cute! Me and my daughter have been talking about getting cricut recently. I will have to show her this..<3
What a cute idea of ghost door sign. We love Halloween. I appreciate how fun and festive this is.